 Chocolate Covered Nutter Butter Plane’s Inspired Dusty Cookie Pops!
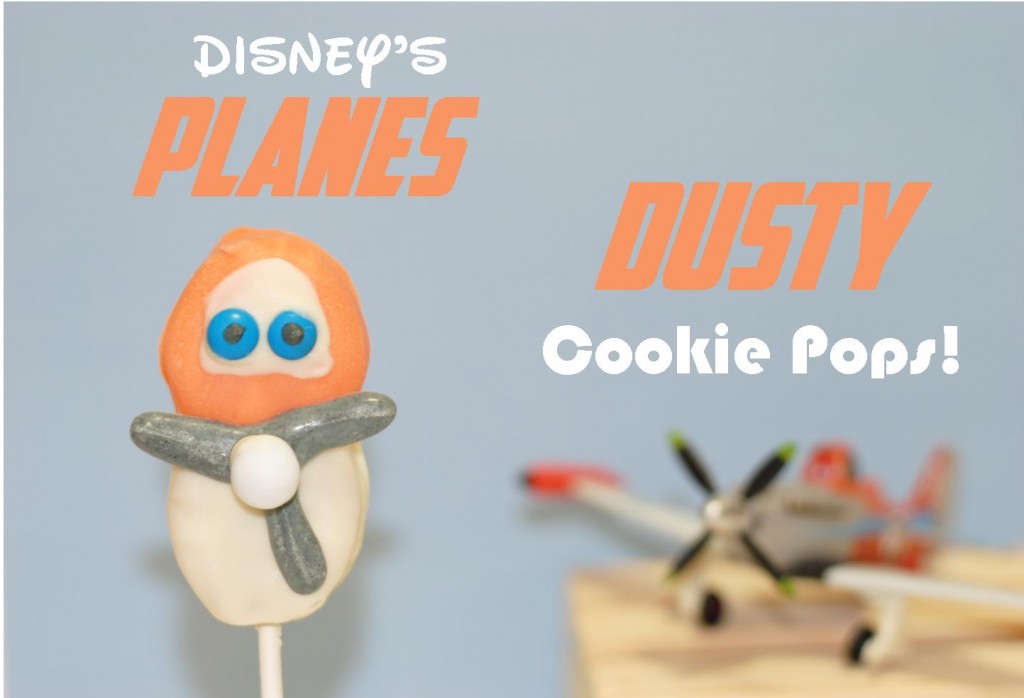
I’m certain everyone knows by now that my household is pretty excited about this weekend’s premiere of Disney’s “Planes”. So in celebration of the premiere this week we are having some High Flying Fun! Last night, I decided to try to turn a Nutter Butter Cookie into the face and nose of Dusty the crop duster lead character of Planes. Pictured above is my end result. If you’d like to make a Cookie Pop Dusty, these are the steps that I took, including a few photos that I took along the way.
-
Gather all your supplies. I used white and orange chocolate melts, black icing coloring, plastic sandwich bags, scissors, a skewer, wax paper, pencil and one piece of paper, white Dutch mints, mini blue M&M’s, cookie pop sticks and Nutter Butter Cookies.
- There are two ways to make this cookie, with or without the cookie pop stick. If you do not want your Dusty cookies on a stick, then skip this step. If you would like to make the cookie pop version, then you’ll start by attaching the stick to the cookie. To do this, gently separate the Nutter Butter cookie by sliding the two piece apart. Then melt your chocolate wafers. It doesn’t matter which color chocolate you use. Take your cookie stick and dip the top third of the stick within the melted chocolate. Lay the dipped portion of the stick on top of the center of the opened cookie. Gently put the cookie back together, with the stick in the center. Place them in the refrigerator for five minutes. This will allow the chocolate to harden around the cookie pop stick.
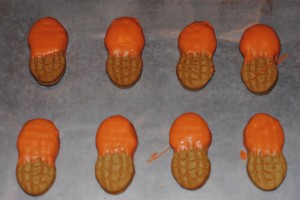
- For those of you that chose to skip the cookie pop stick this will be your first step. Dip your Nutter Butters half way into the orange chocolate and lay them on top of a cookie sheet lined with wax paper. If you’re making the cookie pop version, dunk the entire Nutter Butter in white chocolate first . Then let them harden on the wax paper.

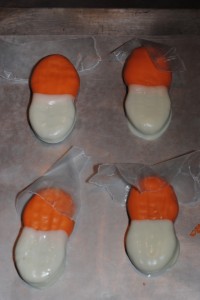
- Once the chocolate has hardened, move onto dipping the bottom half white. Cookie Pop version, this is when you would dip the top in orange chocolate. Below is a photo of how your cookies should look.

- Next, dip your skewer in the white chocolate and draw Dusty’s white face directly in the middle of the orange part of your cookie. Allow this to dry for a couple of minutes.
- Take two mini M&M’s and place them on the bottom of white face that you drew.
- Now to make the propellers! On a piece of paper, draw your propellers. FYI- Dusty has three blades. Place the drawing in between your wax paper and your cookie sheet. You’re going to use this drawing as a guide for making the propellers in chocolate. At this point, you’ll most likely have to melt your white chocolate again. After melting, I scooped the chocolate into a sandwich bag and added a touch of black icing coloring. Work the black dye into the white chocolate by kneading the bag between your fingers. This will turn it into a silver color. Cut a small snip out of a bottom corner of the bag and start piping the propellers. After making the blades, add a Dutch mint to the top. You might have to dip the mint in additional chocolate to make it stick. Move the paper along as a guide for each propeller. Let them dry for at least five minutes before moving to the next step.
- Add a small dab to the bottom of the propeller and place it in the center where the orange and white chocolate touch. Make sure you don’t block Dusty’s eyes.
- Let the entire cookie set for a few minutes You’re done!
 Victoria enjoyed few bites!