Every Special Gift Deserves a Perfect Tag
Christmas presents wrapped neatly in pretty Disney prints and decorated lovely with ribbons and bows are quite a beautiful sight for wide-eyed children of all ages. I have to admit, I LOVE LOVE LOVE wrapping paper, bows, ribbons and any Christmas trim you could imagine. Walking down the seasonal isles in my favorite stores is as much of a thrill for me as it is for my two children! I carefully select each year’s wrapping paper as if I’d been shopping for the perfect color to paint a newborn’s room. Yes, I know, I give entirely too much thought to things that others may dismiss in a mere moment, but I believe that the perfect gift deserves the perfect presentation, including the first thing each child looks at, the gift’s name tag.
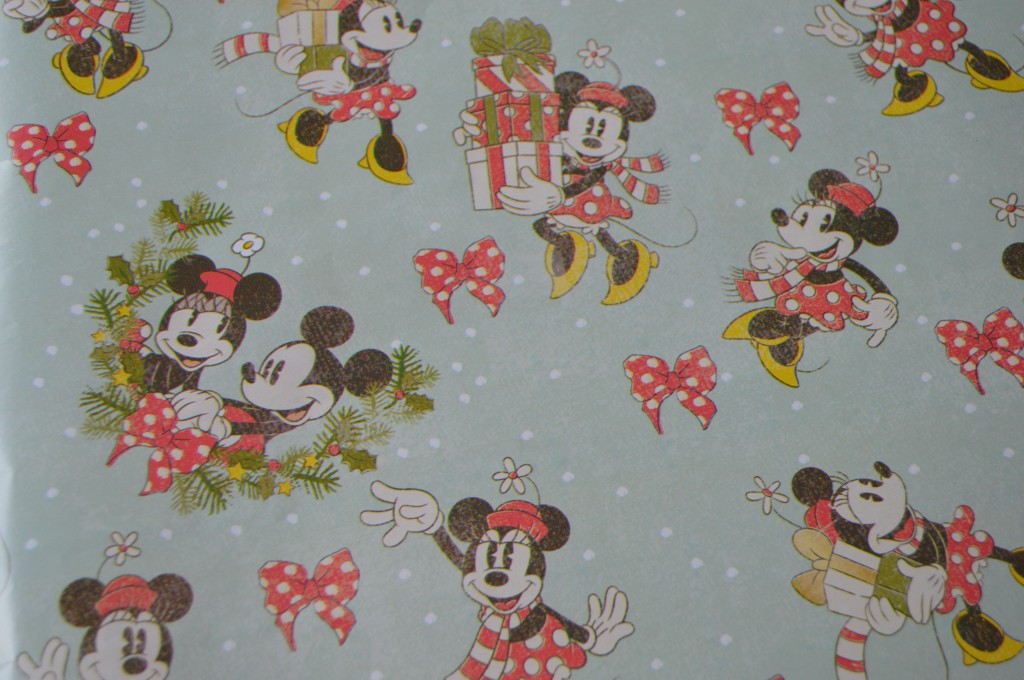
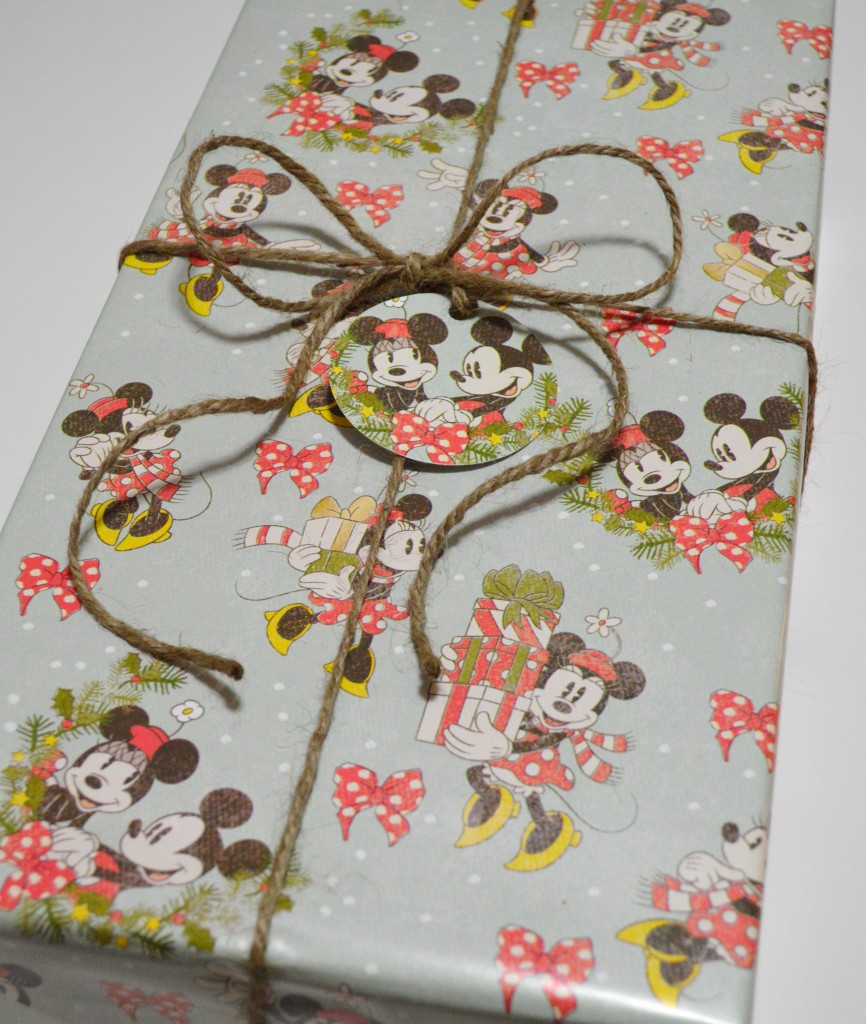
This year, I chose this pretty Minnie Mouse print for all the little girls in our family.
All of the girls on both sides of our family are under the age of five and love Miss Minnie Mouse. This wrapping paper, with its distressed look, gives off the lovely feeling of an Old World Christmas where baby dolls and wooden toys were top on Christmas lists. This paper is a perfect fit for our little princesses. My daughter confirmed this when she squealed “Minnie!” at the sight of the first wrapped gift. I tied each present up with twine to complete the vintage look and searched for the perfect gift tag but couldn’t find a single one that would coordinate with the wrapping paper. I decided to make some.
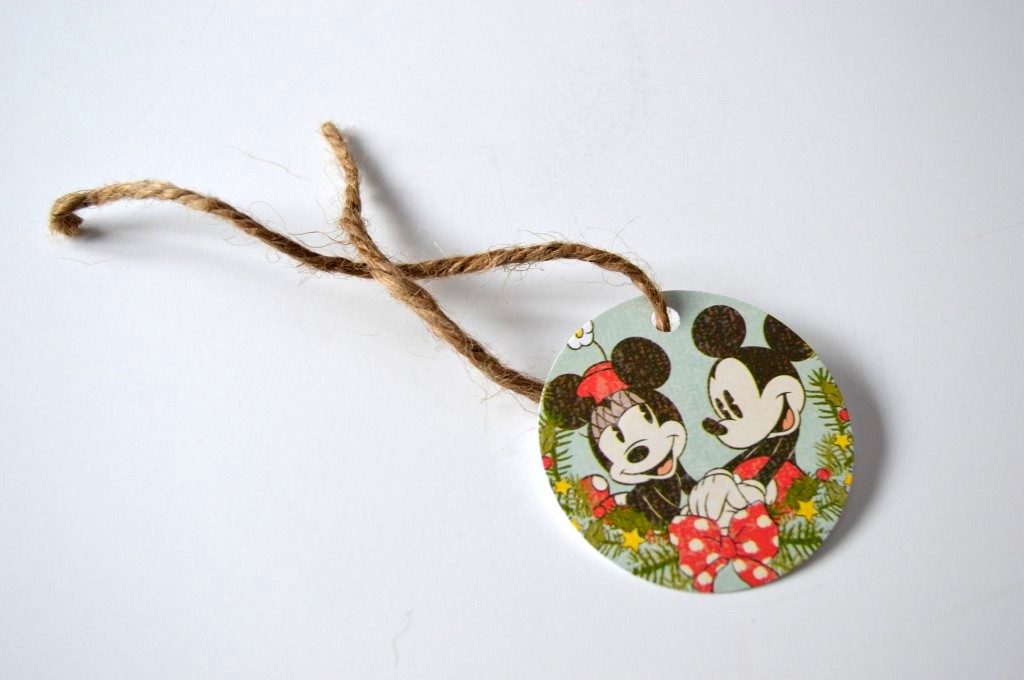
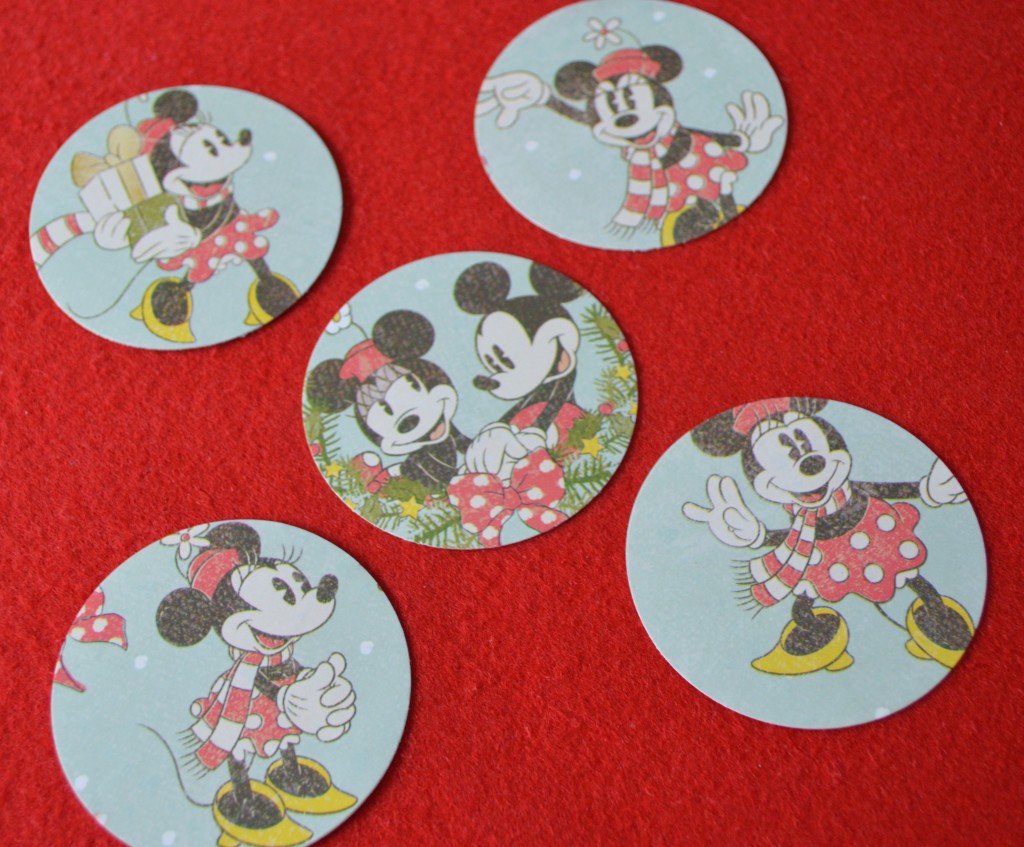
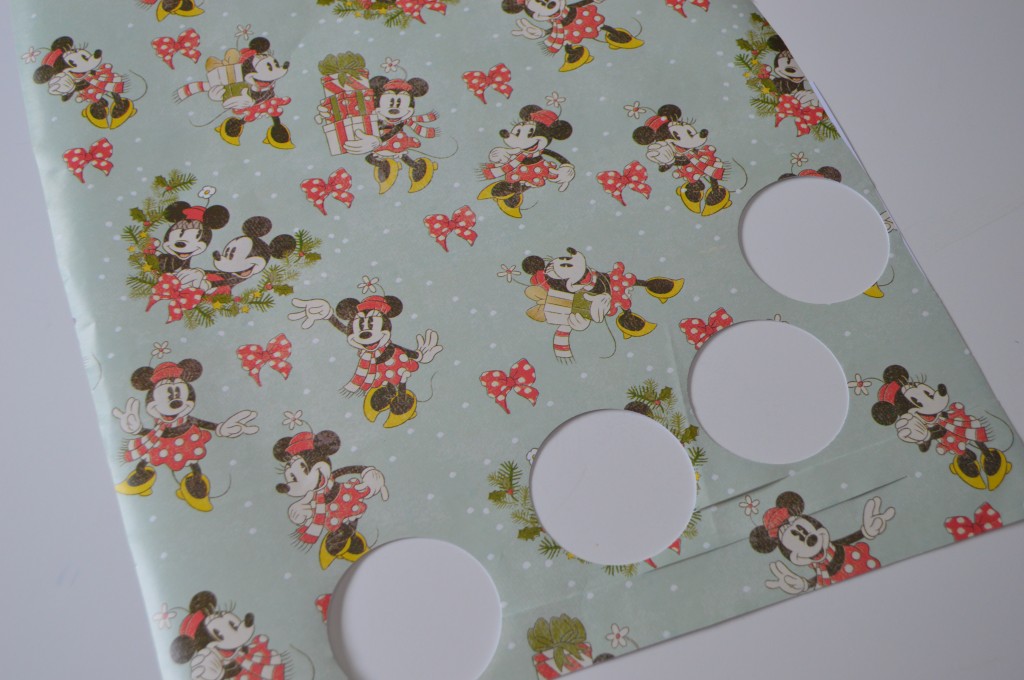
To make your own gift tags out of wrapping paper all you need is a glue stick, card stock, standard hole puncher and a 2″ circle craft punch.
- Cut an 8.5″ x 11″ piece of your favorite wrapping paper.
- Using a glue stick, glue the wrapping paper onto card stock.
- To insure that you’re tags display the image that you’d like
- Hole punch the top of your tag to string your ribbon through.
- Address the back of your gift tag and you’re done!
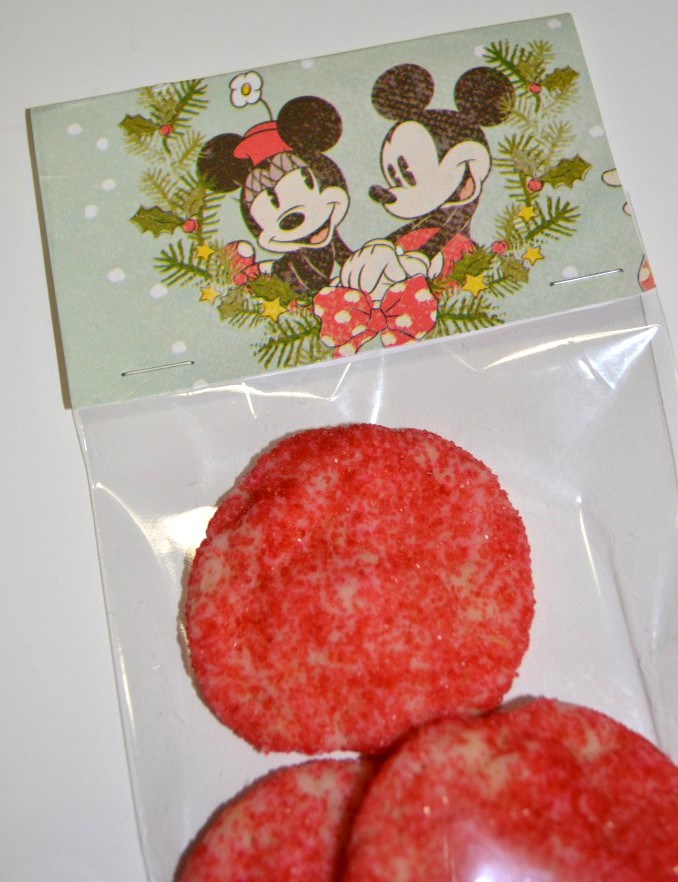
It’s super easy to make your own Disney bag topper too!
-
Grab your favorite Disney wrapping paper again.
-
Use your glue stick to attach the paper to card stock.
-
Cut the card stock to fit the width of the bag.
-
Fold the sized card stock in half to create the front and back of the topper.
-
Staple the bottom of the topper to the plastic bag once on each side. It’s that simple!
Don’t you think Minnie Mouse makes these pink sugar cookies look even sweeter?
More great ideas Amy, love them! I am thinking your little treat bags would be great for a birthday party to!
Suz
Thank you Suz! They’re so easy to make- find your favorite Disney wrapping paper and your set for cute goody bag toppers! Thanks for stopping by Maple Mouse Mama 🙂