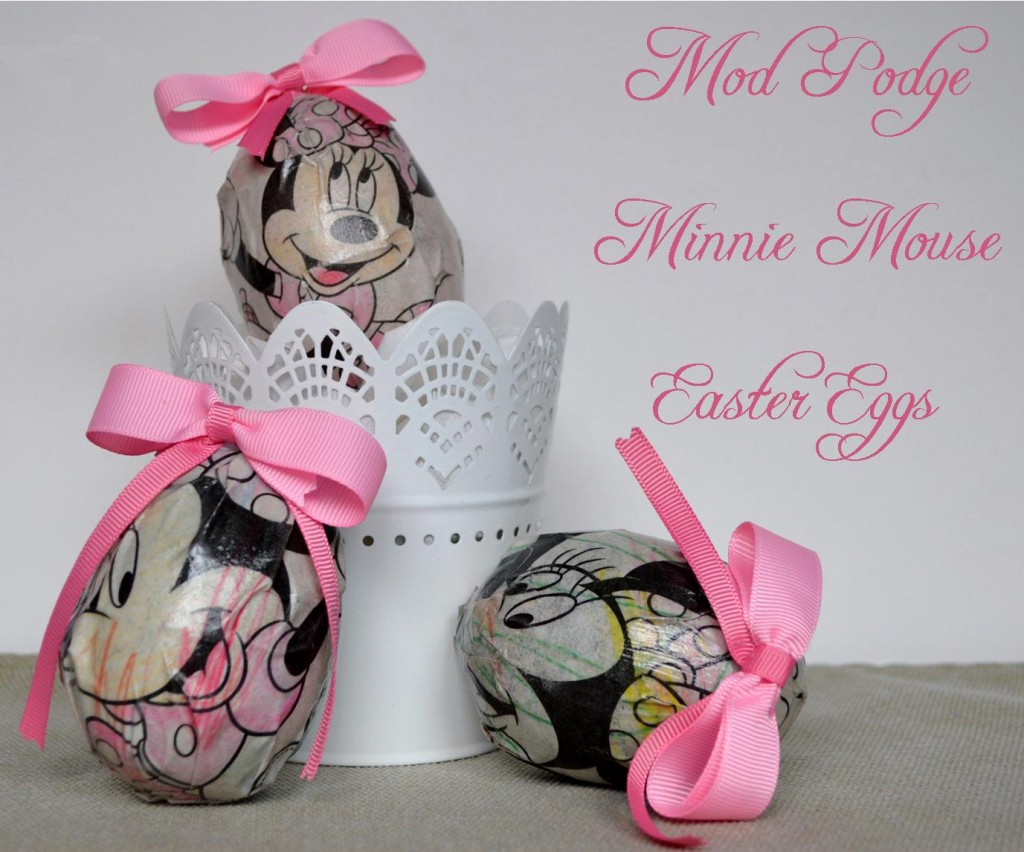
 To some they’re just scribbles…to others they are works of art.
I love to see my children creating. I encourage any little creative spark I see within them at that very second I notice them reaching for a crayon. I try my best to display and not throw away any of their artwork, but coloring sheets can be overwhelming. Victoria, my two-year old, can go through three sheets in a sitting. I have to admit that not all of them have made it to the refrigerator display. Today I decided to channel her love of coloring into creating cute little Easter gifts for members of our family that I know will appreciate them as “Works of Fine Art”! Here’s how we made them…
Victoria and I began by getting out her Mickey Mouse Clubhouse coloring book. She picked her favorite coloring sheets of Minnie Mouse and got straight to work. If you’d like to try this too, any coloring book will do.
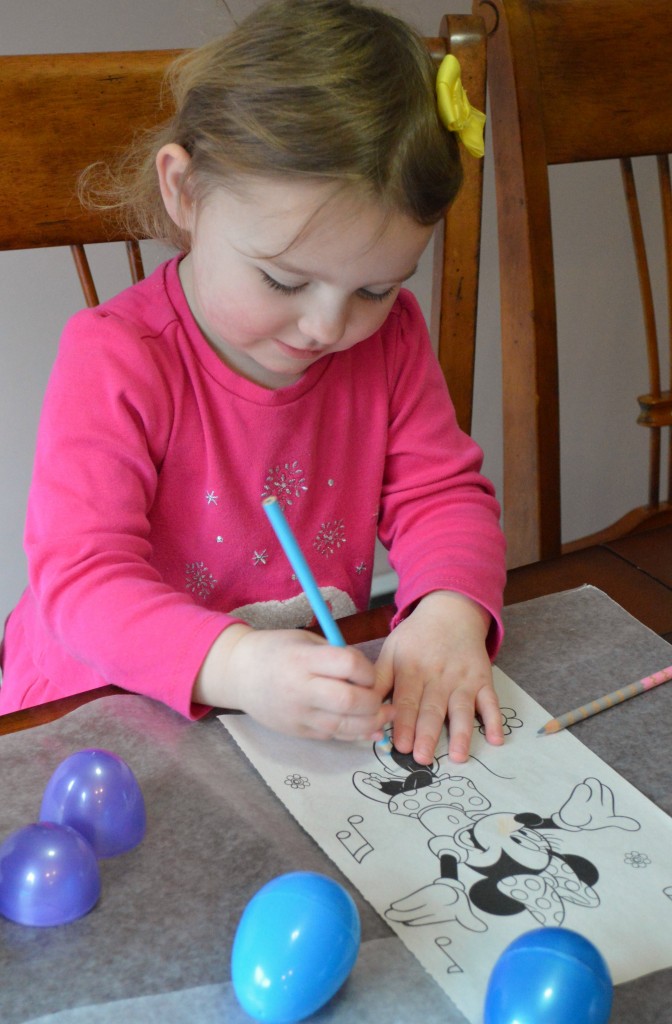
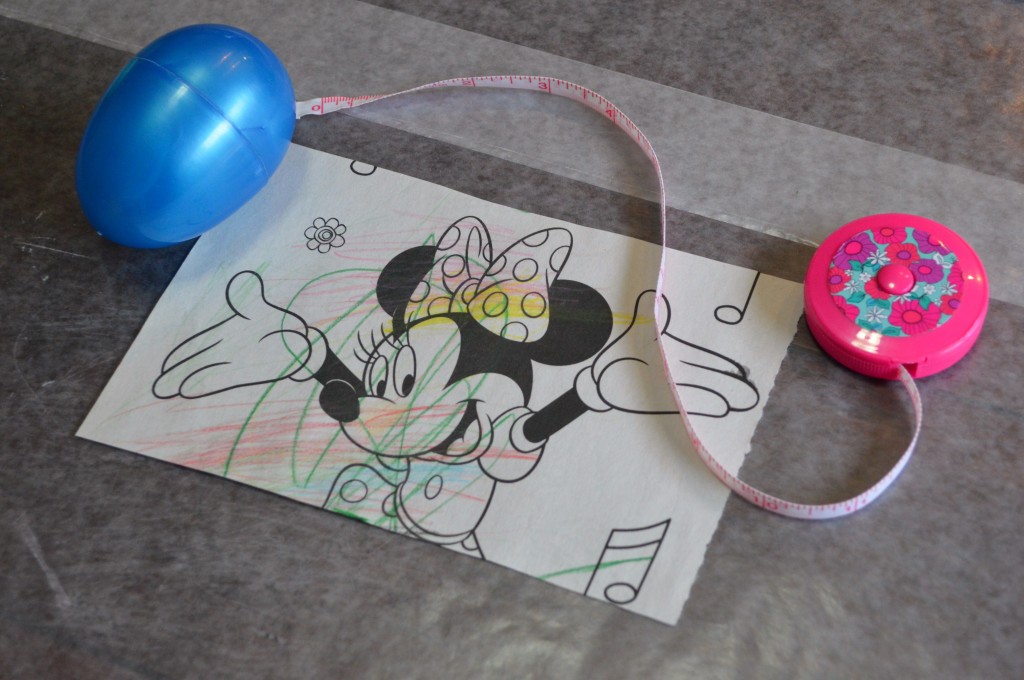
Once she finished coloring her sheet, I cut the paper down to 4.5 inches from top to bottom and kept the width at its original size. We used extra-large eggs for this project so the eggs used the entire width of the paper.
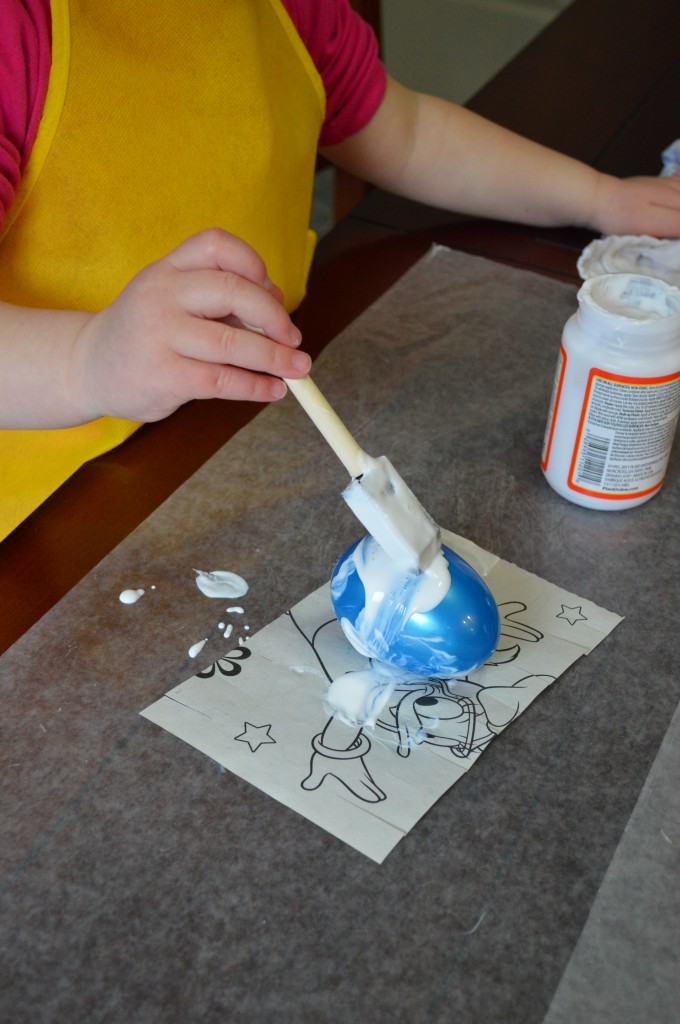
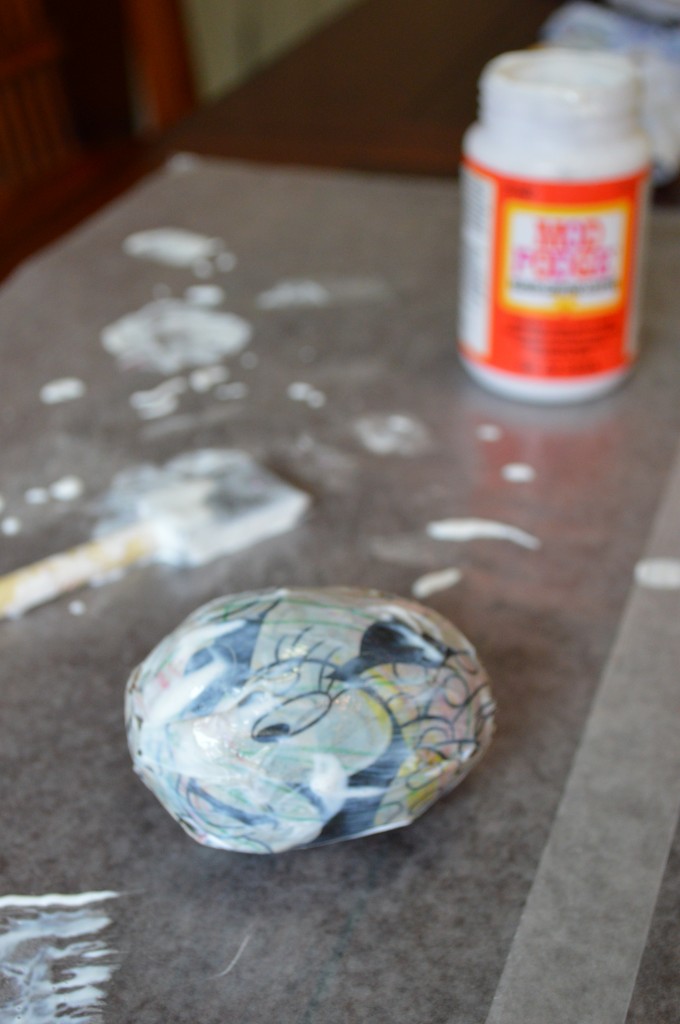
 Before we used the Mod Podge, I cut slits into the top and bottom of the sheet. This allowed the egg to be covered a tiny bit easier. Then the messiness began, aka Mod Podge. Victoria took this step very seriously. Finally the yuck factor became too overwhelming for her and she announced “Mommy, you do, I watch” for the remaining egg.
And that’s it! After the eggs were dried, I hot glued a little pink bow on to each.
 I hope that you enjoyed reading about our Easter Egg craft. This craft was perfect for my little two-year old, Minnie Mouse fan, but I think it would be a great project for older elementary education kids too! The ideas for Mod Podge on plastic eggs is endless!
I hope you enjoy your weekend and it’s full of creative fun!
 To some they’re just scribbles…to others they are works of art.
 Before we used the Mod Podge, I cut slits into the top and bottom of the sheet. This allowed the egg to be covered a tiny bit easier. Then the messiness began, aka Mod Podge. Victoria took this step very seriously. Finally the yuck factor became too overwhelming for her and she announced “Mommy, you do, I watch” for the remaining egg.
 I hope that you enjoyed reading about our Easter Egg craft. This craft was perfect for my little two-year old, Minnie Mouse fan, but I think it would be a great project for older elementary education kids too! The ideas for Mod Podge on plastic eggs is endless!
Love this Easter craft! I can see it becoming a fun Easter tradition!
Thanks Deb! It would be great to see the difference in Victoria’s coloring skills from year to year 🙂 Thanks for stopping by the blog today!
What a neat craft! I love this!
Thanks Kim and thank you for sharing it too! 🙂
These are so adorable! Love them and I can see my little guy having fun with it. He loves to colour as well and I think my family would better appreciate them in this form 🙂
Thank you Suz! If you get the chance to make them, I’d love to see a photo of your son’s personalized eggs! Thanks for stopping by today and I hope you’re doing well!
What a fabulous idea! I could see making an Easter tree with eggs throughout the years! Love it!
Beth, I love your “throughout the years” Easter tree idea! This craft is so easy, inexpensive and captures a moment in time perfectly. I’m going to try to do this every year~ using them on a tree would be perfect! Thanks for idea and for stopping by the blog today!
So cute! I have a 2 year old also and I think he would be grossed out by the glue too. But my 7 year old would love something like this and she would be able to do it all by herself. Thanks for sharing!
Lisa, I hope you have the opportunity to make an egg with your daughter. It’s a quick project too! Thanks for visiting the blog today!
What a great idea! We have so many coloring books laying around that I think this is calling our name! Thanks for sharing!
Thanks Lin, other than the drying time, it’s really a quick craft and talk about inexpensive 🙂 Thanks for visiting the blog tonight!
These are great and so creative! I am going to try this with my kids!
I’m glad you’re going to make some with your little Mouseketeers! They’re a quick activity, excluding the drying time. Have fun!
Such a great idea!!! These will certainly make our egg hunt Easter morning a little more exciting!
Thanks Lynn 🙂 I hope you enjoy making them with your children. Thanks for stopping by the blog today!
They are so cute, Love this craft!!
Thank you Diane and thanks for visiting the blog!