“Be Our Guest” at my daughter’s Princess Belle themed birthday party!
My daughter’s Princess Belle themed birthday party was this past Saturday. I’m thrilled to say she had a wonderful time AND it didn’t rain! Talk about a success! I can’t wait to share the details of her special day with you. Over the next week, you can look forward to posts where I’ll share the Beauty and Beast themed food, desserts, decor, activities and party favors. Of course I have to throw in a tutorial post or two, so today I’ll begin the party by sharing with you a quick tutorial on the welcome sign that our guests saw as they arrived.
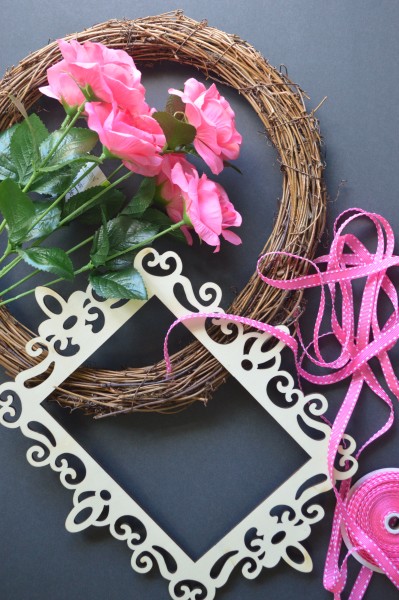
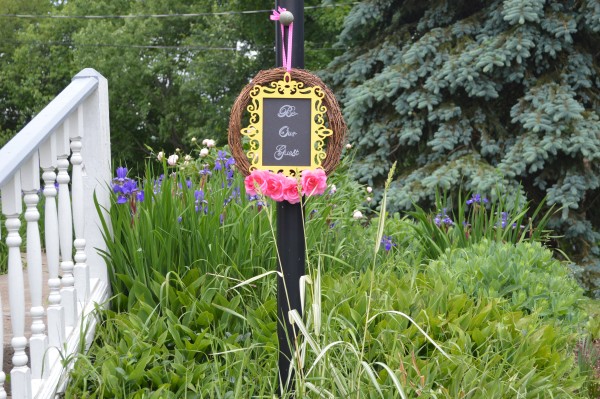
Chalkboard signage has been hot for the last few years and I’ve been looking for just the right opportunity to make one. Since Be Our Guest is an iconic phrase sang in the film, “Beauty and the Beast”, I felt that Be Our Guest worked as a perfect greeting message for our arriving guests. I decided to marry the partnership of a welcome sign with the phrase by utilizing a chalk board inside of a wreath. However, I wanted to complete it inexpensively and quickly. I gathered the following dollar store and craft store items and went to work.
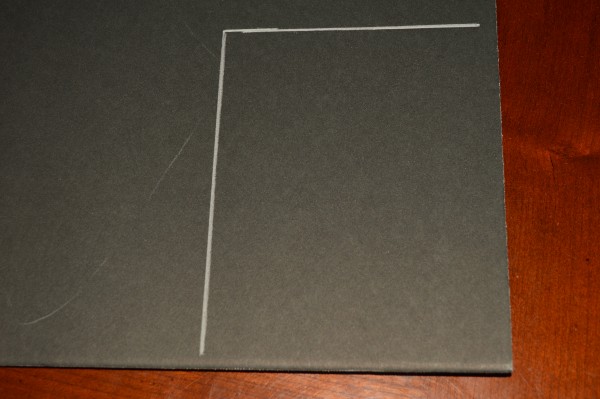
The key to this project is the black foam-core board that the items are laying on in the photo above.
I found the black foam-core board at our local Dollar Tree store! Black foam core looks exactly like a chalk board and chalk presents well on it too. I chose to use foam-core because it was a simple solution to get the project done quickly. It’s important to know that you can’t put any amount of water on foam-core and expect it to wipe completely clean without destroying the surface. I used a dry tissue to wipe off some minor mistakes, but it didn’t return to the crisp clean state that I started out with. Lesson to be learned: Make sure you know what you’re going to write before you start!
 Here’s an overview of how I completed the wreath.
The frame, purchased from Michael’s craft store as a double set for around $2 (with a coupon) was painted yellow and allowed it to dry. While drying I hot glued on the dollar store pink rose buds on to the Target store grapevine wreath (found in their dollar bins) and measured the opening in my frame. I cut a piece of the foam core just a few centimeters larger than the opening and hot glued it to the back of the painted wooden frame. That’s it!
Next the lettering!
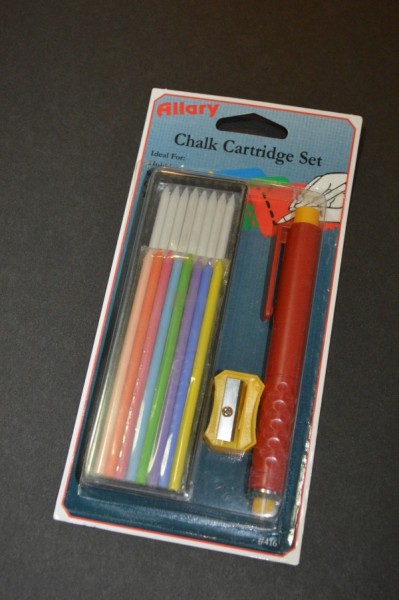
Writing on black foam core was incredibly easy and the chalk that I used made the writing very clean. You can use an average piece of chalk, but I decided to purchase the Allary set that is pictured above. The set was a bit pricey at $8.99 (Amazon), so my $5 calculation for the wreath price does not include the chalk. However, I absolutely love the set and can’t wait to use the other colors!
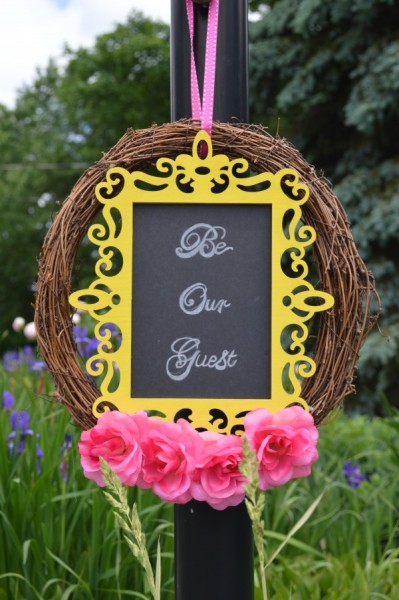
Here’s the finished piece as it greeted guests on Saturday.
I hope you’ll be MY Guest this week as I share more Beauty and the Beast themed details of my daughter’s special day.
Up next, the dining room proudly presents- you’re dinner…or in our case lunch!
I think I’ve read all your posts about the Belle party- amazing! you did an outstanding job! I love this wreath. I can see making something similar to be used over and over- with a “real” chalkboard inside! 🙂
Thank you Beth! If I have the time, I may some day change it out. It was good in a pinch and super inexpensive using dollar store foam core. I can use this board over again, but it won’t have a crisp look to it since it can’t be washed. Thanks for reading about Victoria’s Belle party and for stopping by the blog!