Year: 2014

Toddler Approved Nap Time Locations at the Parks

Nap time in the Rose GardenDoesn’t she look adorable?  You should have seen her five minutes earlier!

Some children can fall asleep anywhere.  It isn’t uncommon to walk around the Walt Disney World Resort and see children slowly and sweetly falling fast asleep in their strollers, on their dad’s shoulders or in their mom’s arms.  And then you witness the 3 o’clock meltdowns.  These are usually performed by those precious children who are full of energy and curiosity, refusing to give in to sleep.  My husband and I have been vacationing with our two children since they were infants.  Our kids are the angels that refused to simply fall asleep without a fight.  We’ve learned that leaving the park for nap time is the best option for a fun day without meltdowns.  However there are times when that isn’t an option.  Over the past year we’ve vacationed with our toddler at W.D.W. three times , and I think have found the best “fall asleep” spots inside of the parks.

Today over at The Disney Moms blog I’m sharing my daughter’s proven perfect nap time locations within Walt Disney World’s four theme parks.

If you’d like to read them, I’d love for you to hop on over to the blog!  Here’s the link to take you straight to the article.   http://thedisneymoms.com/2014/02/13/nap-time-at-the-parks/
 

The Act of Disney Topiary

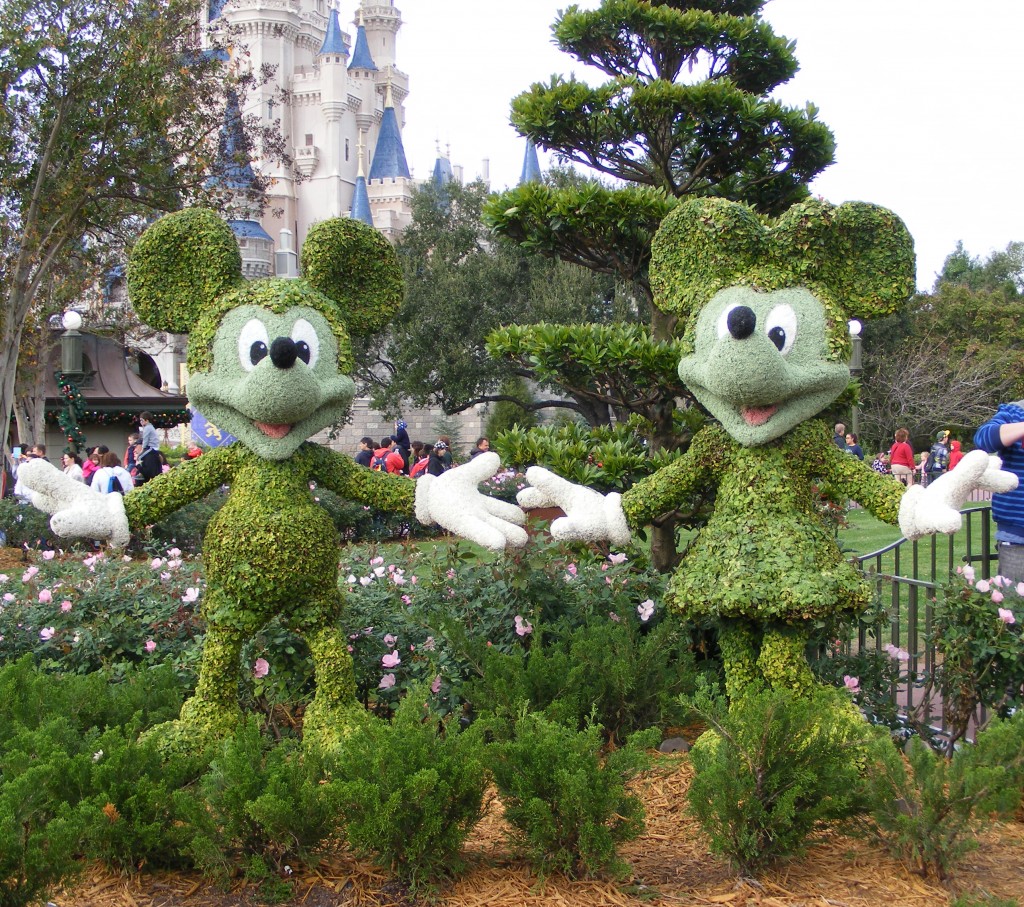
Mickey and Minnie Mouse TopiaryWouldn’t it be great to have a Disney topiary in your home’s landscaping?
I’ve always admired Disney’s beautiful topiaries found throughout the Walt Disney World Resort. These living sculptures bring the grounds to life.  They’re part of what makes a vacation at Disney feel magical.

The weather this winter season in Pennsylvania, as with most of The United States, has been horrible.  This week is continuing in the same pattern as the rest of the winter.  On Wednesday school was cancelled, so the kids and I decided to bring a bit of Disney magic into our dining room.  We started our own Mickey Mouse topiary.

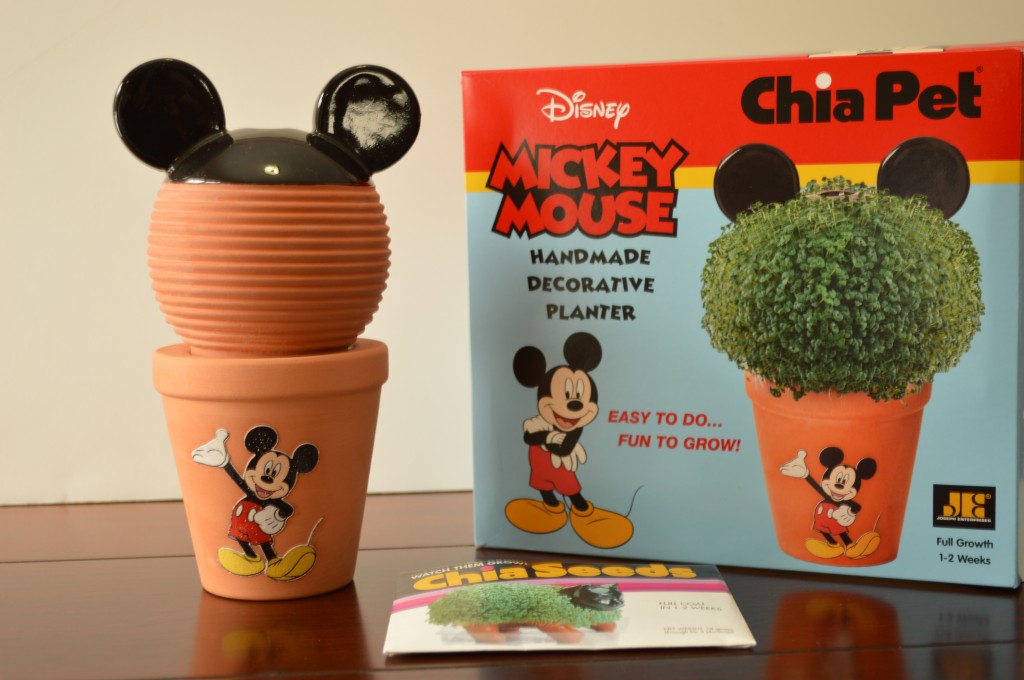
Mickey Mouse Chia Pet Kit

Gavin received this Chia Pet kit for Christmas from his grandparents.  If you’re wondering where to buy one, my mom purchased Gavin’s kit at our local CVS store.  We thought this day would be a perfect day to try our hands at a bit of horticulture.  I’ve never tried to grow a Chia Pet and wondered how well they’d work.  If you like to see the process, check out our photos.

Blog February 020

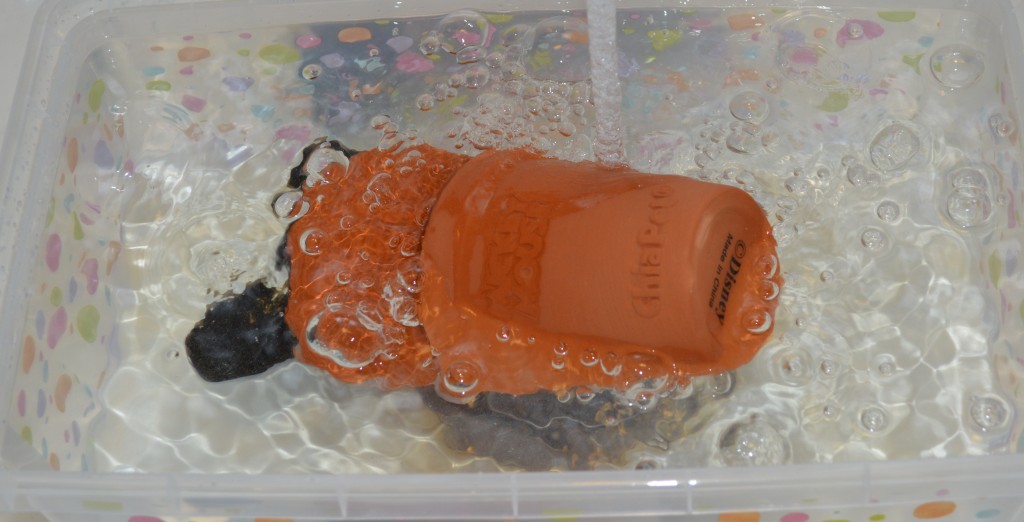
First we submerged the Chia Pet in a tub of water for an hour.  The entire “pet” wouldn’t stay under the water.  I’m assuming that’s how it was supposed to be, but the directions didn’t tell us that.

Blog February 028

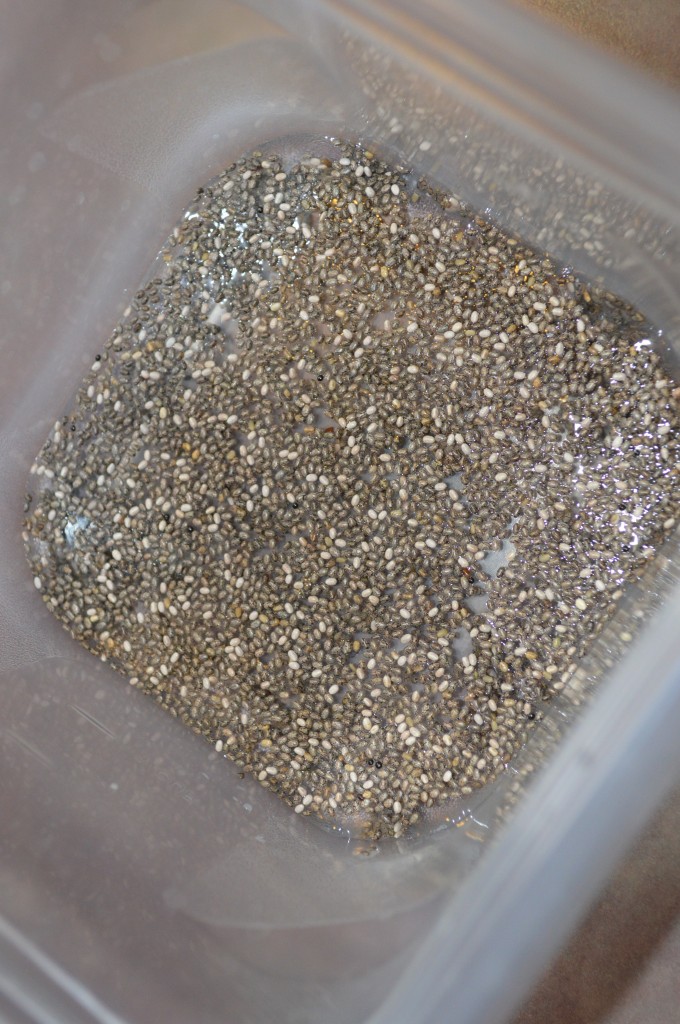
While the planter was soaking, you mix 2 teaspoons of the seeds with 1/4 cup of water.  They sit for an hour also.  Eventually the consistency of the mixture will be a watery gel.

Mickey Chia Pet

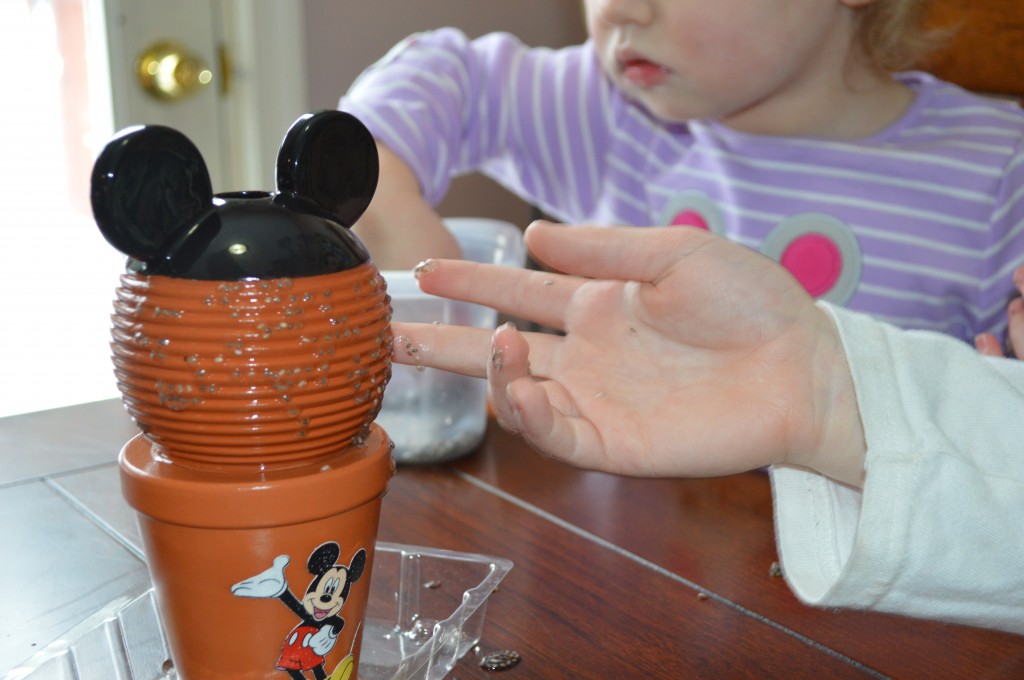
After the hour ended, we filled up our Chia pet planter with water, placed it in the plastic tray that was included in the kit and then the kids got to work.  They loved it!  What a mess we had making our topiary!

Blog February 051

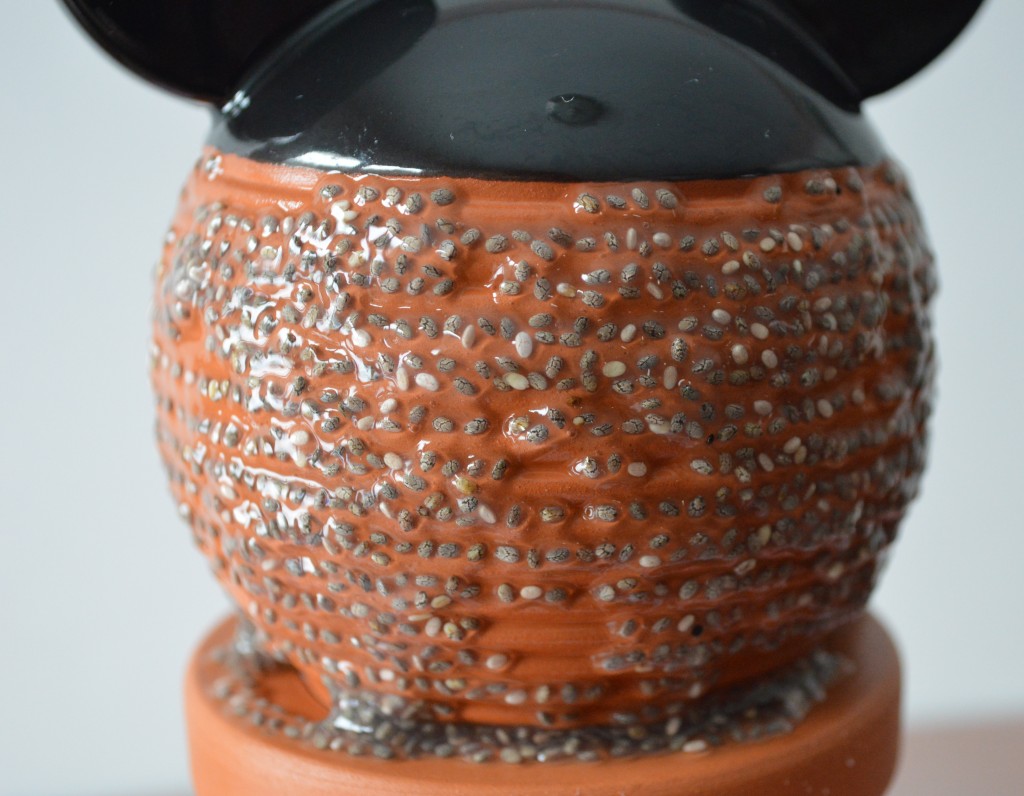
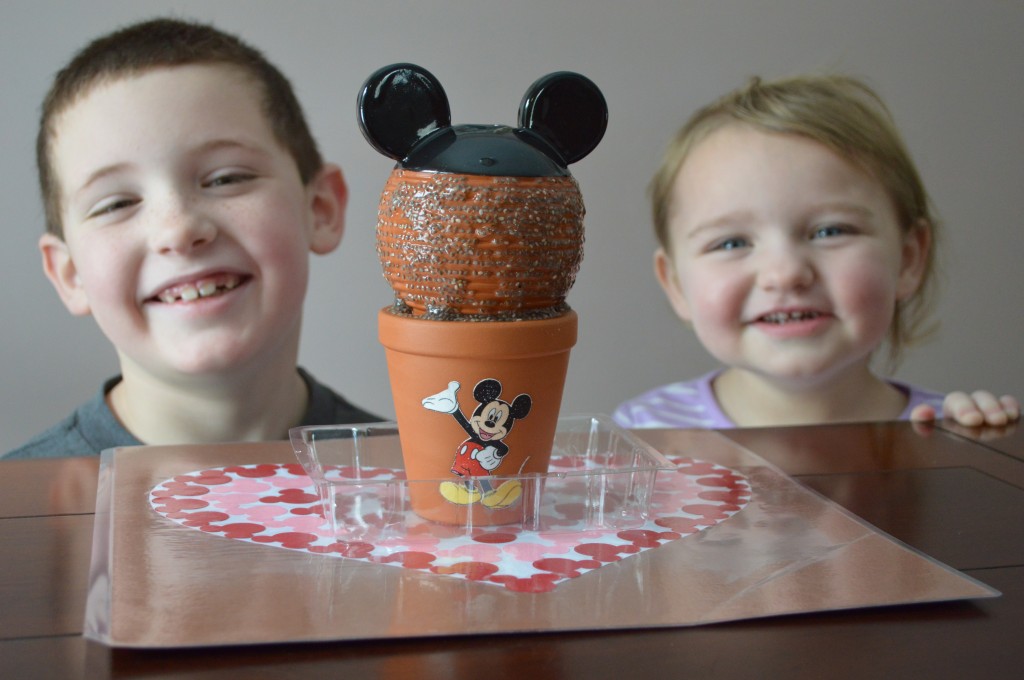
Here’s a close up look at the finished piece.  Now we have to water him and HOPEFULLY we’ll have our very own Mickey Mouse topiary in our dining room!  The paperwork says that within three days it should begin to grow.  I promise to give you all an update next week.

Chia Pet Mickey with the kids

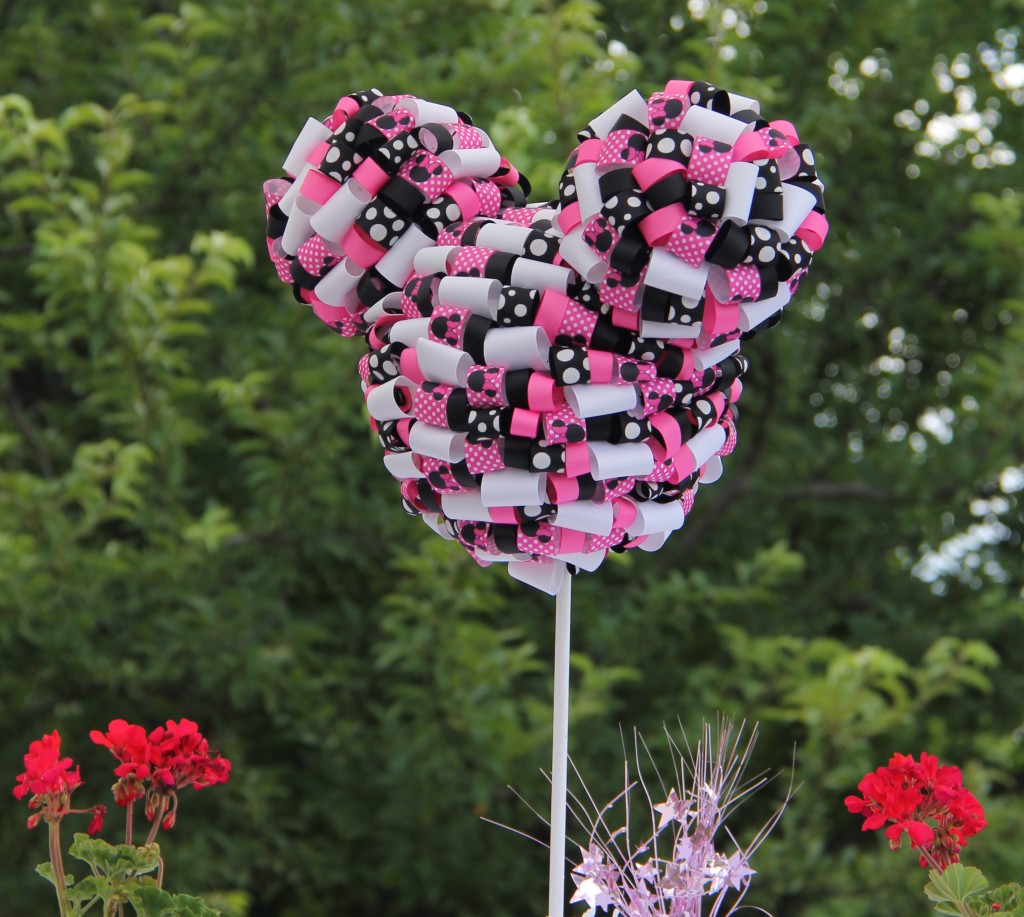
This was our first attempt to make a living sculpture of our pal.  However, for my daughter and nephew’s Mickey and Minnie themed birthday party, my sister-in-law and I decided to make a Mickey-Inspired and Minnie-Inspired ribbon topiary for the guests’ tables.  If you’d like to stick to crafting and want to leave the seeds to someone with a green thumb, below the photo you’ll find a link to the post where you can see the steps to make this ribbon topiary.

Minnie Mouse Topiary

http://www.mouseearsmom.com/2013/08/01/mickey-mouse-topiary/

I hope you have a magical day!

YAY! It’s a Magical Memories Giveaway!

giveaway

I’m thrilled to be partnering with Diclajia’s Disney Dreams (http://diclajiasdisneydreams.com/) and other Disney-Lovin’ bloggers to offer this fantastic giveaway.

Here are the Prize Details!

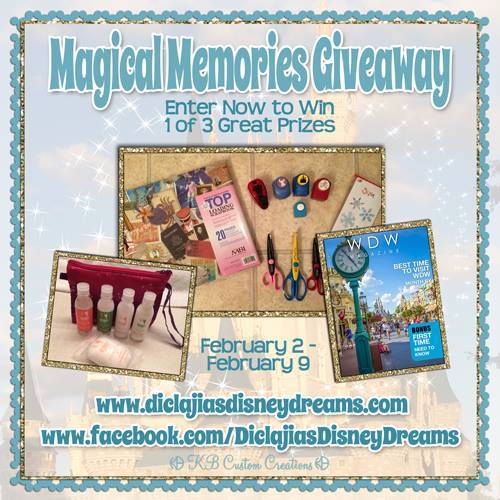
First Place Prize is a Scrapbooking Set that includes a 20 page, Acid Free, Post Bound Scrapbook; 3 crimping  scissors; 5 Disney Paper punches with (Mickey, Tigger, Cinderella Castle, Stitch and Mickey Silhouette); Sizzix Snow Flake Dies (inspired by the new movie Frozen); New Mickey and Minnie Duct Tape and ribbons.

Second Place Prize is a 1 year WDW Magazine Digital subscription.

Third Place Prize is a Tinkerbell H2O Travel size bath set from Walt Disney World that includes (Shampoo, Conditioner, Shower Gel, Lotion and Facial Soap) all in a travel pouch.

Why am I so excited?

My favorite Mickey paper craft punch is part of the first prize!  And to think that a Tigger Punch, Cindy’s Castle, Stitch and a Mickey Silhouette is also included, WOW!  If you’ve followed my blog then you know all about my obsession with the Mickey craft punch.  If you haven’t, then here’s a sampling on what you can make with that simple little craft punch.

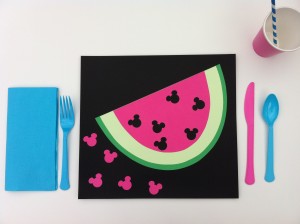
placemat 028

http://www.mouseearsmom.com/2014/01/30/easy-mickey-mouse-inspired-valentines-day-craft/

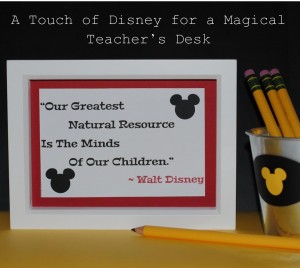
teachers desk

http://www.mouseearsmom.com/2013/08/14/teachers-simple-gift-idea-free-printable/

Mouse Ears Mom 012

http://www.mouseearsmom.com/2013/07/15/mickey-mouse-printable-summer-craft/

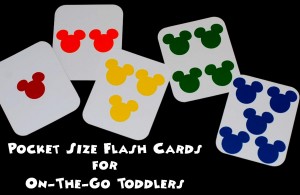
pocket sized flash cards

http://www.mouseearsmom.com/2013/08/16/mickey-mouse-pocket-size-flashcards-for-toddlers/

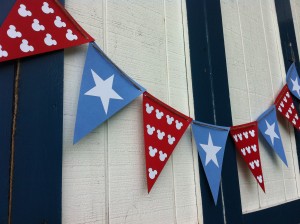
Mickey Americana

http://www.mouseearsmom.com/2013/06/29/mickey-americana-pennant/

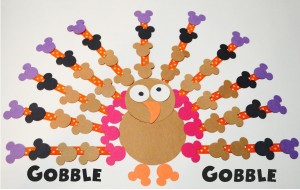
Turkey Day Art Project

http://www.mouseearsmom.com/2013/11/11/mickey-mouse-turkey-paper-craft/

Yes, I love that craft punch!  I know you will too.  To enter to win the craft punch and a ton of other fun prizes, use the Rafflecopter giveaway link at the end of this post.  If you’re unfamiliar with Rafflecopter, feel free to contact me with any questions.

The contest ends on Sunday, February 9th, so hurry to enter now! 

The following paragraph is courtesy of  http://diclajiasdisneydreams.com/magical-memories-giveaway/ : 

“All entries are mandatory and will be confirmed, they must be submitted by 11:59PM on February 9th and the winners will then be notified on Monday February 10th 2014 where they will have 12 hours to respond or another winner will be chosen. Giveaway is open to everyone in the US and Canada, however the 2nd place prize is open to everyone Worldwide.”

Good Luck!

a Rafflecopter giveaway

Mouse Ears Mom’s Tour of The Villa’s at Disney’s Grand Floridian Resort & Spa

Disney 2014 055 Have you seen Disney Vacation Club’s newest addition?
My family is full of devoted Disney Vacation Club members.  My parents became members in 2001, while I worked for Disney Vacation Club.  My husband and I were next to purchase points, soon to be followed by both of my brothers and their families.  There has never been a DVC point among us that has had a chance to expire.  When we reach the midpoint day of each vacation, we start planning our next trip to Walt Disney World.

Each family has their favorite DVC resort, my husband and I, along with our monorail-loving kids, refer to Bay Lake Tower at Disney’s Contemporary Resort as home.  The resort offers everything we could dream of needing or wanting in a resort.  So to say the least, when I curiously walked up to the new villas at “The Grand”, I didn’t expect to be overly impressed.  My heart already belonged to BLT.  Knowing that The Villas at the Grand were essentially part of “The Grand” Resort, I did anticipate they would be nice.  However,  The Villas were nothing short of phenomenal!  That’s all I can say.  I’m not an interior designer.  I know little about building materials, fabrics, and hardware, so I’m not even going to try to “Review” the resort.  Instead, I’ll share with you the photos that I took while touring the Studio, One Bedroom and Two Bedroom Villas.  Unfortunately I didn’t have my good camera with me and it was in the evening, so I apologize for the quality of the images.

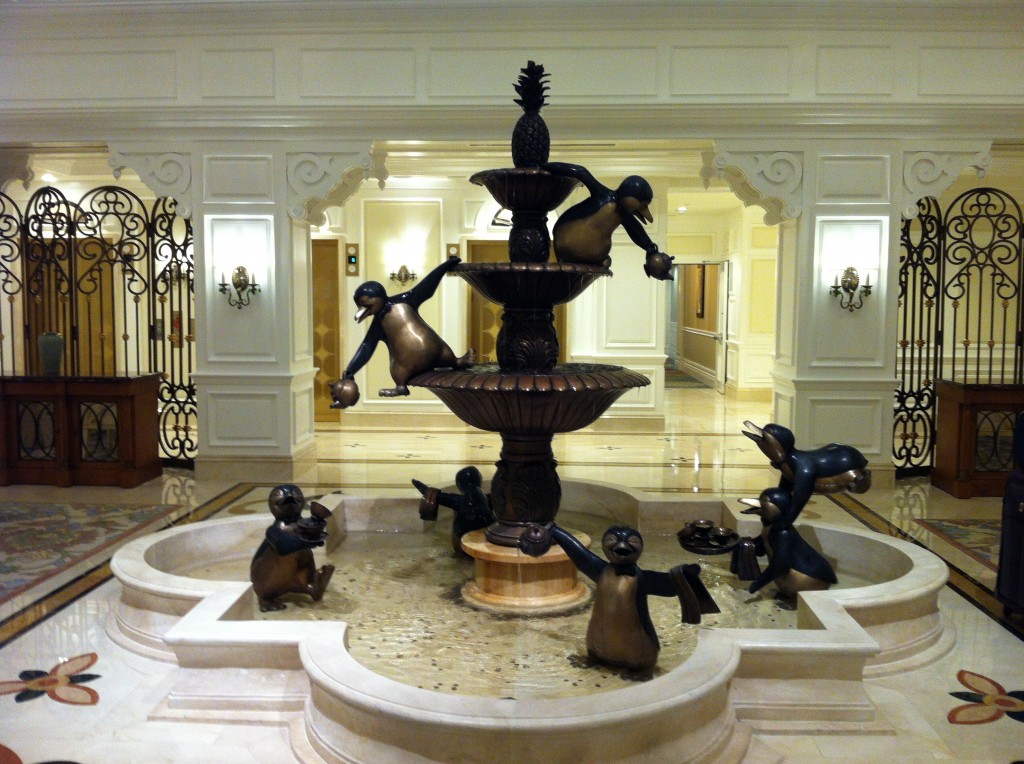
Lobby Fountain  The Disney décor touches were themed primarily Mary Poppins.  This Mary Poppin’s Penguins fountain is located in the heart of the lobby.
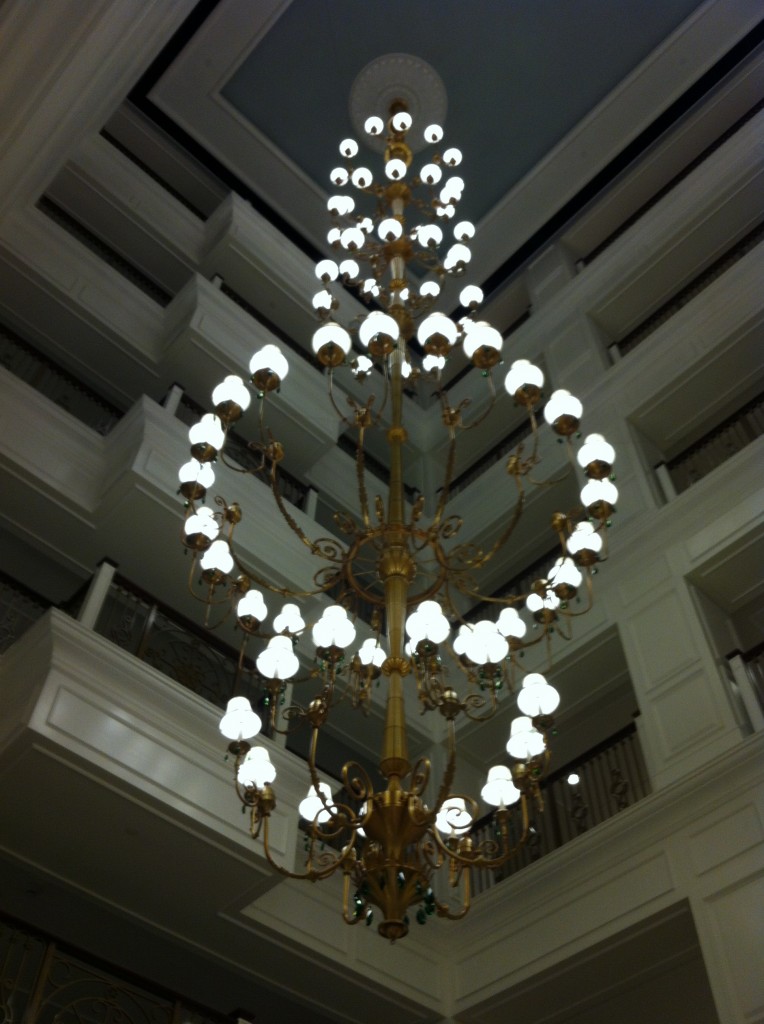
Disney 2014 061In the center of the lobby, located directly above the fountain, there are two of these enormous chandeliers.
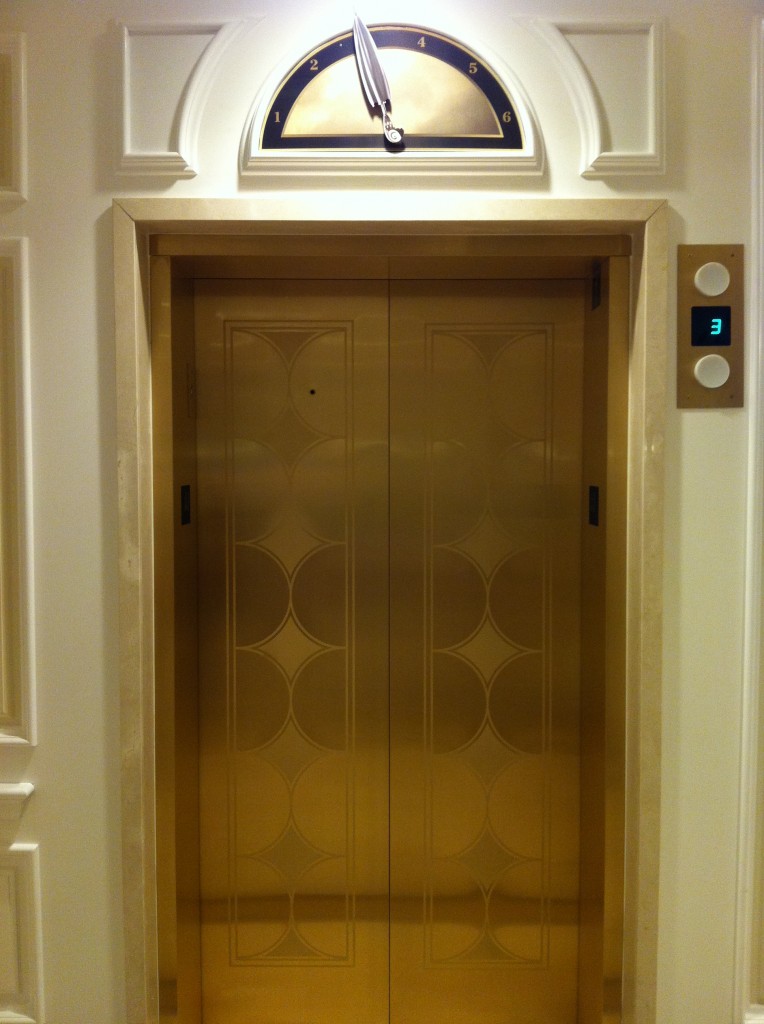
Disney 2014 059Above each of the glimmering gold elevators, you can find Miss Poppin’s Parrot Umbrella ready to help you fly to your room’s floor.
Studio Villa Pictures

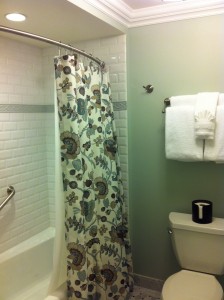
Disney 2014 072Disney 2014 071These photos are of the bathroom area located within a Studio location.  When facing the vanity, there is a free-standing shower at the right and at the left is the bathtub and toilet.  In the photo of the vanity area take note of the mirror.  You can see in the bottom right hand corner of the mirror there is a TV.  Talk about a great distraction to use when trying to get a toddler’s teeth brushed!

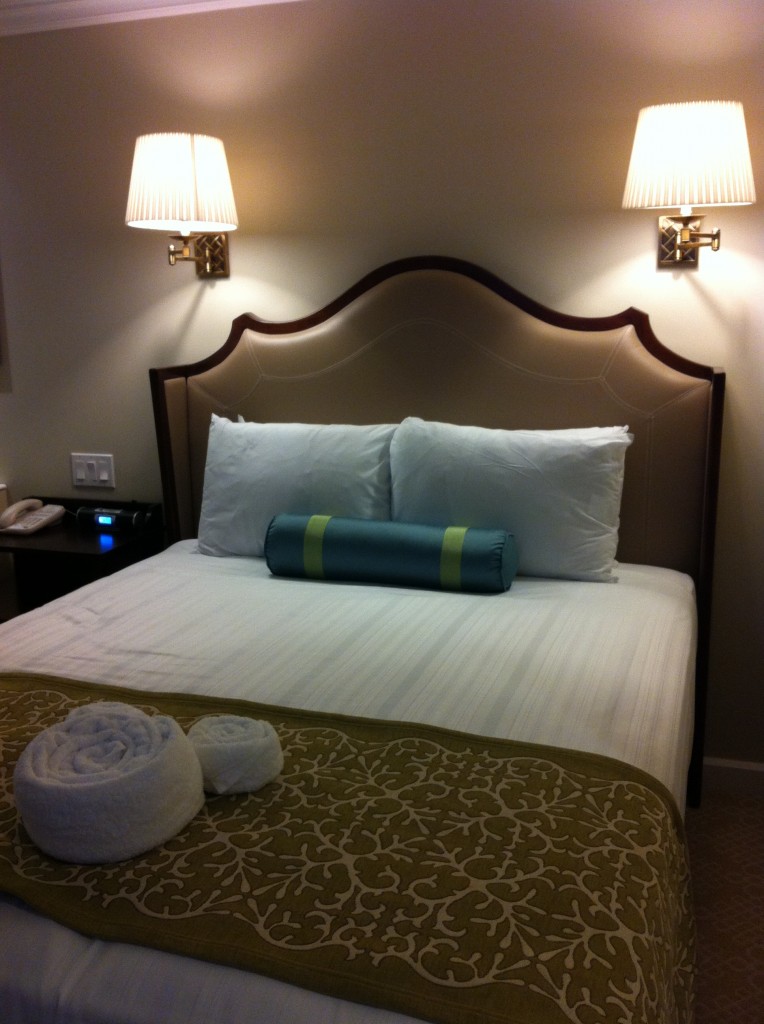
Disney 2014 067Queen-size bed located in the Studio Villa.
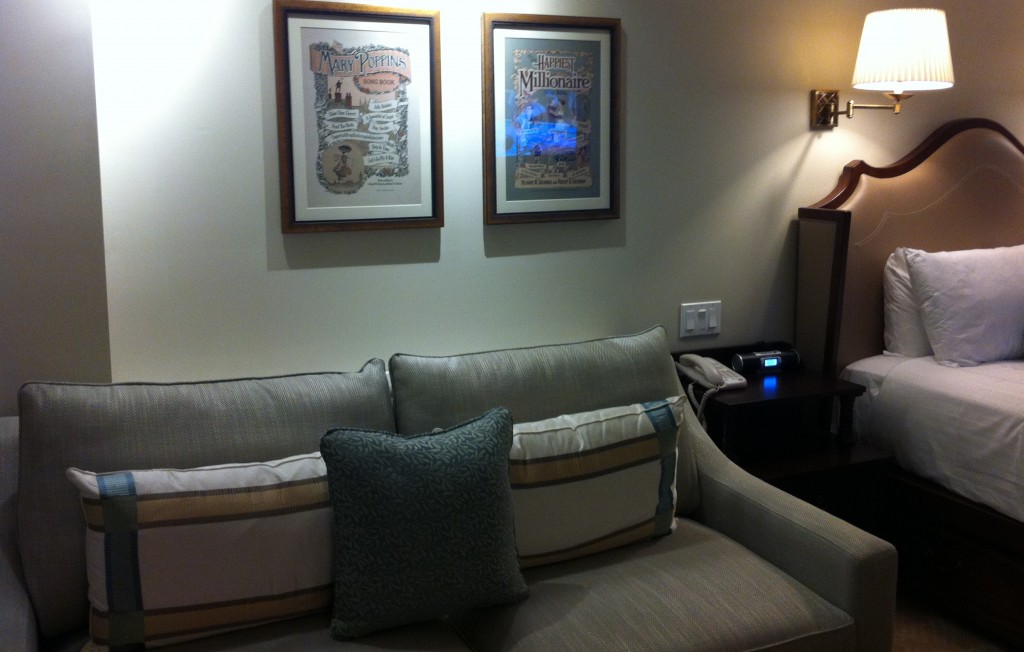
studio Above the queen-size sleeper sofa is Mary Poppin’s themed artwork.
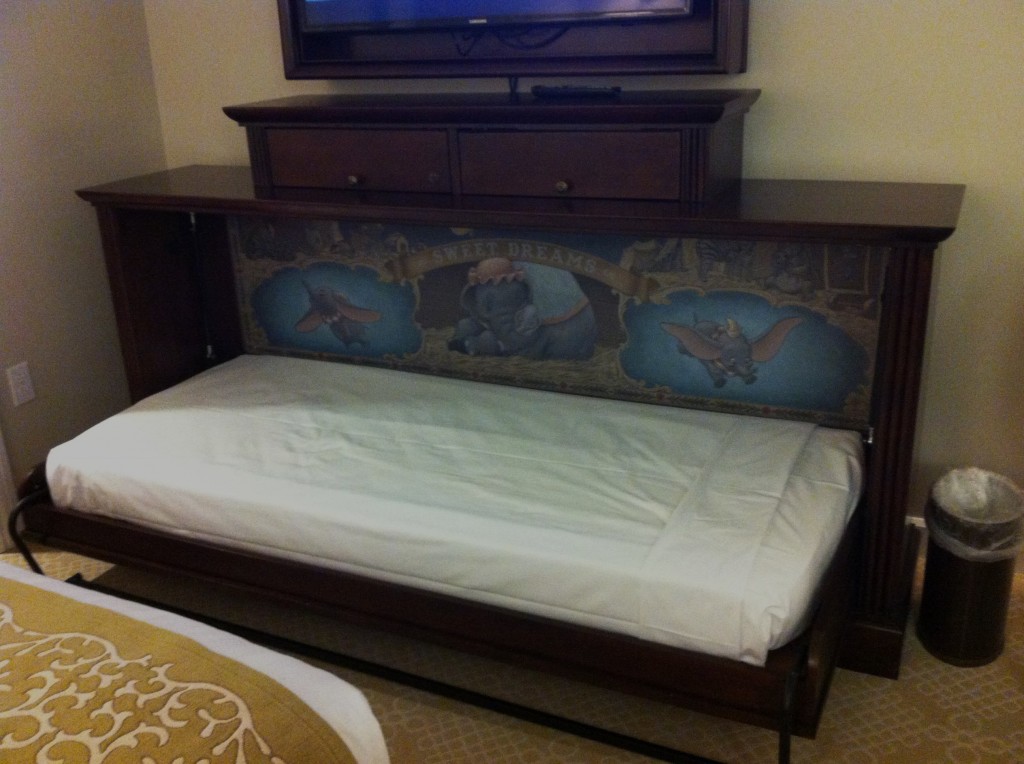
Disney 2014 066This Dumbo-themed twin-size sleeper is a great addition to the DVC studio format.  It allows for five people to sleep in the Studio Villa, instead of the traditional four people.
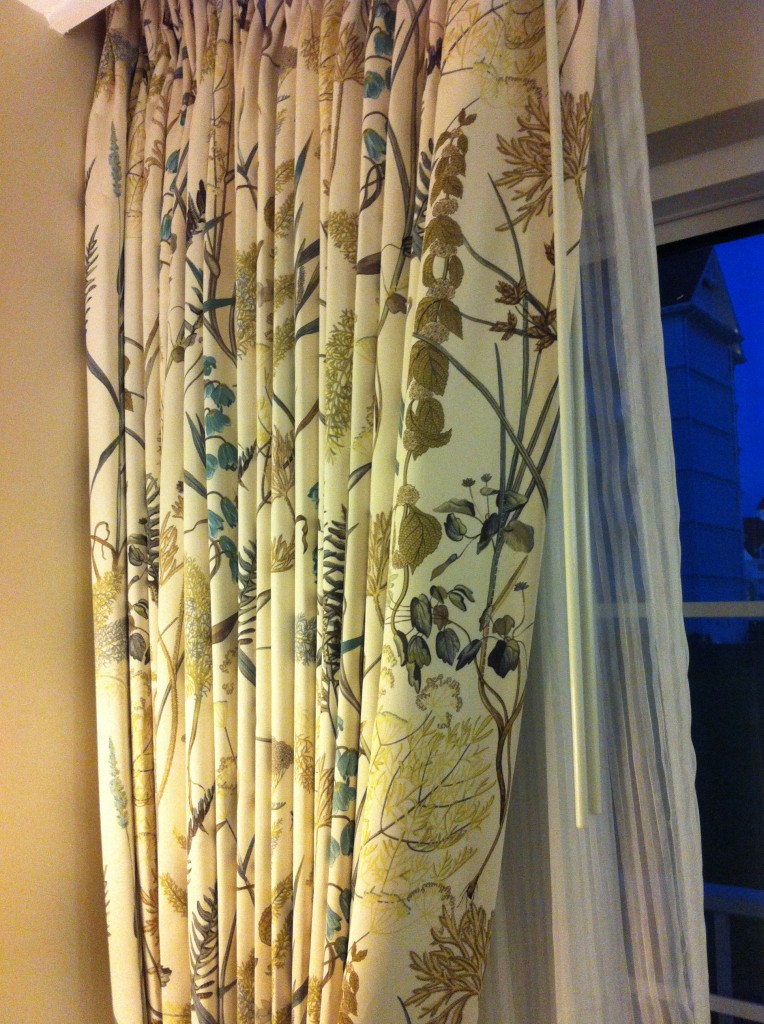
Disney 2014 068I fell in love with the understated color scheme of The Villas at the Grand.  Here is a close up of the material used within the Studio Villa.
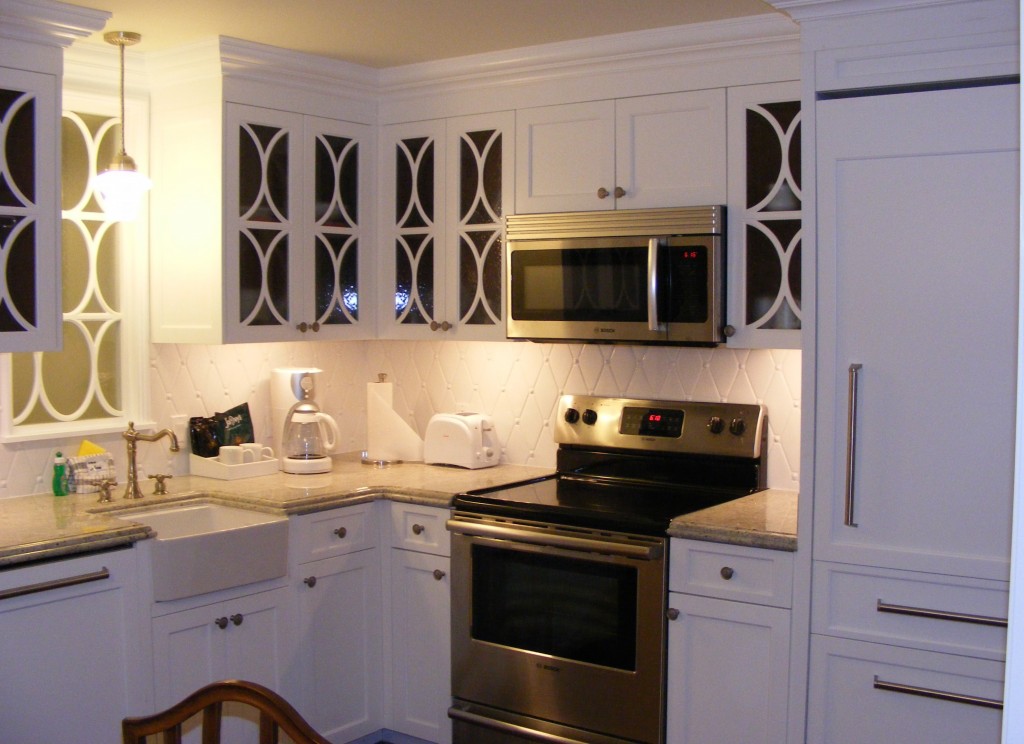
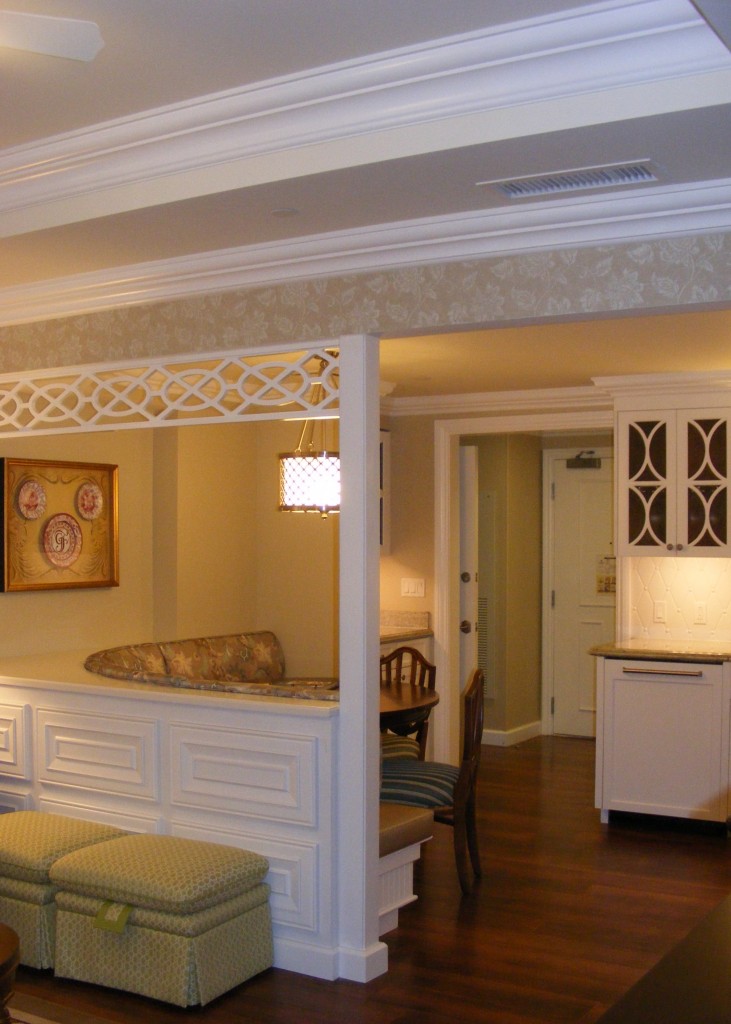
Here’s some photos of the One-Bedroom Villa.

The One-Bedroom also sleeps up to five people.

kitchen

Notice to the right of the stove is a large white cabinet.  This is actually the refrigerator.  To the left of the sink, in an other large white cabinet is the dishwasher.

gavin graduation and disney 2014 January 322

In this photo you can see the kitchen’s eat-in dining area.  The wall behind the nook is the division wall for the living area.

living room one bedroom

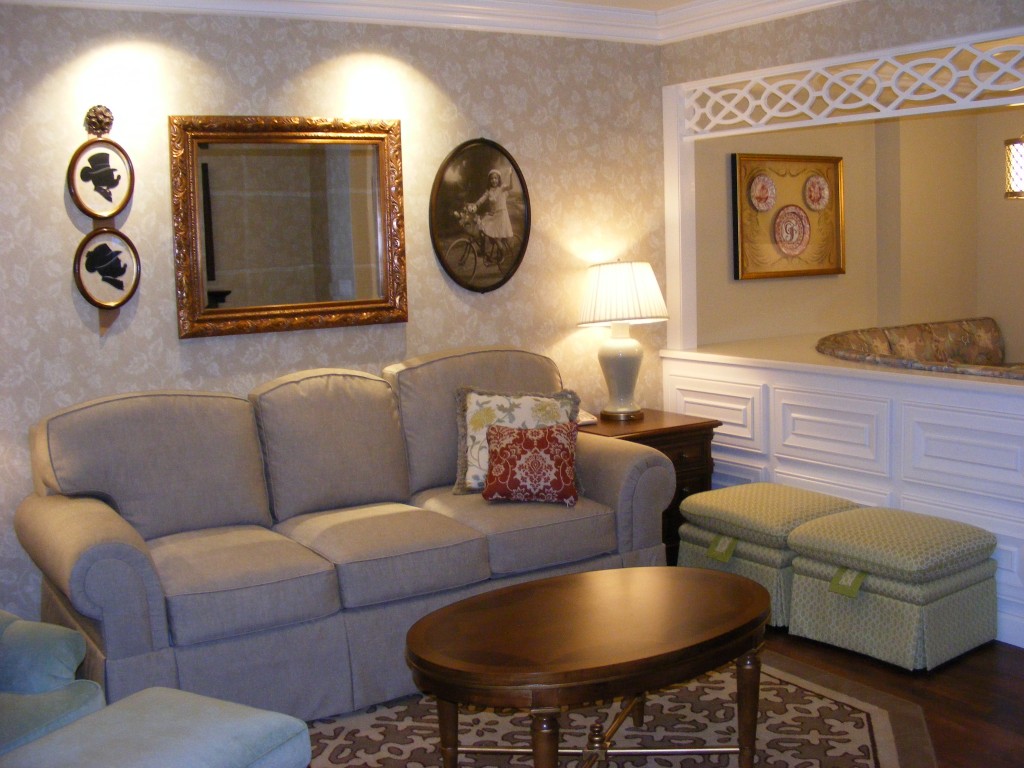
 Aren’t the Minnie and Mickey Mouse silhouettes on the wall adorable?  The couch is a queen-size sleeper sofa and the chair is a twin-size sleeper sofa.

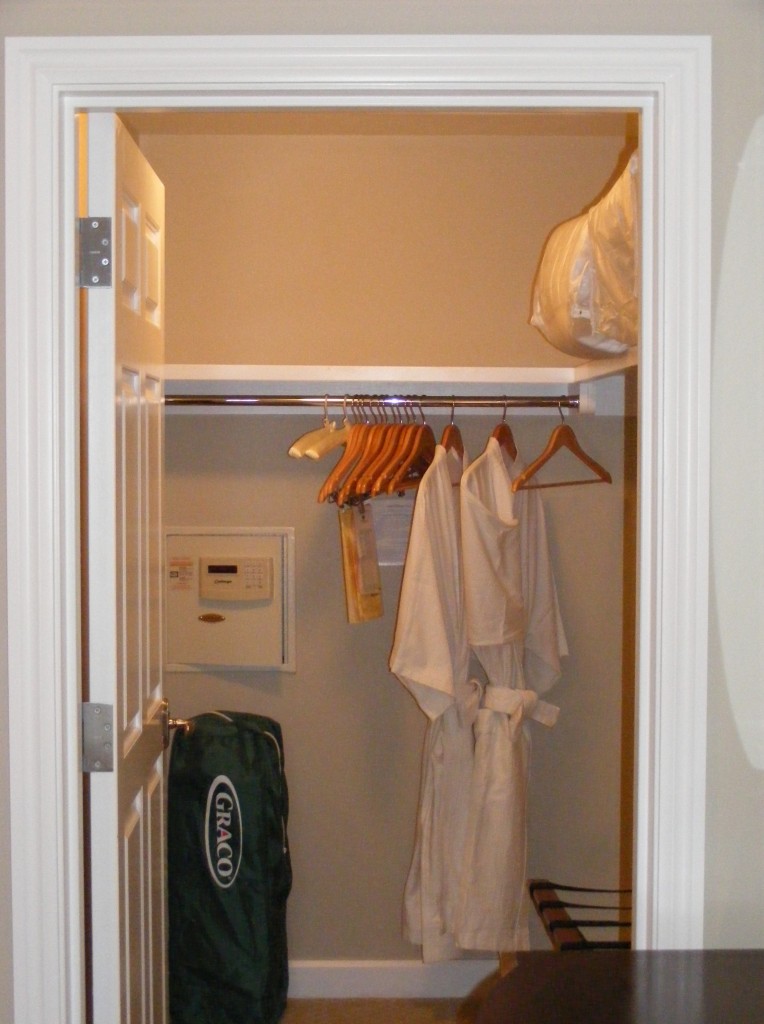
one bedroom master bedroom walk-in closetIn the master bedroom there is a walk-in closet, equip with a personal safe.  If you have an infant who needs a pack-n-play, this is where you’ll find it.
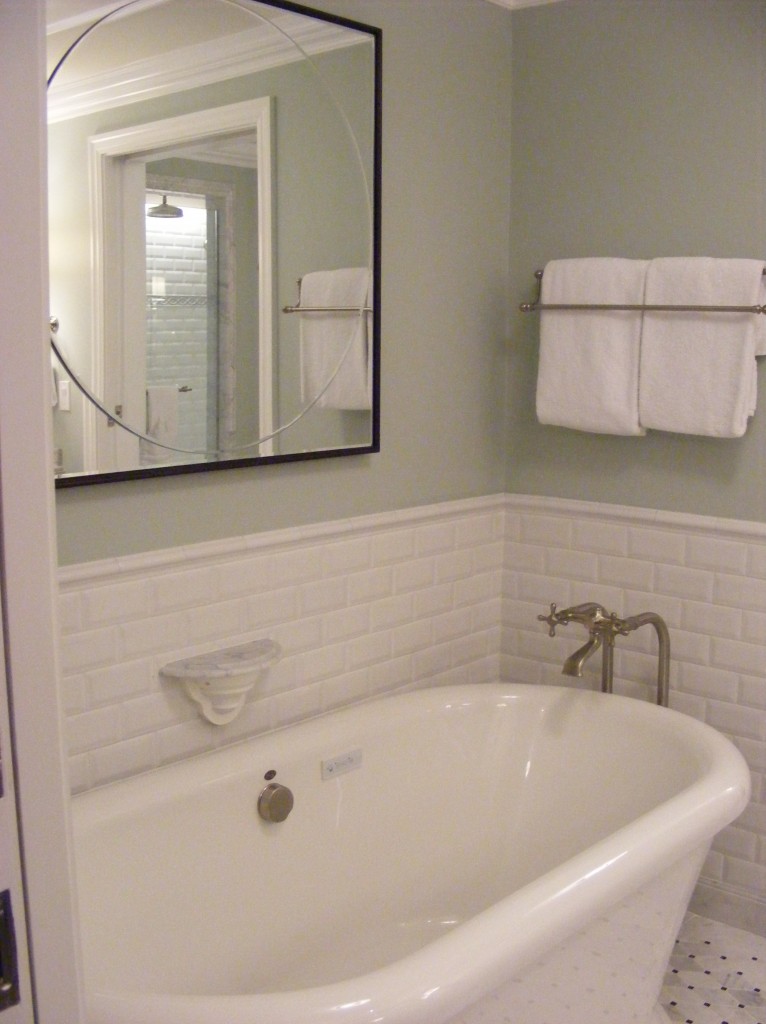
Master bath tubThis photo of the master bath tub does not do it justice.  The tub is a claw-foot tub.
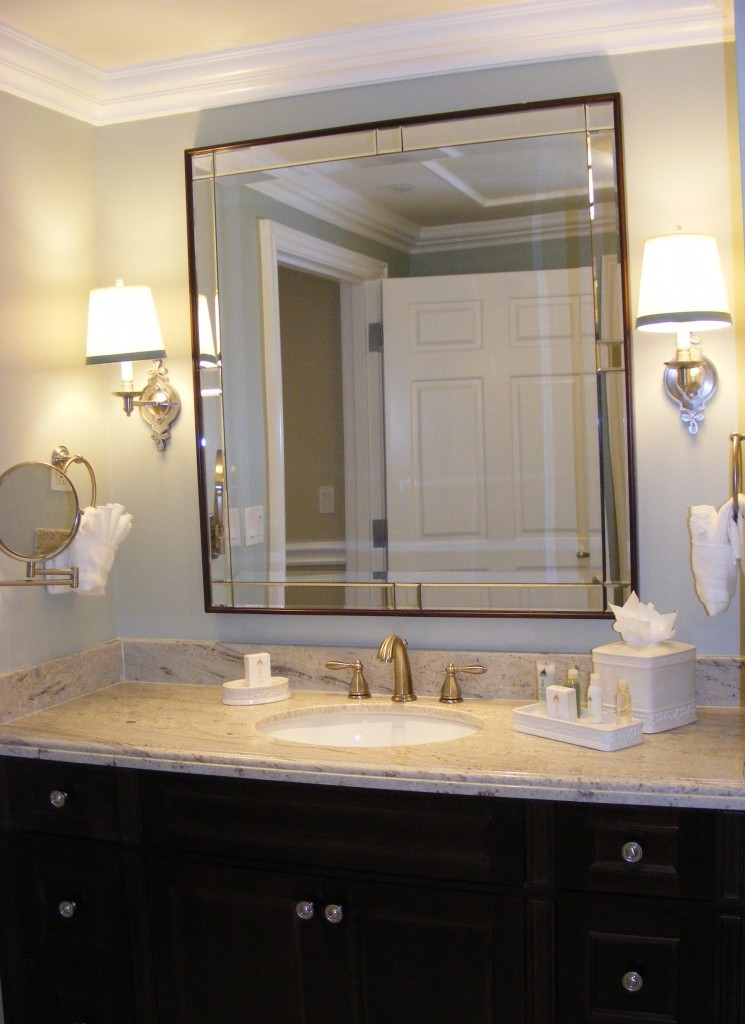
vanity in master bathThis vanity is in the Master Bathroom.

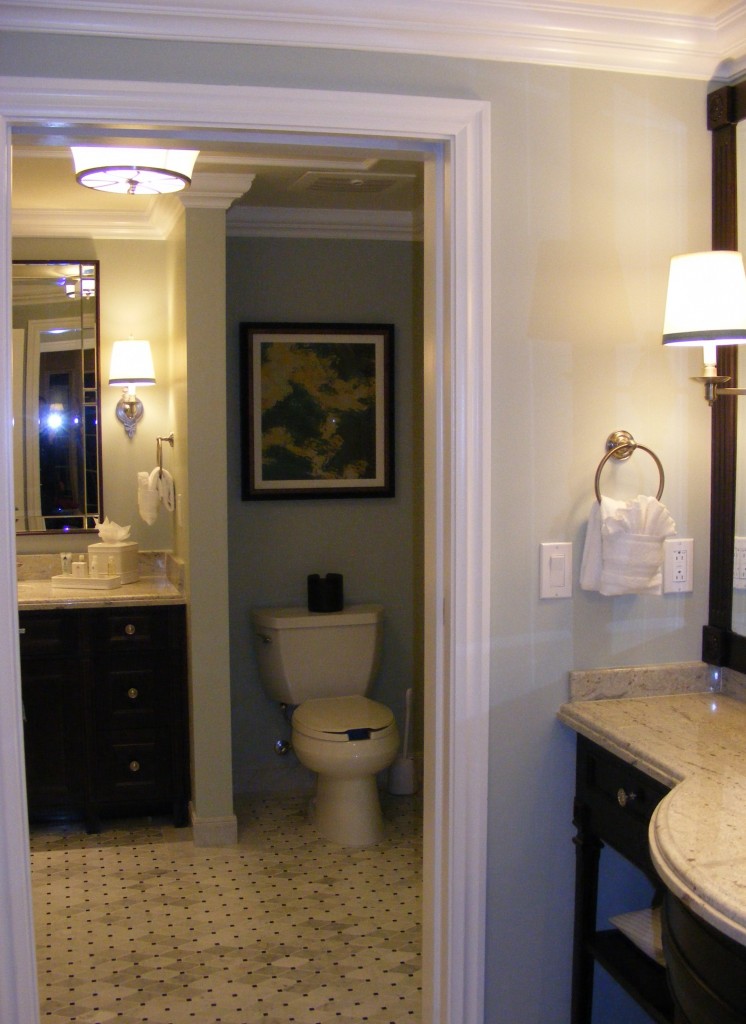
Toilet in the master bathroomAs you tell from this photo, the toilet area is separate from the bath tub and vanity.
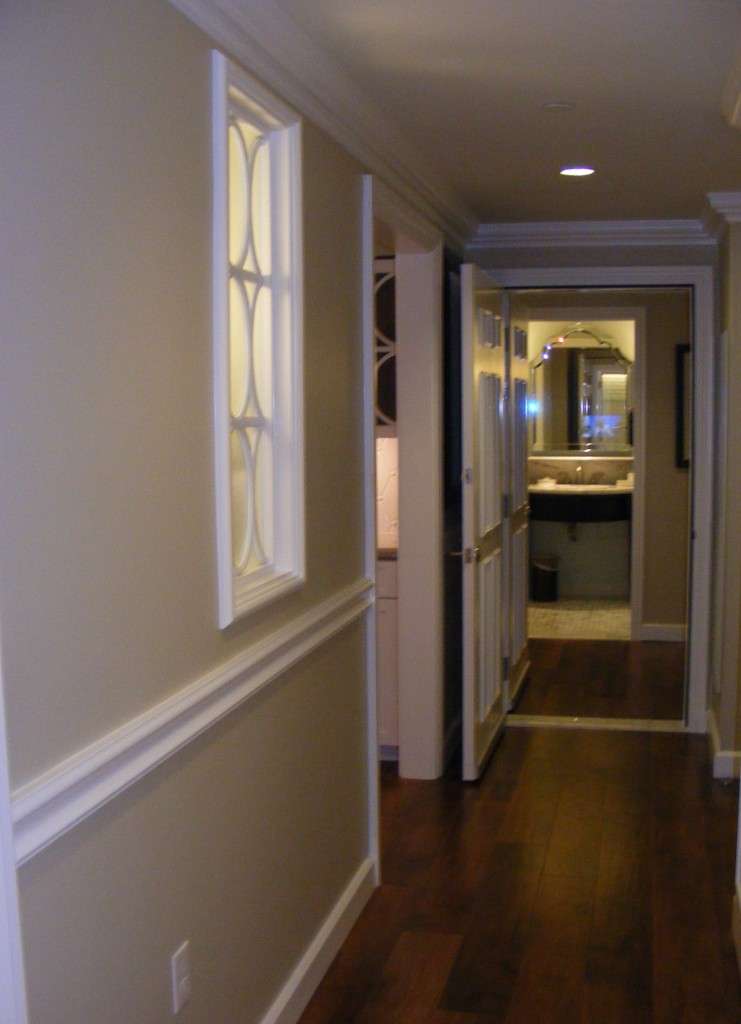
Hallway to the Studio (second bedroom)After existing the toilet area into the common area, you’ll find the hallway to take you back into the kitchen on the left or if you have booked a Two-Bedroom Villa, this hallway will lead you to the door you see opened.  When walking through that door you’re entering into a Studio room, which is considered the second bedroom in a Two-Bedroom Villa.
The Two-Bedroom Villa sleeps up to ten people.

What I haven’t shown you in these photos is my absolute favorite thing about this resort- the view!  Since I toured the villas in the evening I couldn’t get a good photo of the balcony attached to the rooms.  The view of the Magic Kingdom was, in fact, GRAND.  In all the times that I visited the parks and gazed at Cinderella’s Castle, I’ve never seen it so picturesque.  I wish I could have captured the view with my camera.  It is one that I won’t soon forget and I wish I could have shared it with you!

Regardless, I hope you enjoyed my little tour of The Villa’s at Disney’s Grand Floridian Resort & Spa.  If you’ve stayed there, I’d love to hear about your experience!  Please feel free to tell us about it in the comments below or connect with me on Facebook.

Thanks for stopping by the blog today and I hope you have a happy Sunday!

Easy Mickey Mouse-Inspired Valentine’s Day Craft

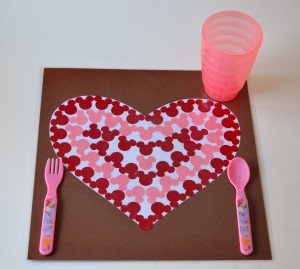
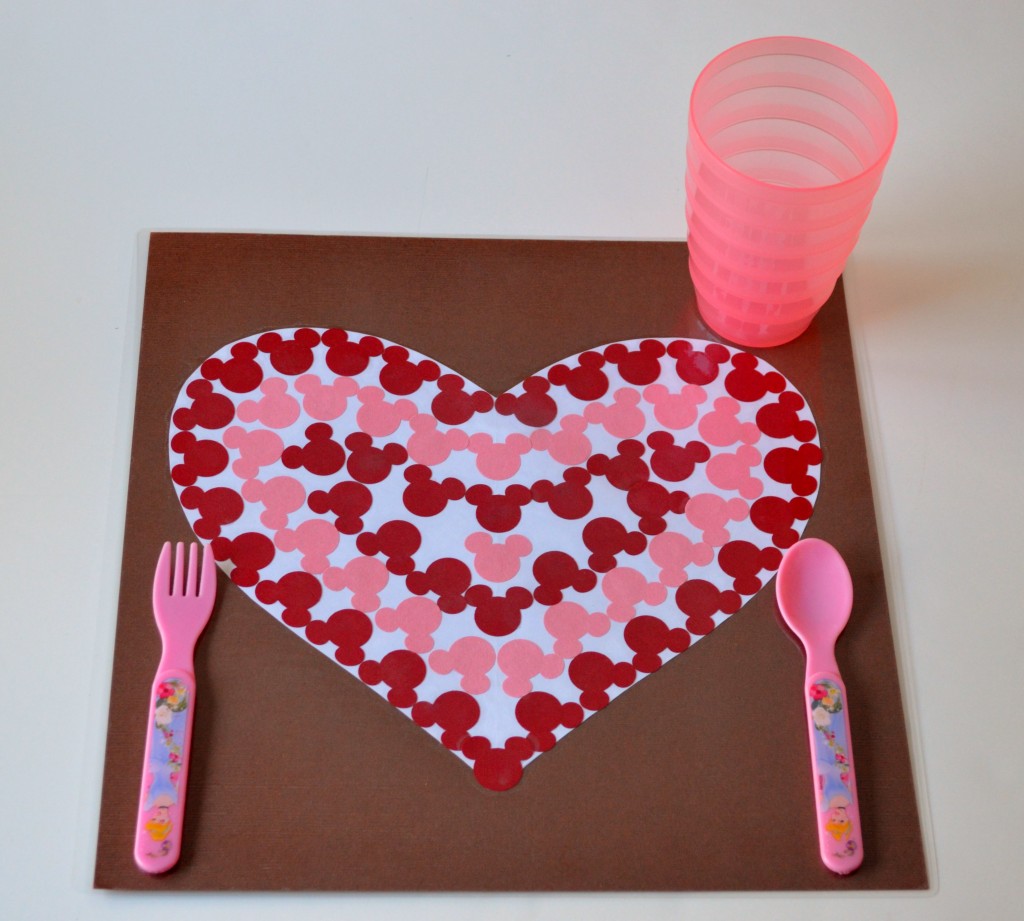
Mickey Mouse Placemat from MouseEarsMom.comKeep your table clean with this fun and simple-to-make placemat…well at least part of your table clean.
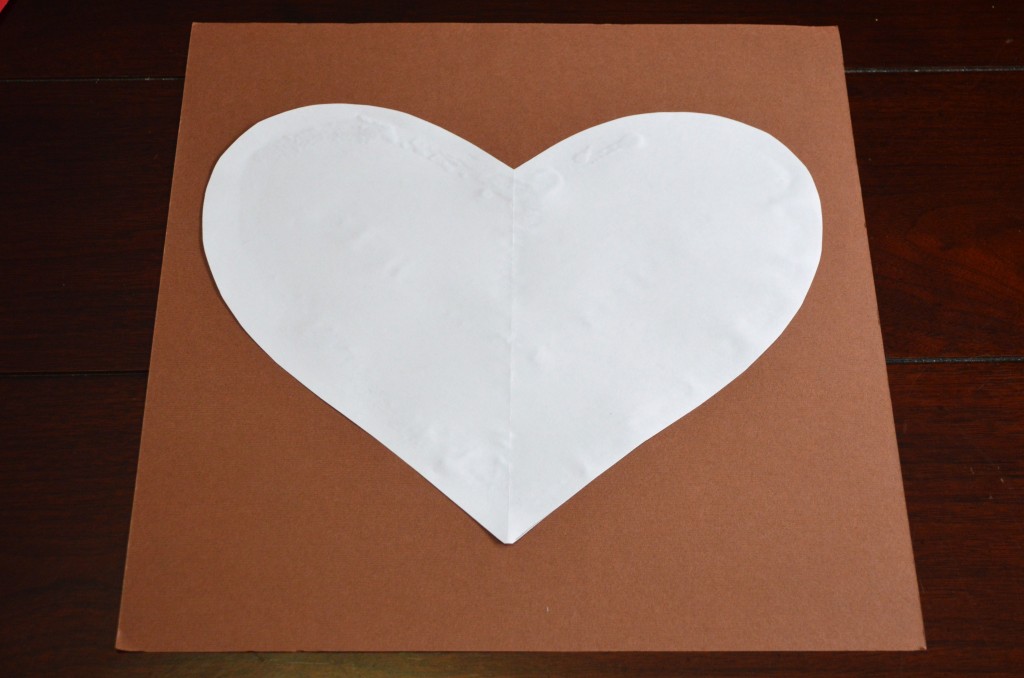
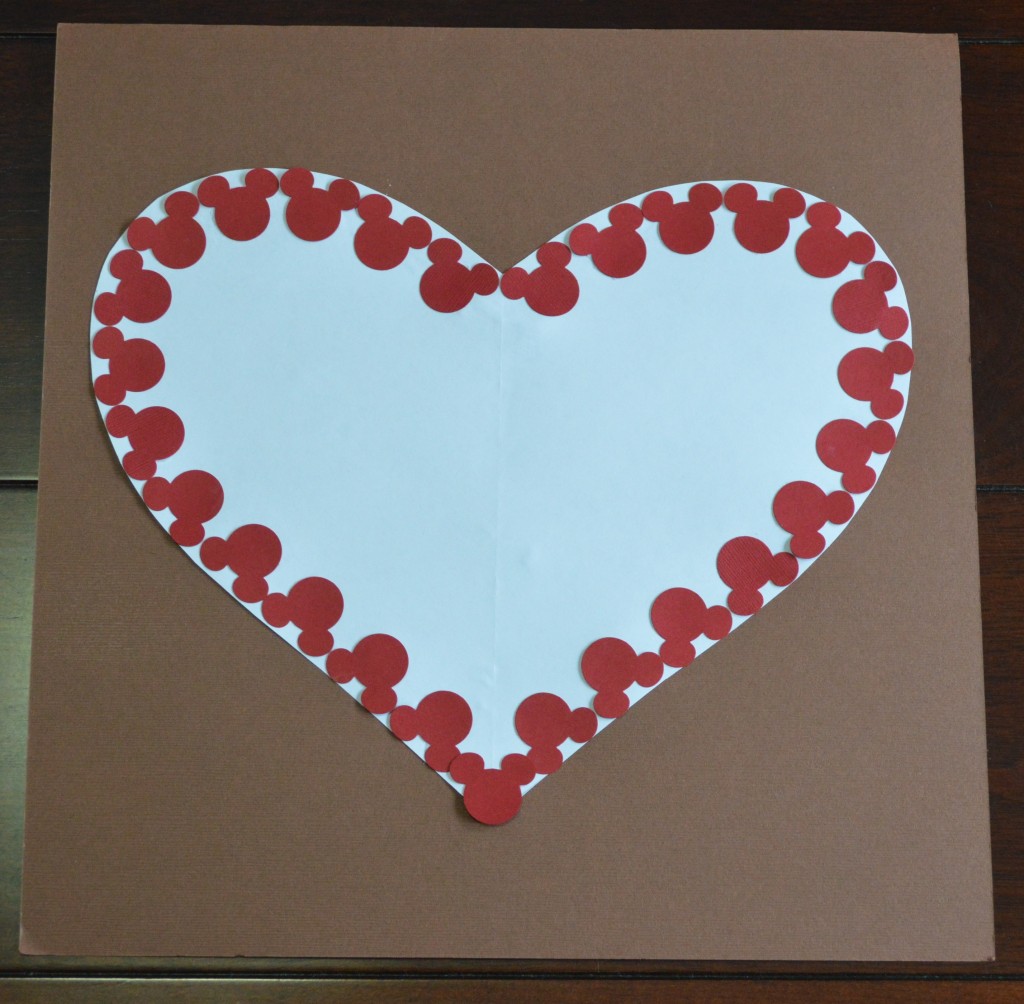
Yesterday,  in our elementary school’s after-school Disney craft class, I had a great time helping young Disney fans make a Mickey Mouse Valentine’s Day placemat.  The first and second grade students did an excellent job and they enjoyed watching the lamination machine seal their artwork.  If you have a little Mousketeer that loves Mickey Mouse this is a perfect craft to complete with him.  If you don’t have a lamination machine, no problem.  Your local business supply store, like Staples, offers laminating services.  To laminate this project our local store would charge around $3.00US per placemat.

Here’s a break down of what you’ll need for your little artist.

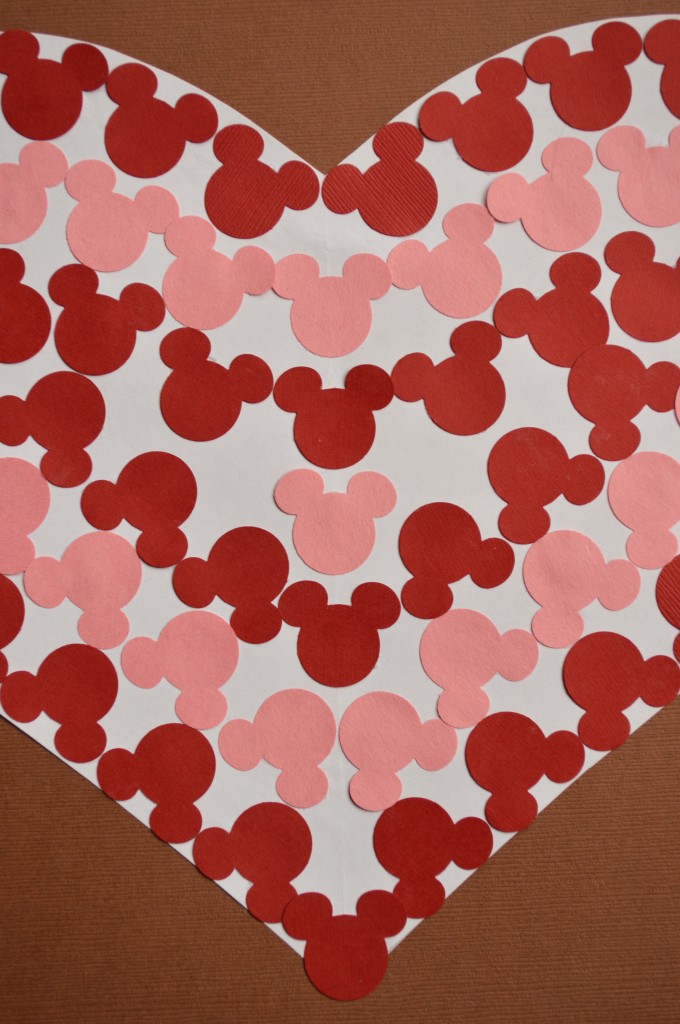
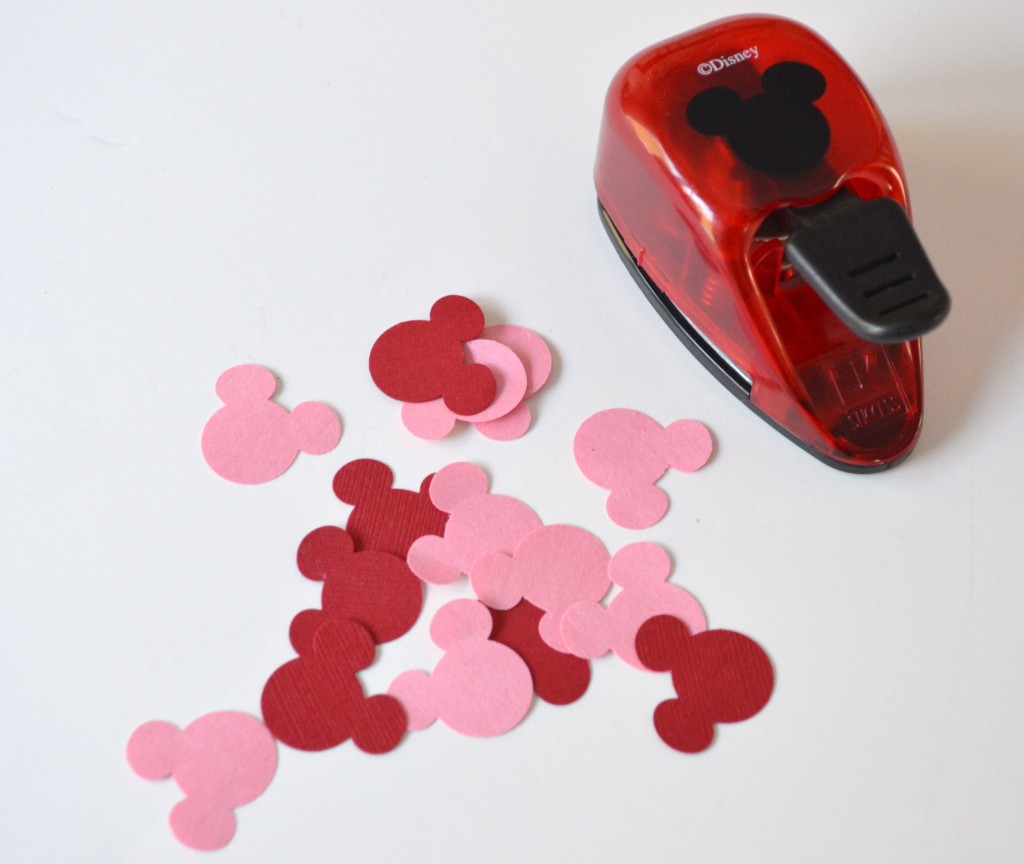
placemat 035For this project you’ll need a Mickey Mouse Craft Punch.  I purchased this punch at A.C. Moore Craft Store.  On a side note, I have to tell you that you’ll love it!  If you don’t have an A.C. Moore store near you, I’ve seen the punch available for purchase on-line.  In addition, you’ll need a 12″ x 12″ piece of scrapbook paper for your base, a glue stick, an 8.5″ x 11″ piece of copy paper, and one pink and one red piece of construction paper or card stock for the Mickey punches.

placemat 001Cut your heart base out of the white copy paper by folding the paper in half and using the entire half of the paper.  Start at the bottom tip and cut to the side corner for the shoulder of the heart.  Have your child use a glue stick to attach the paper heart in the center of the 12 ” x 12″ scrapbook paper.

placemat 003Next, fill in the white heart with the colored paper Mickey heads.  I started with the color red Mickeys and glued each one in place with the use of a glue stick.  There were a total of 41 red Mickey punches and 22 pink Mickey punches used on my placemat.  What was really fantastic about doing this project with the kids is that each child decided to complete the project their own way.  They didn’t care that I had used exactly 27 Mickeys in one row and 21 Mickeys in another row.  All the placements came out really cute and unique to each child.  I had them write their names and grade level on their finished piece, so Mom & Dad will remember how little and adorable their child was when looking at the placemat years down the road.

placemat 022For anyone else out there that want’s to see how I glued the Mickeys onto the heart, here’s a close up of the center.

Now I have one more afterschool simple craft idea I need to come up with.  I’m thinking about teaching the students a little bit about the purpose of molds…and not the kind of mold that cause illnesses.  They’ve already learned how to take something away by using the craft punches and have used tons of glue too.

Any ideas you’d like to share?  Please do!

Thanks for stopping by the blog today!  Have a Magically Mickey Day!