Category: Disney-Inspired Party Planning

Our #DisneyKids Preschool Playdate was Regal!

#DisneyKids Preschool Playdate

We’re always ready for a Disney Party. So, when the Disney Parks Team and MomSelect asked if our family would like to host a #DisneyKids Preschool Playdate, we said, “YES PLEASE!”

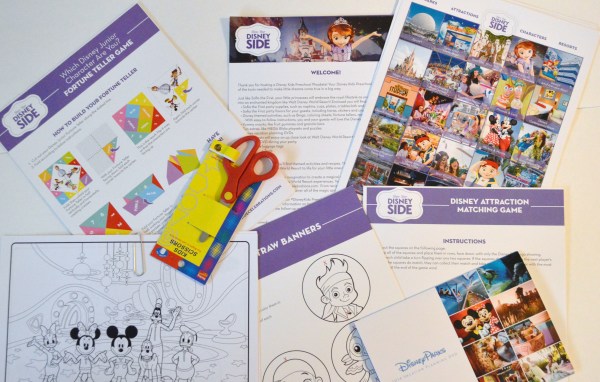
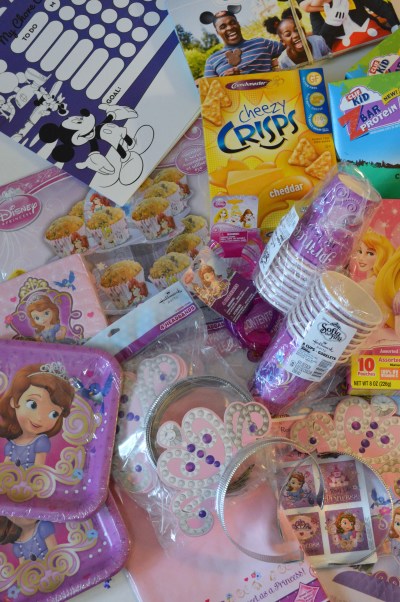
A few weeks later, Disney Parks and MomSelect sent a magical box in the mail with the following wonderful products for me to share with our playdate guests.  Although I didn’t pay for the items, my thoughts and opinions shared with you are my own.

Check the fun stuff out!

#DisneyKids Preschool Playdate

And there was more!

#DisneyKids Preschool Playdate

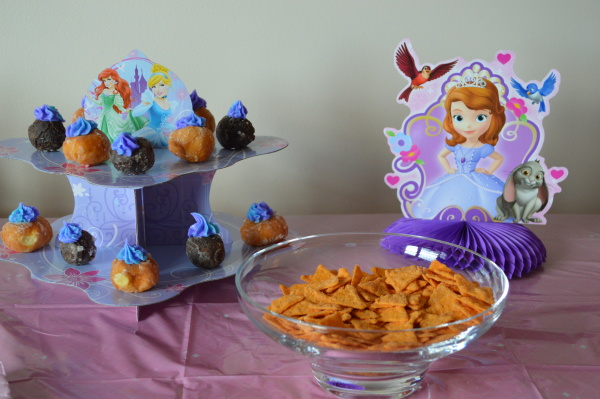
Talk about exciting! After exploring through the box of supplies, I got to work planning our playdate! I started with the food!  If I was going to have a house full of young children, I must have snacks!

#DisneyKids Preschool Playdate

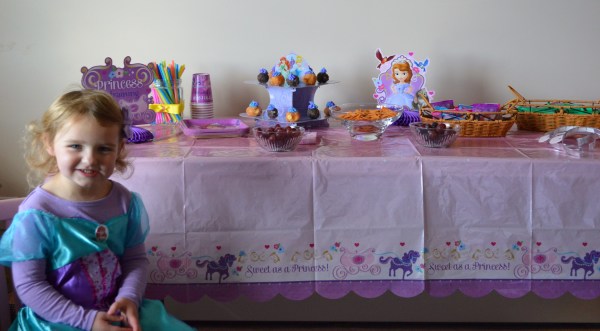
My supply box gave the kids Disney Princess Fruit Snacks, Cliff Kids Protein Bars and Crunchmaster Cheezy Crisps to get the snack table started.  Since the décor items given to me were mostly Sophia the First themed, I decided to go with a princess theme.  I added Sofia the First amulet grapes and royal donut puffs to complete our snack table. (I have to say that I saw not only kids, but adults, snacking on the Crunchmaster Cheezy Crisps. They were surprisingly really good!)

Since we had our Disney Kids Playdate in the afternoon, I supplied lunch for our friends and their parents.  We went with Disney’s suggestion and made Sofia’s Seashell Mac and Cheese.  The pot was emptied without a shell left behind!

Partying like Princes and Princesses

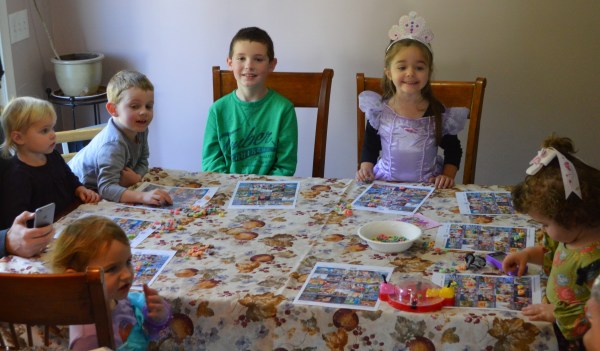
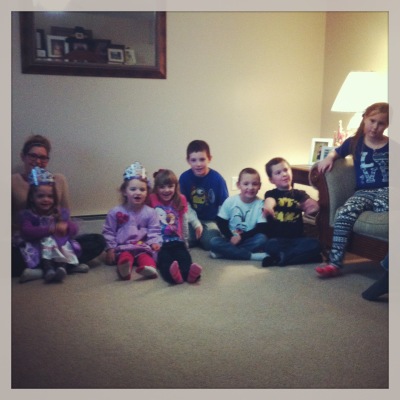
We invited twelve little princes and princesses to attend our royal event.  However, we ended up with eight royals ready to have fun.  The Disney Parks Team and MomSelect sent me pages of fun activities to do with the children.  So many that the day few by!
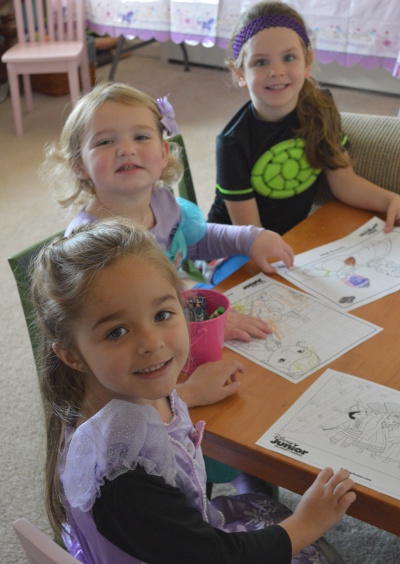
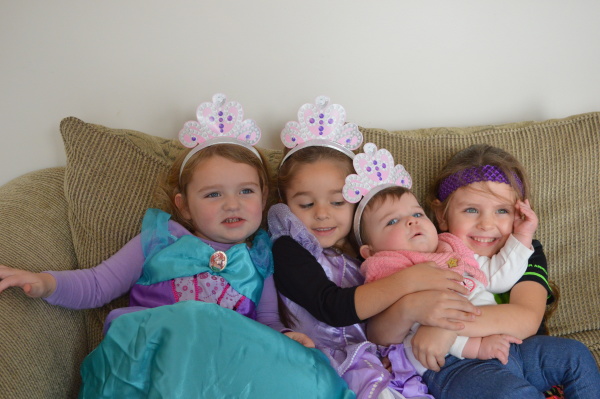
#DisneyKids Preschool PlaydatePrincesses started their fun with a bit of Disney Junior coloring and quickly moved on to Twirling Tiaras. (Freeze dance to Sofia the First music with the girls wearing paper tiaras on their heads.) Then the boys joined the girls in making Disney Junior Straw Banners, followed by a serious round of Disney Side Bingo! I was surprised how many of the Disney locations the kids knew!

Disney Kids Preschool Playdate

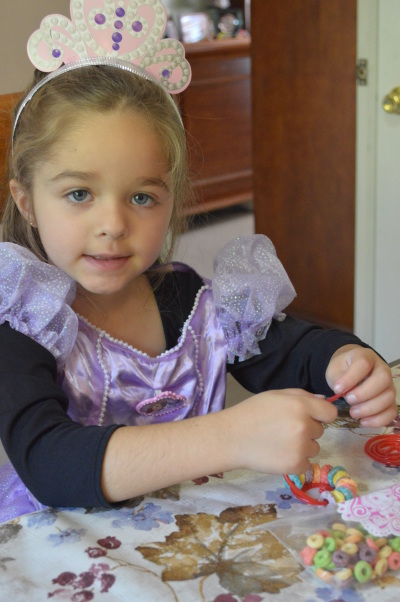
After bingo ended, we moved on to Bauble Bites!

Using Fruit Loops for jewels and licorice laces, fabulous AND delicious necklaces were created!

DisneyKids Preschool Playdate

All of the activities made our Disney Kids Preschool Playdate time fly by!

Before leaving everyone chatted while watching a Disney Vacation Planning DVD.  It was fun to talk about our previous vacations and discuss upcoming vacations.  Half of the families at the playdate had previously vacationed at Walt Disney World with their children and the other half had yet to go. I loved being able to “talk Disney” with the moms and it was a wonderful seeing all of the children playing together throughout the day.

Disney Kids Playdate

      These pretty princesses had a wonderful time at their Disney Kids Preschool Playdate! Thank you Disney Parks and MomSelect!
Sofia the First Premiere Party

Sofia the First

Thank you House Party and Disney Junior! I received free supplies to host this fun little party for some special Princess Sofia fans!

Before “Sofia the First: The Curse of Princess Ivy” premiered last night on Disney Channel, we partied like royalty at our very own Premiere Party!

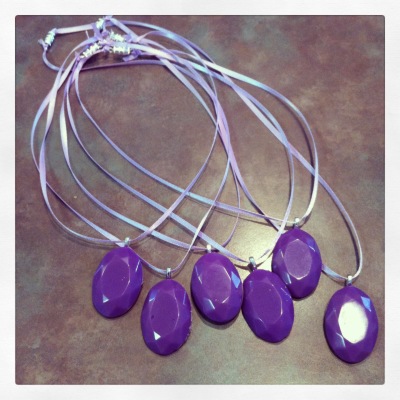
Guests were greeted upon entering our castle with jewels to adorn the necks of a few lovely princesses.

Sofia's amulet craft Mouse Ears Mom.com

(Check back soon for a craft tutorial to make this simple Sofia the First amulet-inspired necklace!)

A feast of sweets were prepared for the royal occasion.

#SofiaTheFirstParty Curse of Princess Ivy

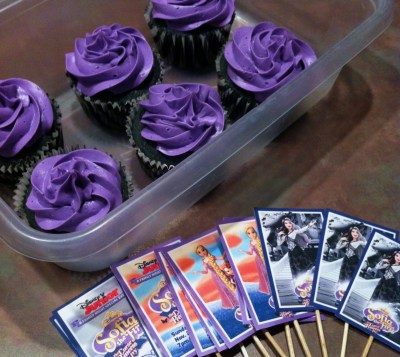
Purple cupcakes with purple icing looked lovely with Princess Sofia, Rapunzel and Princess Ivy treat toppers. House Party and Disney Junior supplied me with the lovely graphics to use for my treat toppers.

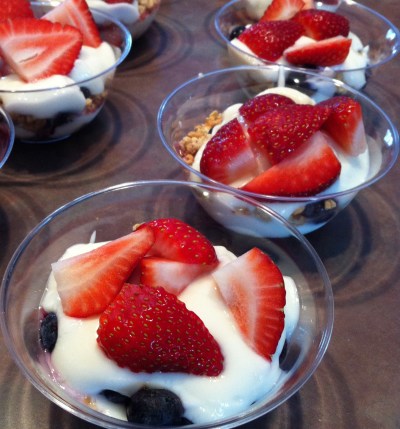
Bejeweled Princess Parfaits

Princess Bejeweled Parfaits

These Bejeweled Princess parfaits were made with fat-free Greek yogurt, blueberries, strawberries and the yummiest vanilla granola. They were a big hit!  One little princess even requested to bring one home with her!

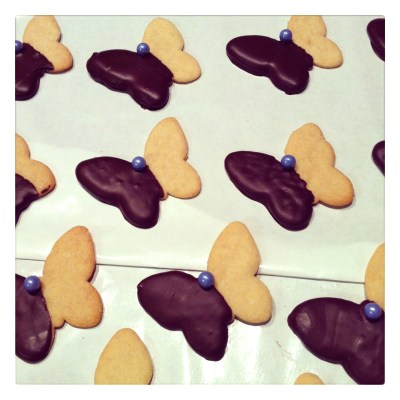
Princess Ivy Butterfly Sugar Cookies

Sofia the First: Curse of Princess Ivy cookies

Princess Ivy’s butterflies flutter about throughout the entire show, so I decided to feature them on the treat table.  Luckily House Party gave me a Wilton butterfly cookie cutter so it was easy-peasy!

(To make Princess Ivy’s Butterfly Sugar Cookies, I dipped the butterfly sugar cookies in dark chocolate and added a purple hard shelled chocolate candy.)

Time for some entertainment!

Sofia the First Party supplies

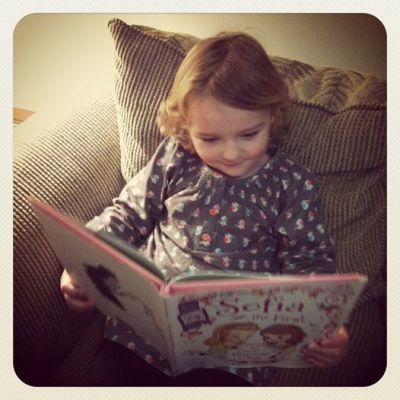
The kids all gathered at the beginning of our party to read the story of “Sofia the First: The Curse of Princess Ivy.” This storybook, that we received as party of our party pack, was beautifully illustrated.  If you enjoy reading before bedtime, I’d really recommend this one!  I’ve already read it three times to the kids and now Victoria likes to “read” it to me too!

Butterfly Hair Clip Making

Sofia the First Party

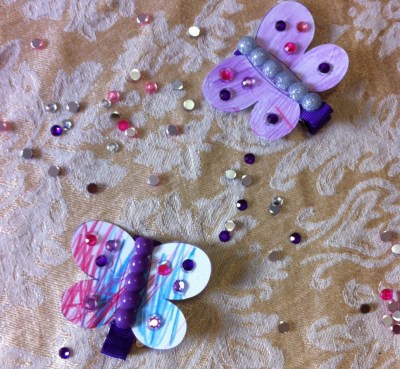
The girls enjoyed creating their own hair clips, while the boys took off to play Disney Infinity!   The mommies kicked in to help with the glue gun!  Here’s a look at Victoria and Mommy’s clips once we glued on the finishing touches.

photo (63)

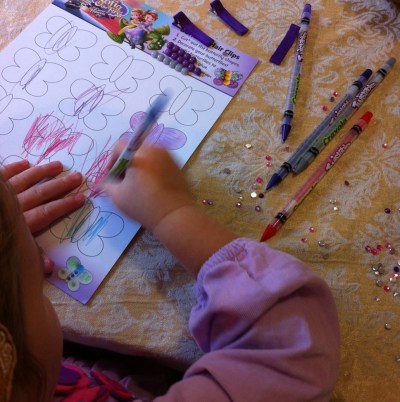
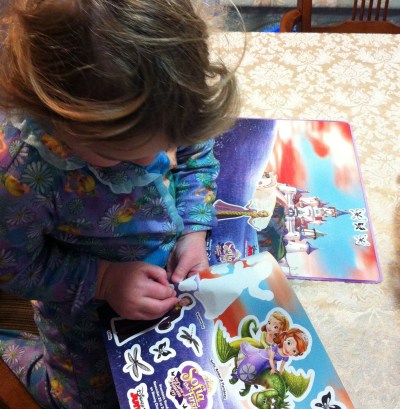
We had so much fun at the party that we didn’t get to the stickers and placemats until this morning! As soon as Victoria woke up this morning, she got to work!

Sofia the First Party

The kids had a blast at the premiere party! And they loved the “take home” stickers, posters, crowns & tiaras!

#SofiaTheFirstParty

Thank you House Party & Disney Junior!

Did you watch “Sofia The First: The Curse of Princess Ivy” last night?  If not, check your Disney Channel listings, I’m certain it will be on again soon!  We already watched it again this morning!

Simple “Big Hero 6” Cupcakes

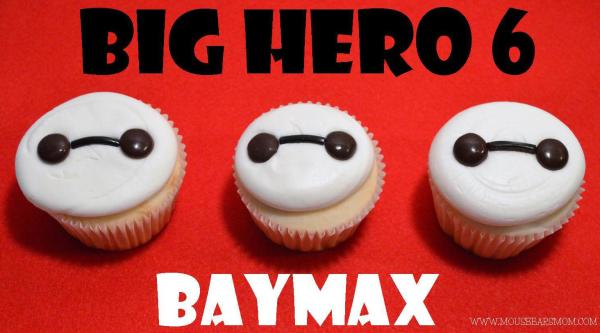
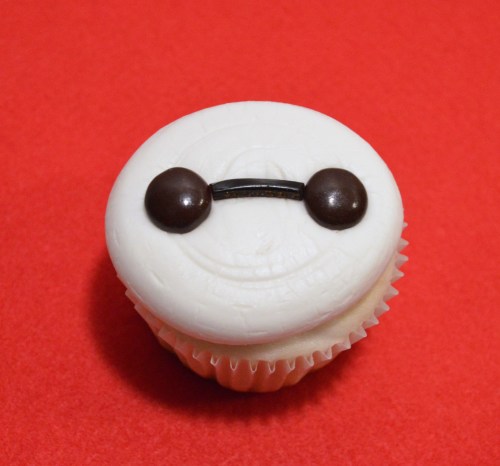
Big Hero 6 cupcakeThis past weekend my son, Gavin, and I saw Disney’s newest film, “Big Hero 6.” We loved it! Baymax was Gavin’s favorite hero. A funny robot with a kindness that’s pure with selflessness, Baymax has won my heart too.

When I mentioned to Gavin I’d like to make Baymax cupcakes, he jumped right into helping me. He and I created these simple Baymax-inspired cupcakes.  I’m proud to say that the design of the cupcakes came from Gavin’s suggestion and I think they came out adorable!

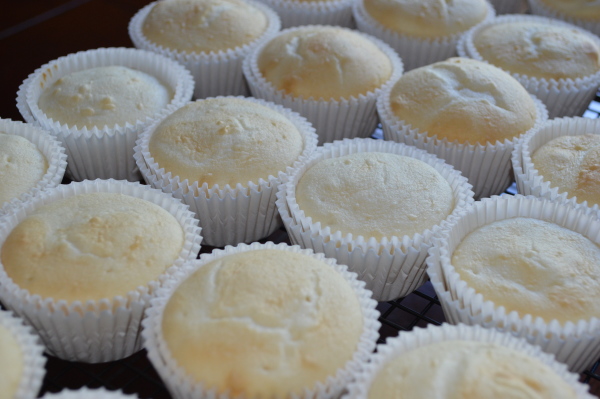
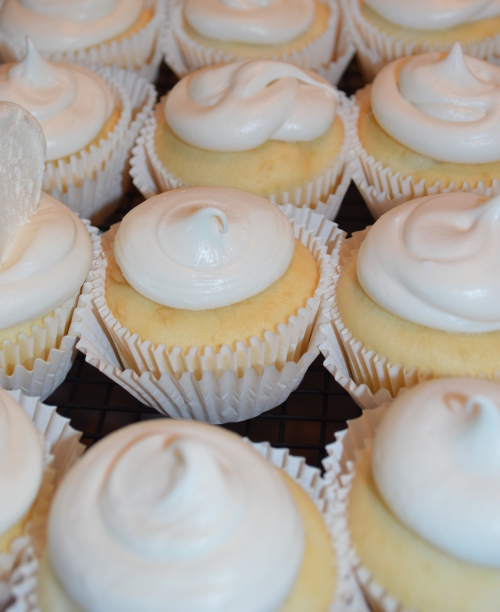
I started with a basic white cupcake in a Wilton white baking cup.

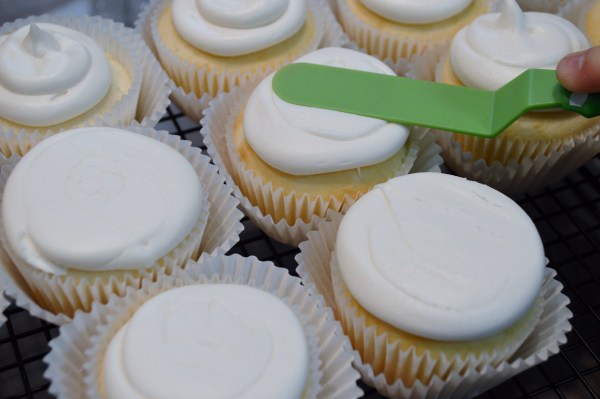
Baymax cupcakes  Next I applied white icing to each cupcake.
Baymax cupcakes

Using a spatula Gavin helped me smooth out the icing.

Baymax cupcakes

Using two brown M & M pieces and black licorice, we added Baymax’s eyes.

Baymax Cupcake

It’s that simple!  It took more time to divide the brown chocolate candies than to decorate the cupcakes!


 Did you see Disney’s “Big Hero 6” yet?  Which hero was your favorite?

Mickey Mouse Inspired Pumpkin Cupcakes

Mickey Mouse Pumpkin CupcakesHappy Halloween Week Everyone!

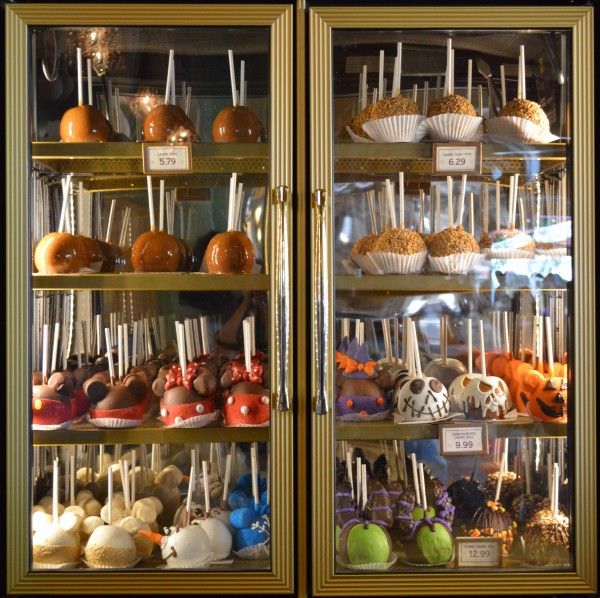
One of my favorite things about visiting a Disney Park during the holiday seasons is the festive cupcakes and treats that Disney sells.  While visiting Disneyland Resort I enjoyed seeing the Halloween creations made by Disney’s talented Cast Members and as usual, they did not disappoint.  Here’s a look at some of my favorites!

Halloween Treats at Disneyland ResortAnytime of the year you can find amazing character apples, but I think during the Halloween season the selection is Spooktacular!
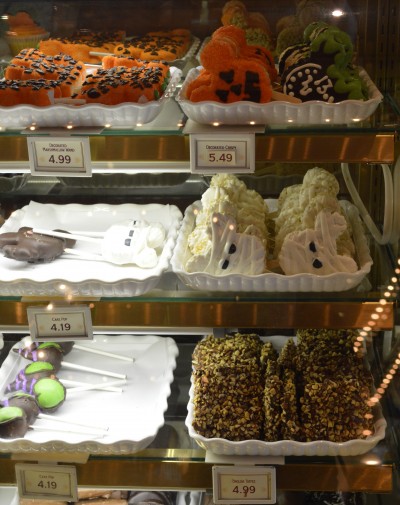
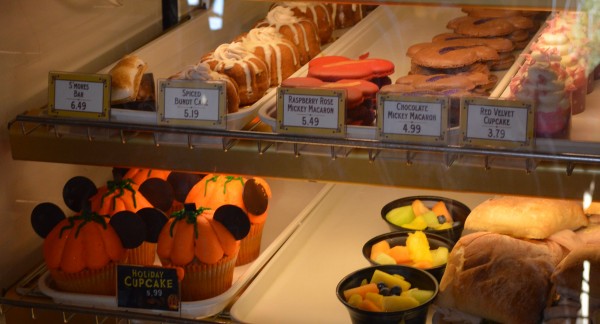
Halloween Treats at Disneyland Resort

As soon as I saw Mickey Mummy treats I wanted to run home and make them!

Disneyland Halloween treats

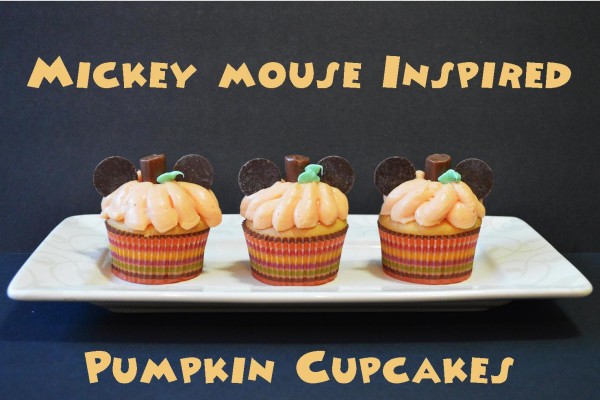
However, first I decided to make my version of these adorable Mickey Mouse pumpkin cupcakes! They were so easy to make. It took less than a half hour for 20 cupcakes. Would you like to make some during this week of Halloween?

My simple version of Disneyland’s cupcakes have a marshmallow based icing. I used the “Super-Easy Marshmallow Icing” recipe by King Arthur Flour. You can check out the photo tutorial on how I made the cupcakes, including the icing below.

Gather your supplies. The icing recipe is for 24 cupcakes so that’s how many cupcakes I made.  However, I was only able to transform 20 cupcakes before running out of icing.

Mouse Ears Mom.com

You’ll need the recipe for the “Super-Easy Marshmallow Icing” and you can find it here:

http://www.kingarthurflour.com/recipes/super-easy-marshmallow-icing-recipe .

  • Tootsie Rolls (Not Shown Below) are used for the pumpkin stem.
  • Chocolate wafer melts (Not Shown Below) are used for Mickey’s Ears.
  • Green icing- optional (Not Shown Below) is used to make the leaf.
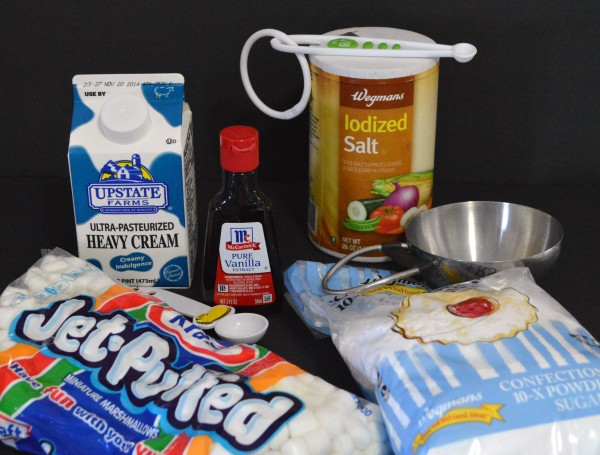
  • The photo below shows you the ingredients I used to make the icing: Salt, Vanilla Extract, Heavy Cream, Powdered Sugar and Marshmallows.

http://www.kingarthurflour.com/recipes/super-easy-marshmallow-icing-recipe ingredients

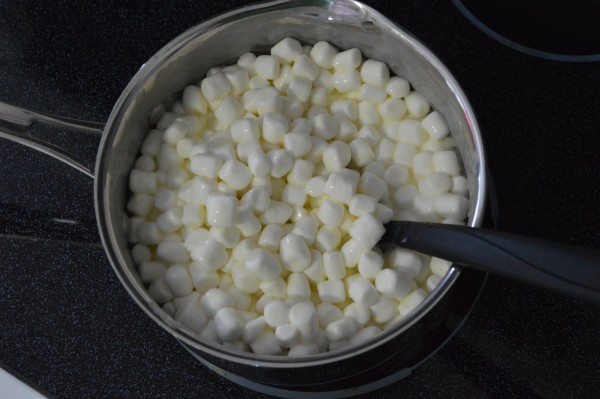
As the recipe states, make sure you continuously stir the ingredients while they are heating or the marshmallows will stick. It took a bit longer than I expected for the marshmallows to start to melt and then all of a sudden it started sticking at warp speed.

Mouse Ears Mom.com

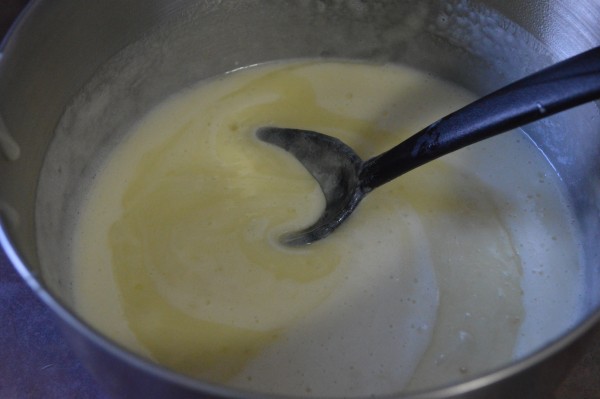
Once the marshmallows, heavy cream, sugar, and salt have blended together this is what the icing looked like.Mouse Ears Mom.com

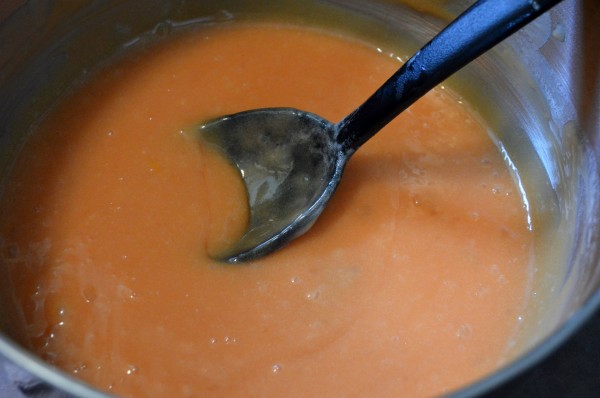
After I poured the mixture into a large mixer bowl, I added the vanilla AND equal amounts of red and yellow food coloring to create orange icing.

Mouse Ears Mom.com

As the recipe suggested, I covered the orange icing and refrigerated it overnight.

marshmallow icing

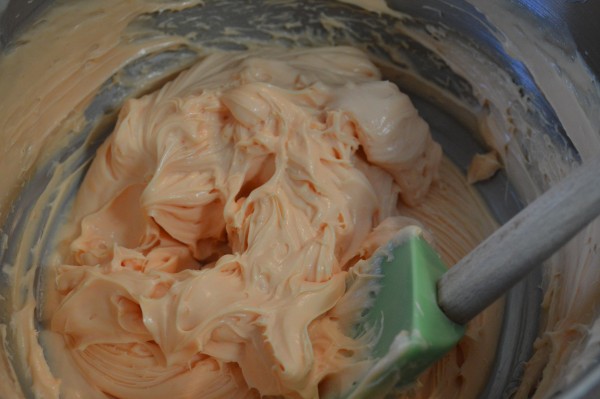
The next day I used my mixer to whip the icing into shape and I was ready to go!

www.mouseearsmom.com

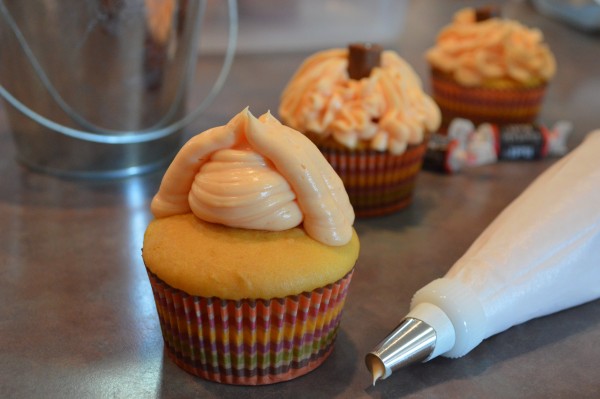
I played around with different icing tips creating different kinds of pumpkin cupcakes.  I found that I liked the Wilton #12 tip’s results the best.  I piled icing in the center of each cupcake and covered the center by starting at the cake and meeting the icing at the top.

Pumpkin cupcake. Mouse Ears Mom.com

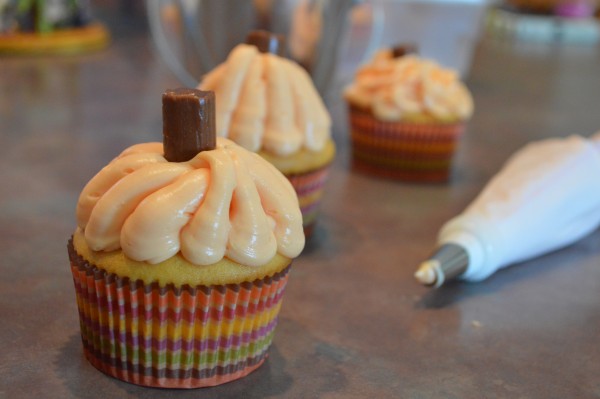
After covering the cupcake with icing I pushed an unwrapped Tootsie Roll through the center of the icing.

Mickey pumpkin cupcake

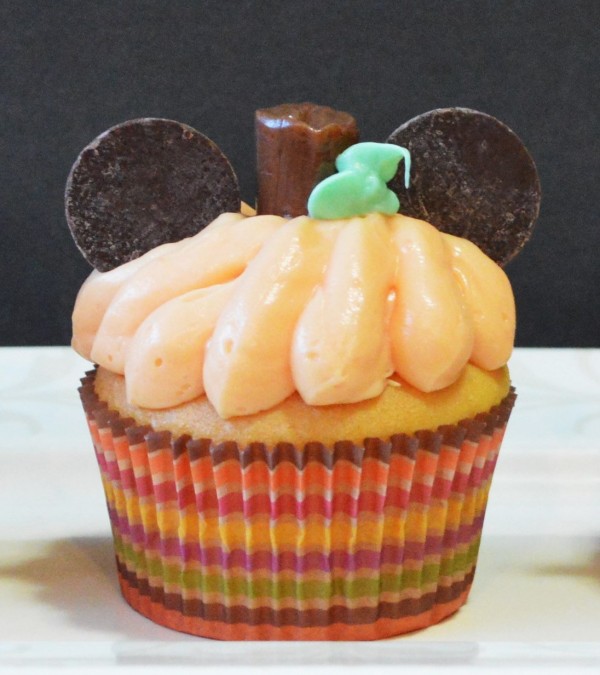
Add a two chocolate wafers for ears and you’re done!

Happy Halloween Everyone!

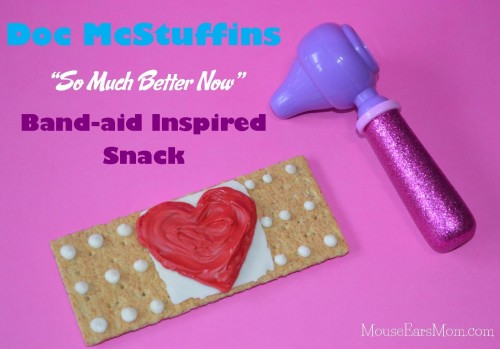
Doc McStuffins Band-Aid Inspired Treat

Doc McStuffins Treat

 Do your kids love to watch Doc McStuffins?

My daughter has finally let Frozen GO and moved on to her new “favorite” Disney show, Doc McStuffins!  We start every morning with at least one “check-up”, followed by the request to watch “Time for a Check-up!” and then back to giving anything within a mile radius a check-up.  I have to admit, I think she’s adorable when she sings the Doc McStuffins theme song as she runs around with her “doctor tools” and I can’t help but love that she says she wants to be a doctor when she’s bigger. So last week, I decided to make her a Doc McStuffins inspired treat to share at a play tea party with her little cousins.

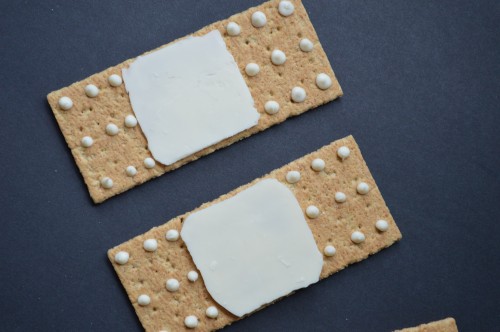
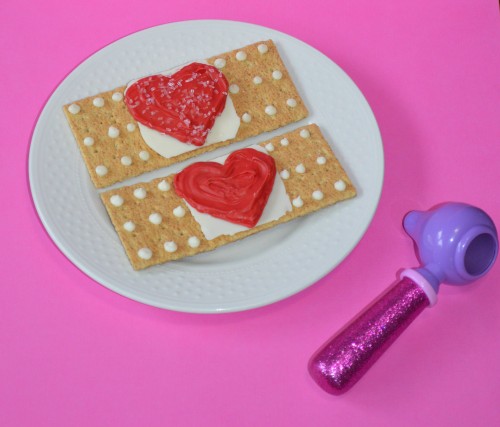
Graham crackers are a popular snack in our family, so I used a graham cracker sheet as a base to make a band-aid that’s “so much better” to enjoy than a real one!  If you have an aspiring doctor in  your home and would like to know how I made the treat, here is a step by step tutorial!

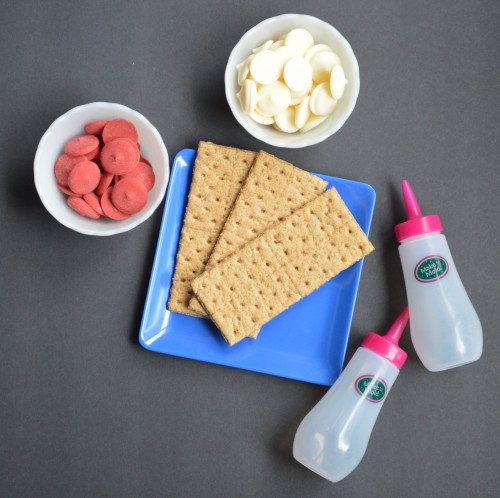
You’ll need the following supplies.

Doc McStuffins Inspired treat 004

  1. Red chocolate melts
  2. White chocolate melts
  3. Make and Mold small squeeze bottles
  4. Graham crackers
  5. Paper and wax paper

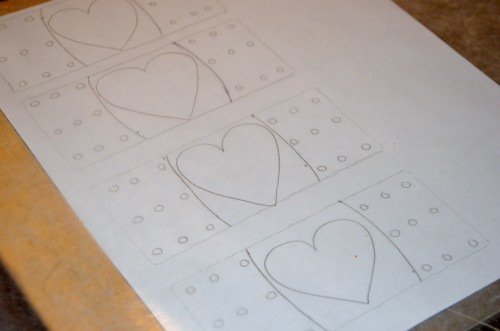
Create a Band-Aid Template

Doc McStuffins Inspired treat 020

Using a graham cracker to trace, create your band-aid template on a white sheet of paper. Once you’re done, place a sheet of wax paper on top of the drawings.  I placed both the wax paper and the white paper on a cookie sheet.  The cookie sheet made it easy to transfer the hot pieces of chocolate into the refrigerator for cooling.

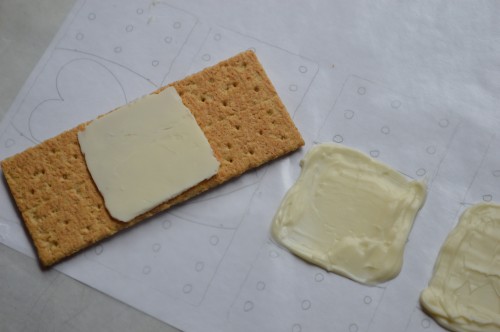
Create the “cotton” white center of the band-aid.

Melt the white chocolate.  Using the melted chocolate, create a white square. I used a knife to smooth it out.  Once the chocolate has cooled and hardened, flip it around so that the smooth side is up.  To adhere the square to the center of the graham cracker use a few dots of hot white chocolate.

Doc McStuffins Inspired treat 015

 With the remaining melted white chocolate complete the bandage look by using the squeeze bottle to create the dots.

Doc McStuffins Inspired treat 017

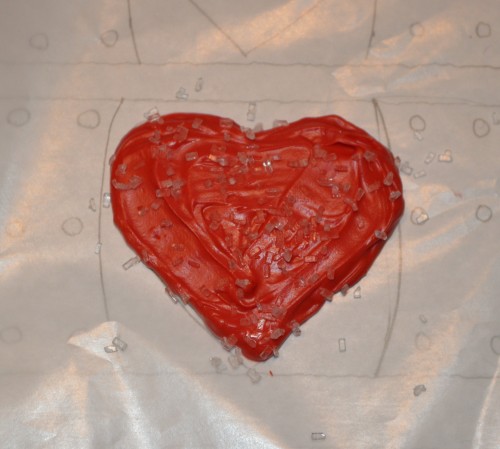
Create a red heart with red chocolate melts.

Add red chocolate candy melts to the second squeeze bottle and melt them in the microwave.  Once the chocolate is completely melted, make a read candy heart with the use of your band-aid template.

My daughter, Victoria, shared these treats with her brother and cousins.  Since we were making them for boys and girls, she had me add sugar sprinkles to the girls’ hearts!

Doc McStuffins Inspired treat 025

 After hardening, secure the red heart to the white chocolate square with a few drops of red melted chocolate.

That’s it!  I hope your aspiring doctor enjoys the treat too!Doc McStuffins Inspired treat 030

Do your little Mouseketeers love Doc McStuffins too?  Have you made any themed treats for Disney Junior shows?  If you created one for your blog, please feel free to add your Disney Junior treat idea post’s link in the comments below!