Searching for "mickey"

Mickey Mouse on Broadway

Steamboat-willie-title2
This image was taken from Wikipedia.

Did you know that Mickey Mouse got his start on Broadway?

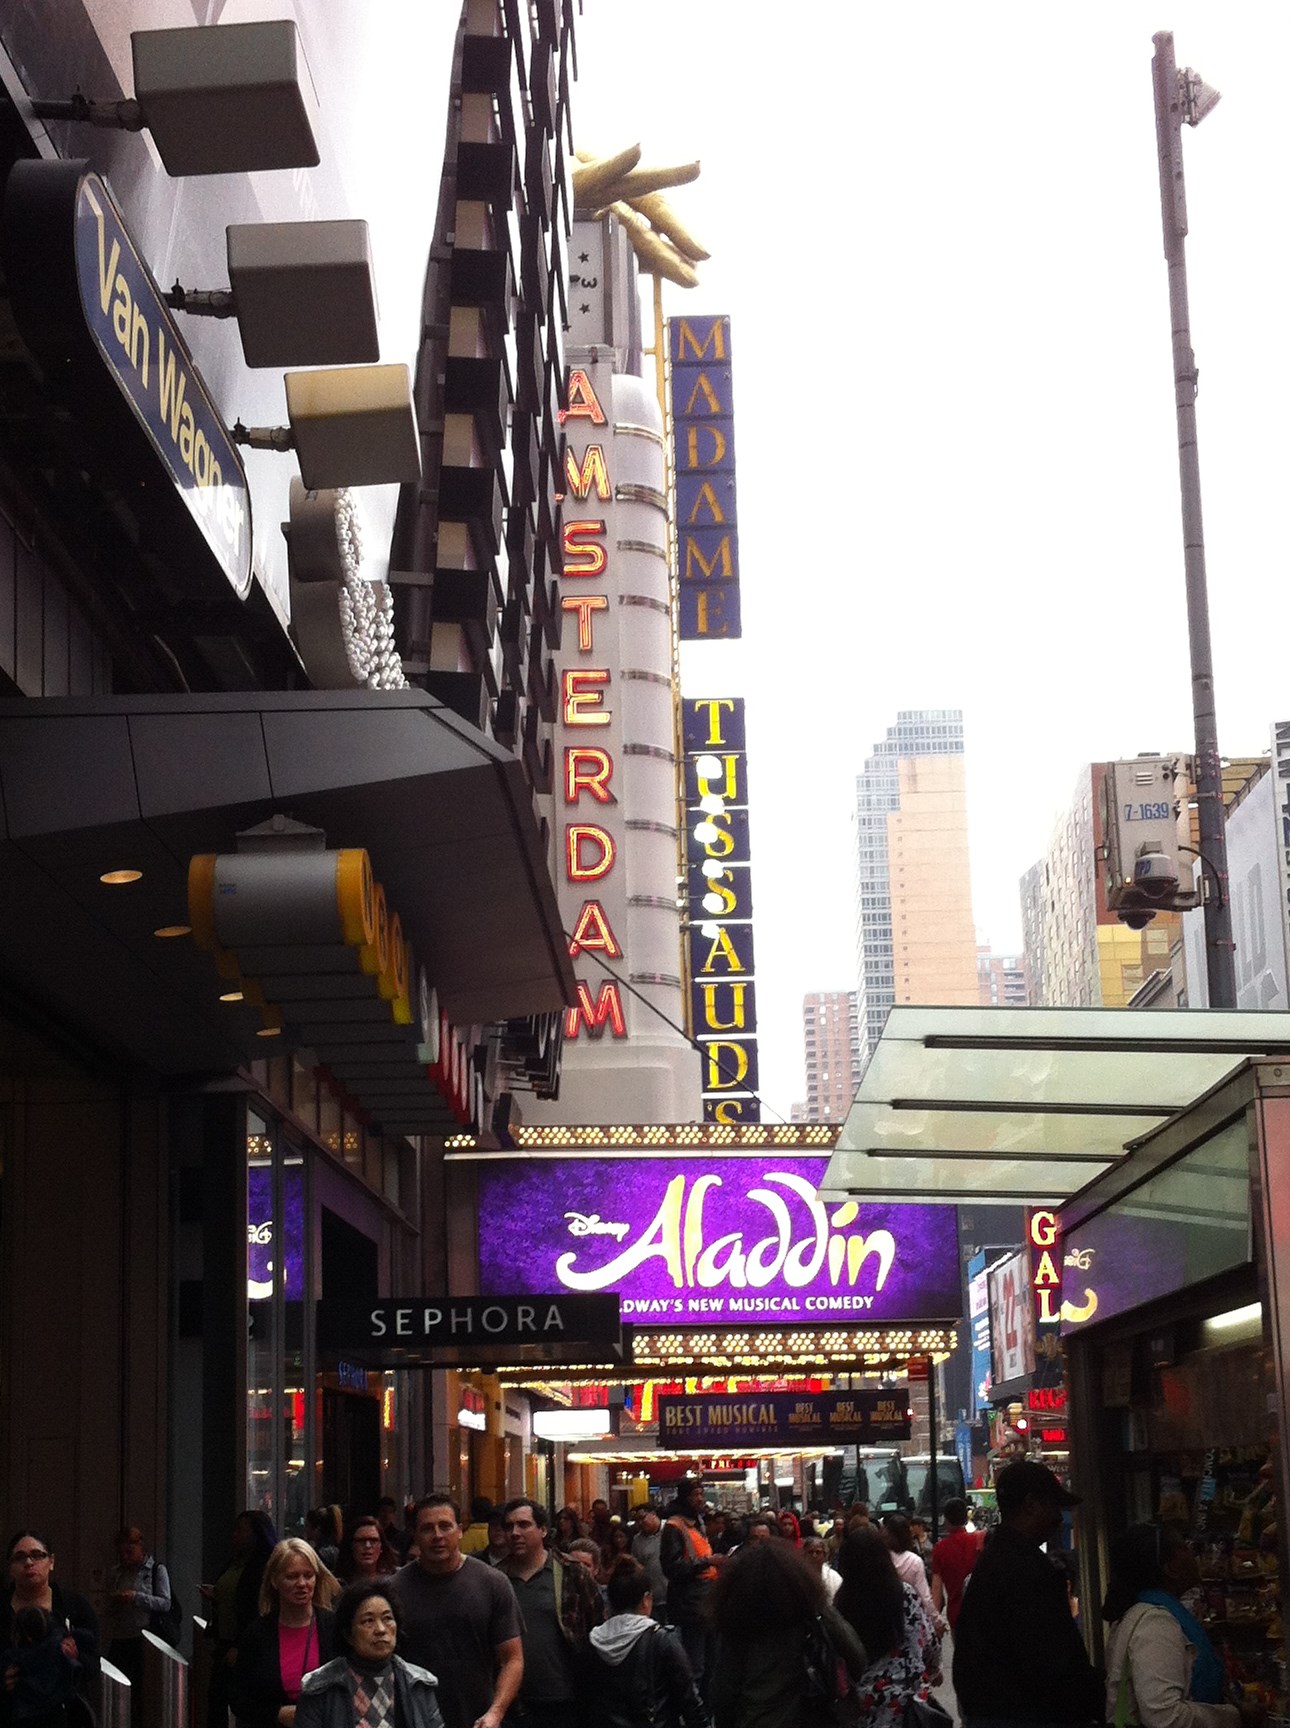
Today, Disney Theatrical Group is known for its fantastic Broadway productions.  From Beauty and the Beast, to The Lion King, to Mary Poppins, and The Little Mermaid, Disney on Broadway is hugely successful by retelling popular Disney story-lines developed for this special form of live art.  Opening this past March, the latest Disney production to take Broadway by storm is Aladdin.   The new Disney musical can be found at The New Amsterdam Theatre, a theatre leased by The Walt Disney Company and considered to be the flagship location for Disney Theatrical Productions.  I guess it’s logical to say that Disney is at home on Broadway.

Disney's Aladdin on broadwayDid you know that our favorite little mouse, Mickey, found his way to stardom by starting his career in a Broadway theatre?

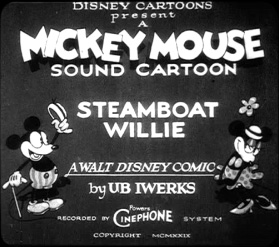
Those first nervous little squeaks were made at the Colony Theater in New York City.  The Colony Theater, located on 1681 Broadway between West 52nd and 53rd Streets, opened as a movie palace on Christmas Day in 1924.  Just a few short years later, Steamboat Willie premiered at the Colony Theater on November 18, 1928 and Mickey Mouse was born.

iphone 2014 192

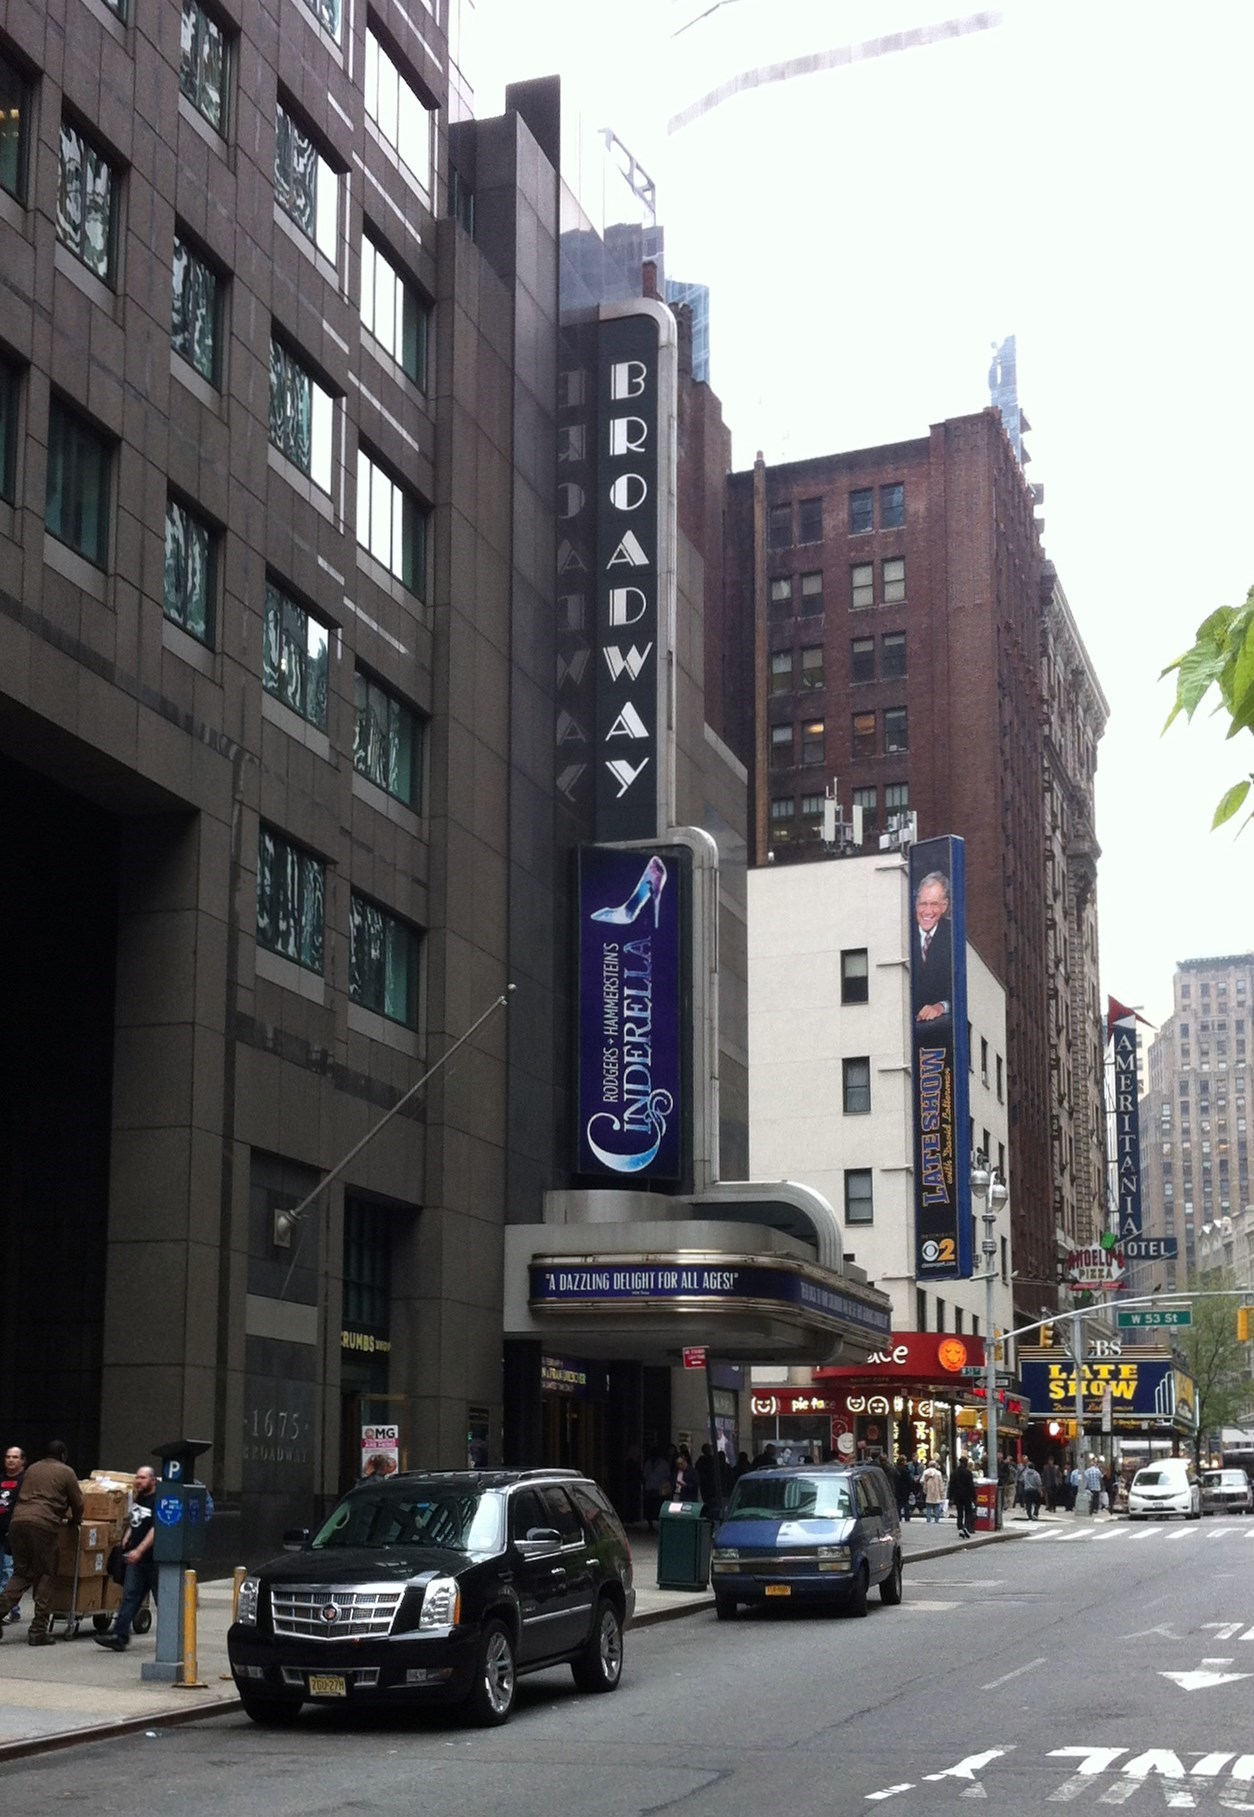
The Colony Theater’s name was changed in 1930 to the Broadway Theatre, as the theater moved away from showing films and began staging plays.  In 1940 Walt Disney returned to this rather large Broadway Theatre (seating 1,761 people) to premiere his labor of love, “Fantasia”.  In addition, Disney’s “Dumbo” premiered at the Broadway Theatre in 1941.

Broadway Theatre

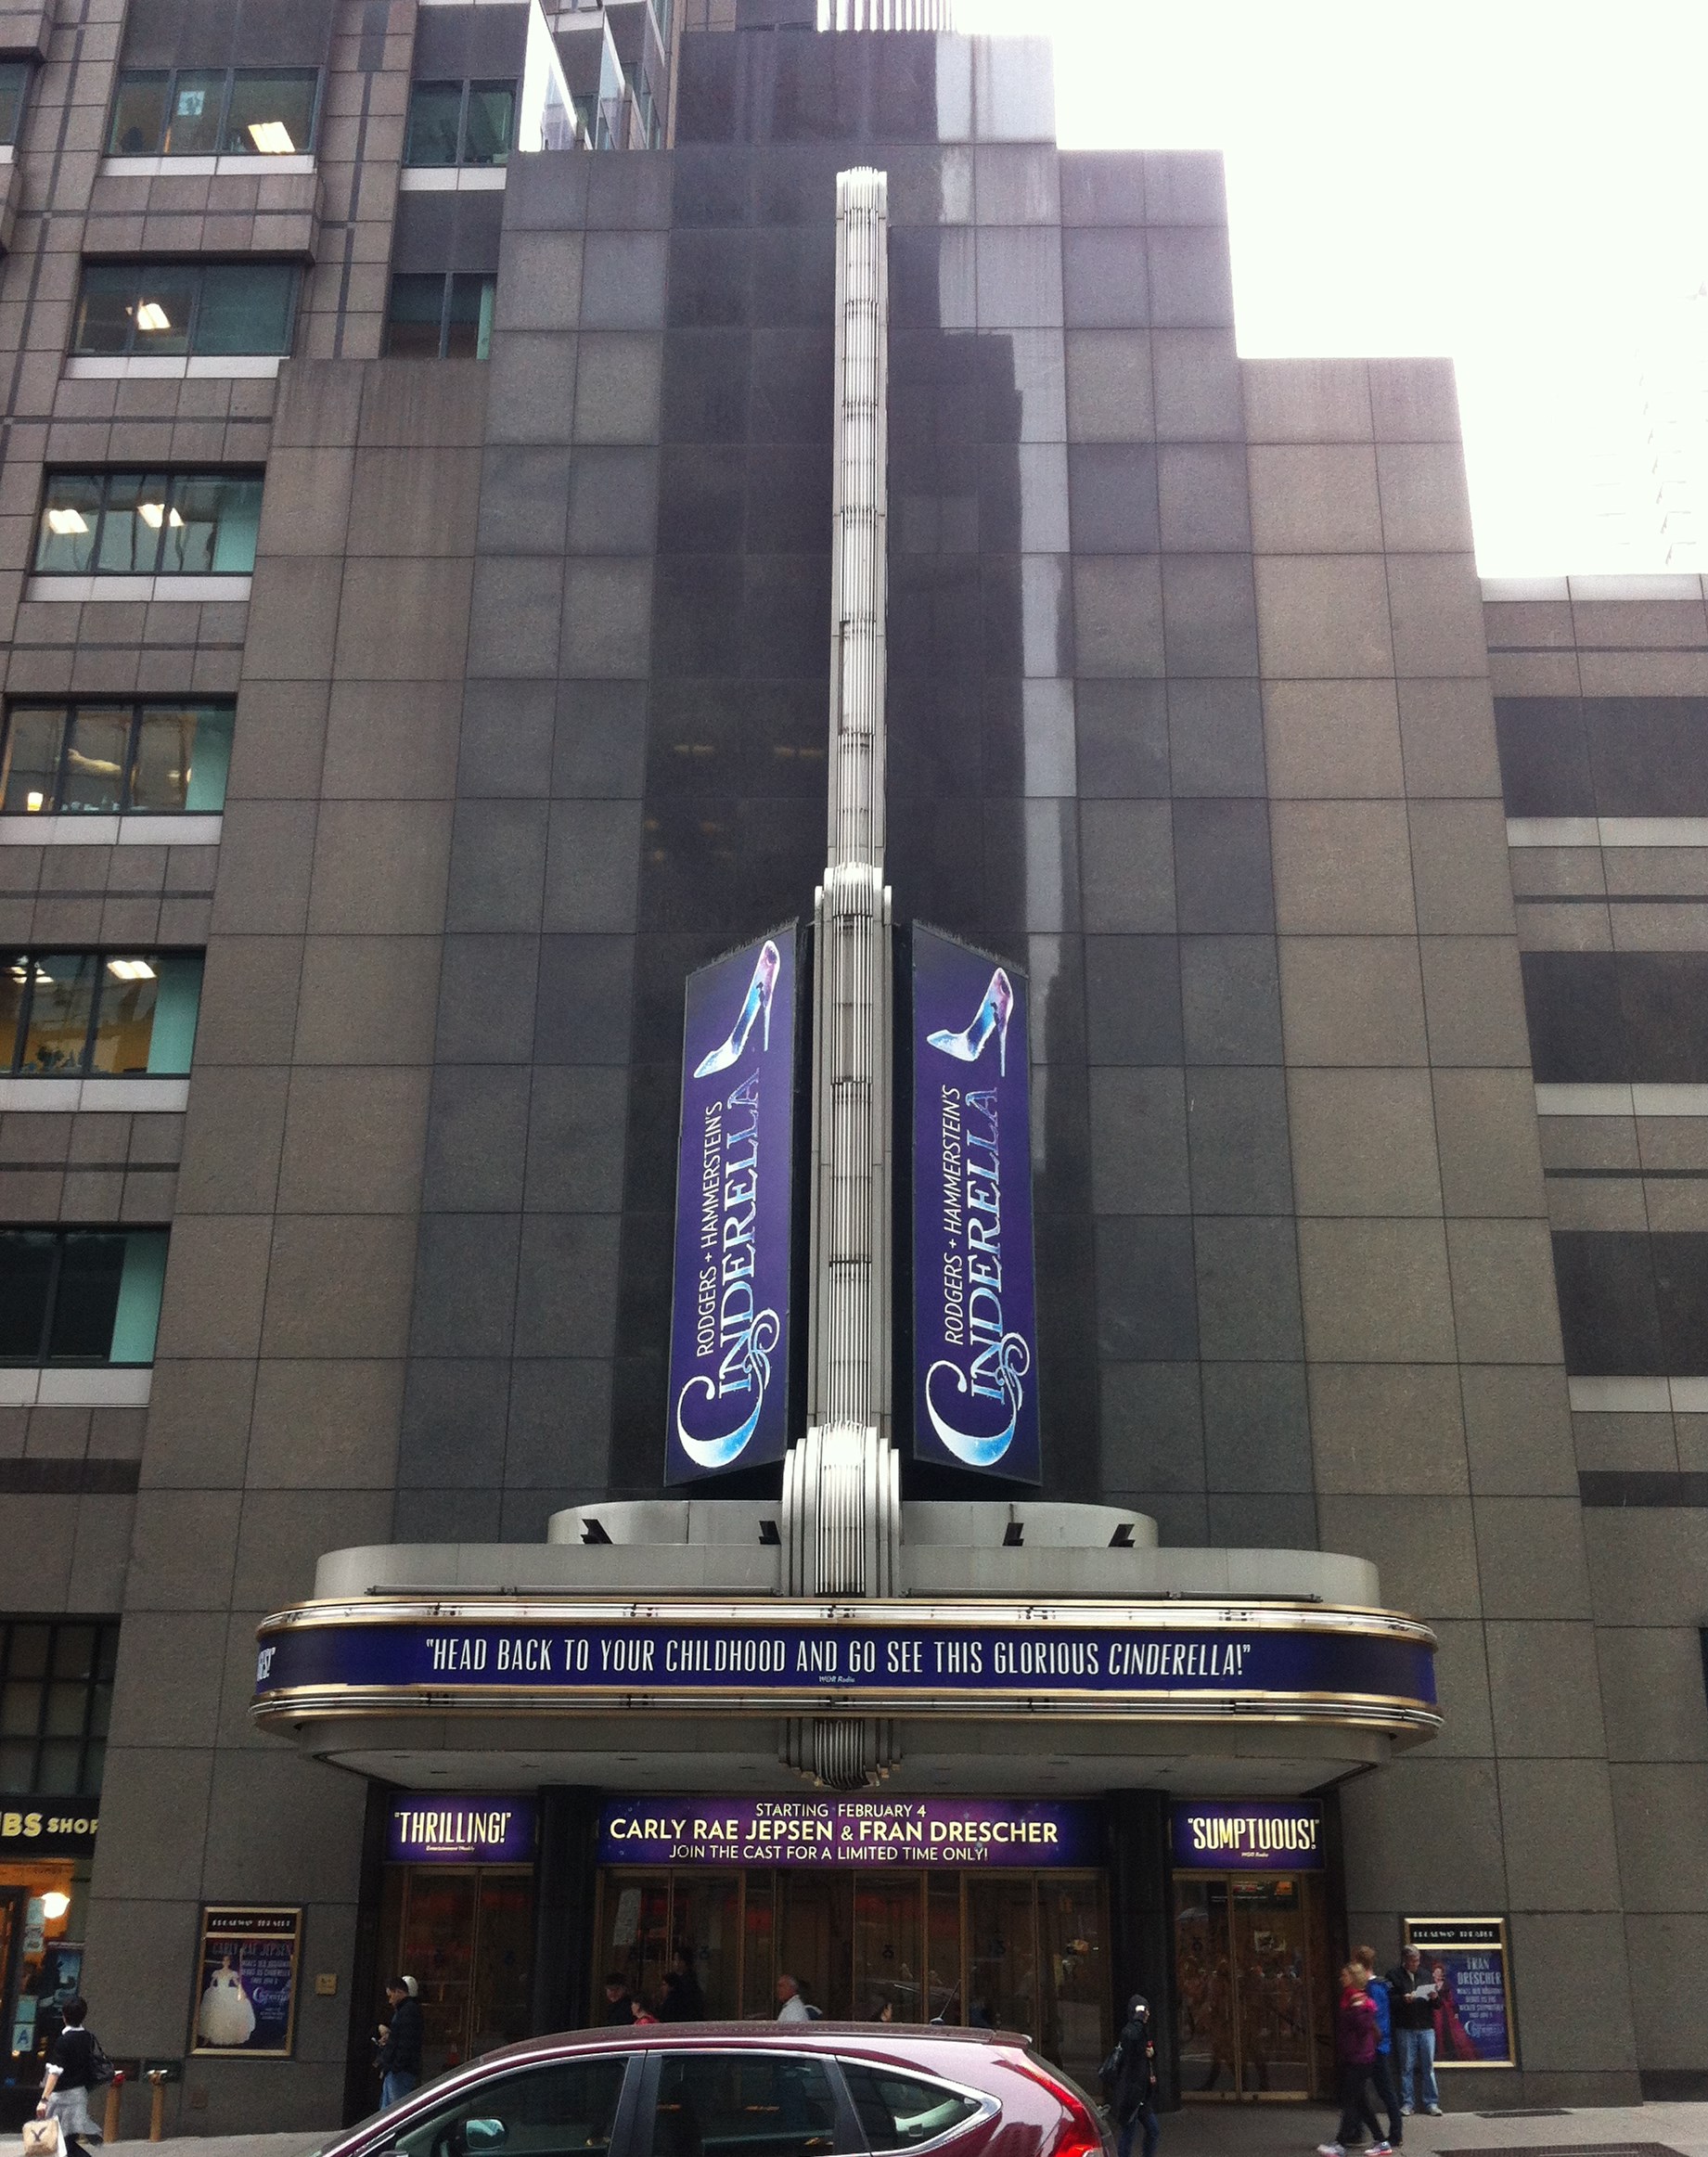
Today the Broadway Theatre is still operating on Broadway!  The current production to call the Broadway Theatre home is Rodgers + Hammerstein’s Cinderella.  Although this isn’t produced by the Disney Theatrical Group I think it’s quite fitting for this important historical building.

Walt Disney’s dreams did come true.  One might say it all started with a Mouse on Broadway…

I’m so excited to be a part of the Fastpass To History Blog Hop hosted by Frontier Station ! Each week this blog hop provides access to a variety of Disney history facts, photographs, and more – giving us all a Fastpass to history!  If you love Disney history, you’ll love Frontier Station!  It’s filled with many wonderful Disney history posts!  Here’s the link to take you straight to their home page.  

http://www.frontierlandstation.com/

A Disney Giveaway That’s Music To Your Mickey Ears

Mickey wind chime giveawayDon’t you just love Spring?  In many parts of The United States, it’s finally time to start enjoying the outdoors without snow gear.  I joke that Elsa blanketed the ground with snow for  six months, but at times it truly felt like that!  Now that spring has finally arrived, I love to watch the blooms open on my Saucer Magnolia tree and enjoy seeing the brown grass turn to green.  It’s simply magic!  The only thing that I can think of that could make it any more magical is a Mickey Mouse Wind Chime bringing a touch of Disney pixie-dusted music to the air…and a $15 Disney Gift Card is a nice bonus too!

Sean, author of the Disney Day By Day blog, is hosting this great giveaway and is offering all Mouse Ears Mom Facebook fans an easy entry by using the Rafflecopter link below.

Here are the full details of the giveaway:

  • The giveaway will run from Saturday, May 3, 2014 until May 11, 2014 at 11:59 PM EST.
  • There is a daily entry for more chances to win.
  • The winner will be chosen by Rafflecopter after verification of entries and notified by email.
  • To officially accept the prize the winner must reply by email within 24 hours. Make sure that you provide an email address that you check regularly.
  • The giveaway is open to United States residents only, ages 18 yrs old and up.
  • The lucky winner will be announced on the Disney Day By Day blog and also on the Mouse Ears Mom Facebook page, after the winner has accepted their prize.

a Rafflecopter giveaway

If you love The Walt Disney World Resort, you’ll love Sean’s blog, Disney Day by Day!  If you’d like to check it out, here’s the link to take you to the Disney Day by Day homepage.

 http://disneydaybyday.com/

Have a Magical Day!

Easy Mickey Mouse-Inspired Valentine’s Day Craft

Mickey Mouse Placemat from MouseEarsMom.comKeep your table clean with this fun and simple-to-make placemat…well at least part of your table clean.

Yesterday,  in our elementary school’s after-school Disney craft class, I had a great time helping young Disney fans make a Mickey Mouse Valentine’s Day placemat.  The first and second grade students did an excellent job and they enjoyed watching the lamination machine seal their artwork.  If you have a little Mousketeer that loves Mickey Mouse this is a perfect craft to complete with him.  If you don’t have a lamination machine, no problem.  Your local business supply store, like Staples, offers laminating services.  To laminate this project our local store would charge around $3.00US per placemat.

Here’s a break down of what you’ll need for your little artist.

placemat 035For this project you’ll need a Mickey Mouse Craft Punch.  I purchased this punch at A.C. Moore Craft Store.  On a side note, I have to tell you that you’ll love it!  If you don’t have an A.C. Moore store near you, I’ve seen the punch available for purchase on-line.  In addition, you’ll need a 12″ x 12″ piece of scrapbook paper for your base, a glue stick, an 8.5″ x 11″ piece of copy paper, and one pink and one red piece of construction paper or card stock for the Mickey punches.

placemat 001Cut your heart base out of the white copy paper by folding the paper in half and using the entire half of the paper.  Start at the bottom tip and cut to the side corner for the shoulder of the heart.  Have your child use a glue stick to attach the paper heart in the center of the 12 ” x 12″ scrapbook paper.

placemat 003Next, fill in the white heart with the colored paper Mickey heads.  I started with the color red Mickeys and glued each one in place with the use of a glue stick.  There were a total of 41 red Mickey punches and 22 pink Mickey punches used on my placemat.  What was really fantastic about doing this project with the kids is that each child decided to complete the project their own way.  They didn’t care that I had used exactly 27 Mickeys in one row and 21 Mickeys in another row.  All the placements came out really cute and unique to each child.  I had them write their names and grade level on their finished piece, so Mom & Dad will remember how little and adorable their child was when looking at the placemat years down the road.

placemat 022For anyone else out there that want’s to see how I glued the Mickeys onto the heart, here’s a close up of the center.

Now I have one more afterschool simple craft idea I need to come up with.  I’m thinking about teaching the students a little bit about the purpose of molds…and not the kind of mold that cause illnesses.  They’ve already learned how to take something away by using the craft punches and have used tons of glue too.

Any ideas you’d like to share?  Please do!

Thanks for stopping by the blog today!  Have a Magically Mickey Day!

Mickey and Minnie Mouse Heart cookies

Valentine dipped cookieA Minnie Heart That’s Oversized With Sweetness

Last week I shared with you an inexpensive and simple Valentine Mickey and Minnie Mouse magnet project for you to make with your little Mouseketeers.

Mickey Inspired magnetshttp://www.mouseearsmom.com/2014/01/16/inexpensive-and-simple-valentines-day-craft-for-children/

Last night I decided to turn the magnets’ designs into chocolate covered sugar cookies. My two-year old daughter, Victoria, loves Minnie Mouse and  I thought this Minnie Mouse Inspired heart-shaped cookie would be a cute Valentine to hand out.  I’ll attach a little note saying, “My Minnie Heart Is Sweet for You!”

The cookies were easy to make, but because of drying time, expect to spend a little extra time to complete the steps.   If you’d like to make them too, here are the supplies that you’ll need:

  • Heart shaped sugar cookies
  • Red chocolate
  • Bright White chocolate (for Minnie Mouse’s polka dots)
  • White M & M candies (for Mickey Mouse’s buttons)
  • Dark chocolate.  I found Chocolate Cherry Cordial Candy Melts from Wilton at our local craft store- YUM!

Valentine cookies 008

  1. Once you’ve made your sugar cookie hearts, melt your red chocolate in a shallow pan that’s big enough to allow you to lay a cookie down flat in the pan.
  2.  Lay each heart, one at a time, in the red melted chocolate.  Using your fingers, gently pick the cookie up and shake the excess red chocolate off of the heart.  Then lay it on wax paper.  To make a Mickey heart, take two M&Ms and place them on the bottom of the heart before it starts to dry.
  3. After the red chocolate has solidified, melt the dark chocolate in a small container that is deep enough to submerge the top of the hearts.Valentine cookies 004
  4. Dip the tops of each heart in the dark chocolate.  Now the Mickey hearts are done!
  5. To complete Minnie’s look –  melt a small amount of white chocolate in a decorator bag.  I like to use Wilton’s disposable bags.  Once melted, snip the very tip of the bag off, making a small hole in the bottom.  It’s important that you don’t cut off too much of the bag or it will allow too much chocolate to pour out at once.
  6. Last but not least, pipe Minnie’s white polka dots onto the bottom of the remaining cookies.  Done!

Valentine cookies 010

Are you ready for Valentine’s Day?  I’m working on it, but I still don’t know what to have Gavin hand out!  He couldn’t care less about Valentine’s Day, telling me to “Just pick something out Mommy”.  I’m wondering if it is being six years old and a boy that’s has Valentine’s Day on the bottom of his favorite holiday list.  Oh well, at least my little Minnie Mouse fan is excited!

Are you making anything special for your kids to hand out to their classmates?  I’d love to hear about it!  Have a great Sunday everyone!


Mickey Mouse Inspired New Year’s Eve Party Banner

2014Happy New Year!  Let’s Make 2014 Magical!

Are you planning to visit Mickey in 2014?  If your family is anything like mine, you’re already counting down the days!  Ring in the New Year and remind yourself that there’s a “magical” adventure awaiting your family in 2014, by creating this simple Mickey Mouse Inspired banner.  With the use of cookie cutters, card stock, glue, and glitter, I made it in about 15 minutes.

Christmas 2013 120

I used Wilton’s large number cookie cutters and an oversized Mickey Mouse cookie cutter that I purchased at Walt Disney World. If you don’t have a Mickey cookie cutter, I scanned it so you can use it for a template.  Click here to print it out the template:  Mickey Mouse template

  • Using black card stock, cut it down into four 6″ x 6″ squares.
  • As pictured above each “number” will get a square.
  • Brush glue on the inside of each of the cookie cutter numbers.
  • Sprinkle with glitter.
  • After a minute remove the cookie cutters, wash them and set aside to dry.
  •  Once the glue has dried, shake off the excess glitter.
  • Hole punch the corners of the squares.
  •  Using ribbon or yarn, tie each square together and you’re done!

Christmas 2013 123

Be safe and enjoy this New Year’s Eve!

I wish you and your family a Happy, Healthy and Magical 2014!