Magic Kingdom’s Sweetly Hidden Gem

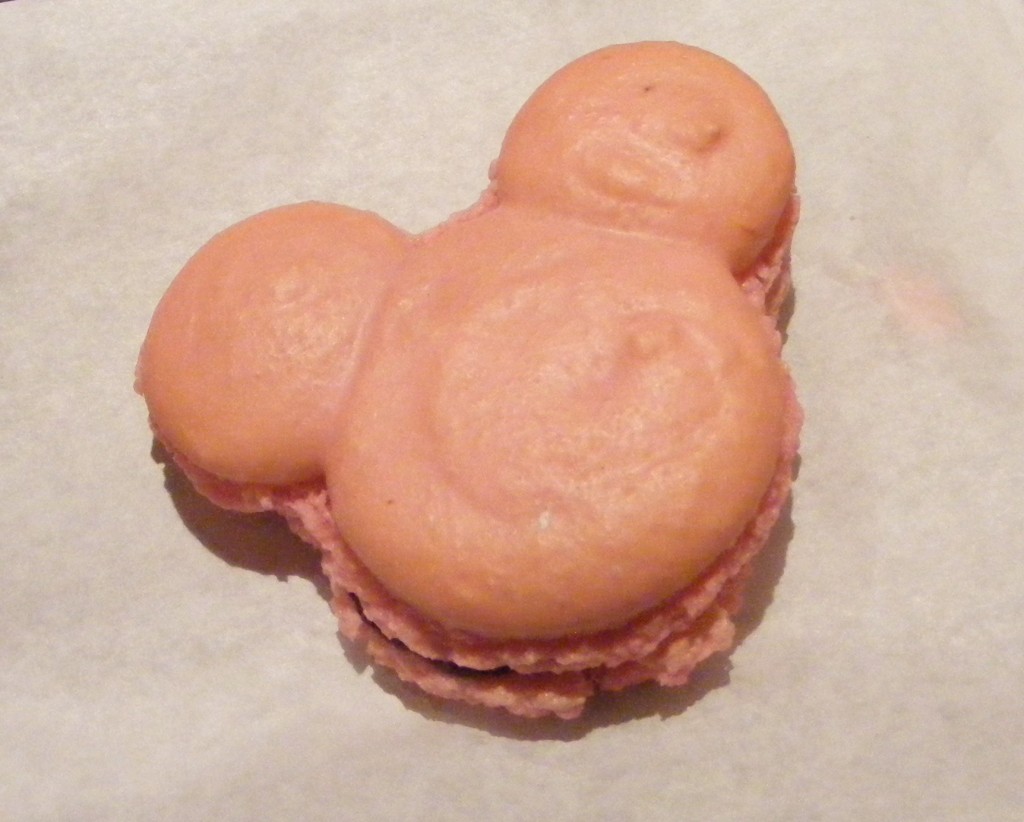
Mickey MacaroonCan you say “YUM”?

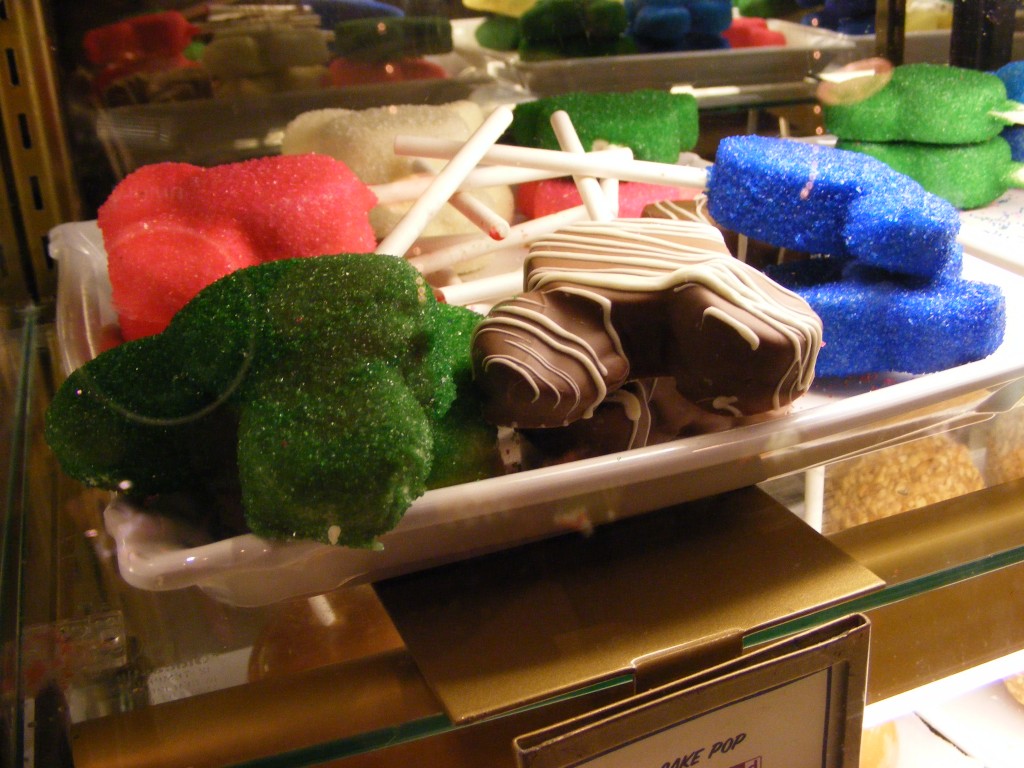
If you’ve read my blog before, than you probably know I’m a HUGE fan of Disney-Inspired treats.  Well I just have to share with you my latest discovery while walking around The Magic Kingdom last week, the strawberry Mickey Mouse Macaroon!  You’re probably wondering where I found this “Minnie”-ature treat.  It was tucked away in the heart of a gift shop I had visited before and simply never noticed the creative station right in the middle of the store.  This little gem was just one of MANY themed treats ready for guests to enjoy.  From cake pops, to apples, to brownies and cookies, every one was sprinkled with Disney magic for eating.

Today I’m blogging about this special location over at “The Disney Moms” blog.  I’d love for you to stop by, read all about my discovery and see photos of what treats this spot has to offer.

Here’s a glimpse!

Mickey Cake Pops

If you’d like to see more, you can read my article here:  http://networkedblogs.com/SNTjn

I hope you have a Magical Day!

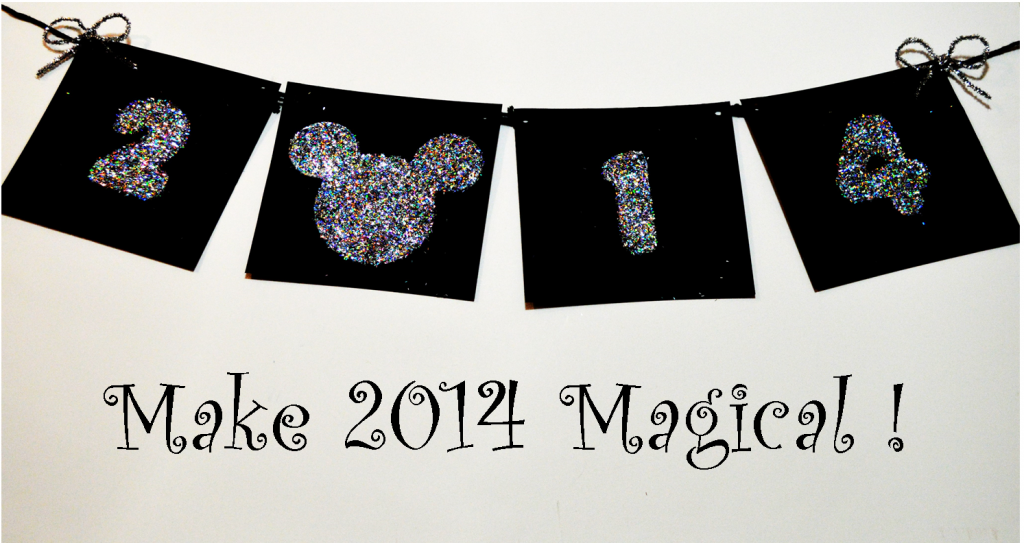
Mickey Mouse Inspired New Year’s Eve Party Banner

2014Happy New Year!  Let’s Make 2014 Magical!

Are you planning to visit Mickey in 2014?  If your family is anything like mine, you’re already counting down the days!  Ring in the New Year and remind yourself that there’s a “magical” adventure awaiting your family in 2014, by creating this simple Mickey Mouse Inspired banner.  With the use of cookie cutters, card stock, glue, and glitter, I made it in about 15 minutes.

Christmas 2013 120

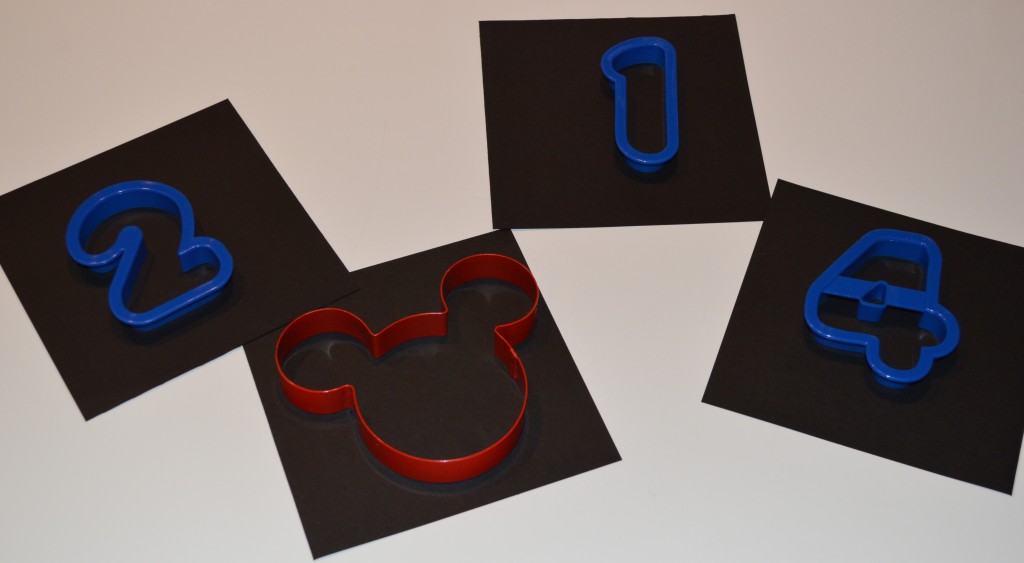
I used Wilton’s large number cookie cutters and an oversized Mickey Mouse cookie cutter that I purchased at Walt Disney World. If you don’t have a Mickey cookie cutter, I scanned it so you can use it for a template.  Click here to print it out the template:  Mickey Mouse template

  • Using black card stock, cut it down into four 6″ x 6″ squares.
  • As pictured above each “number” will get a square.
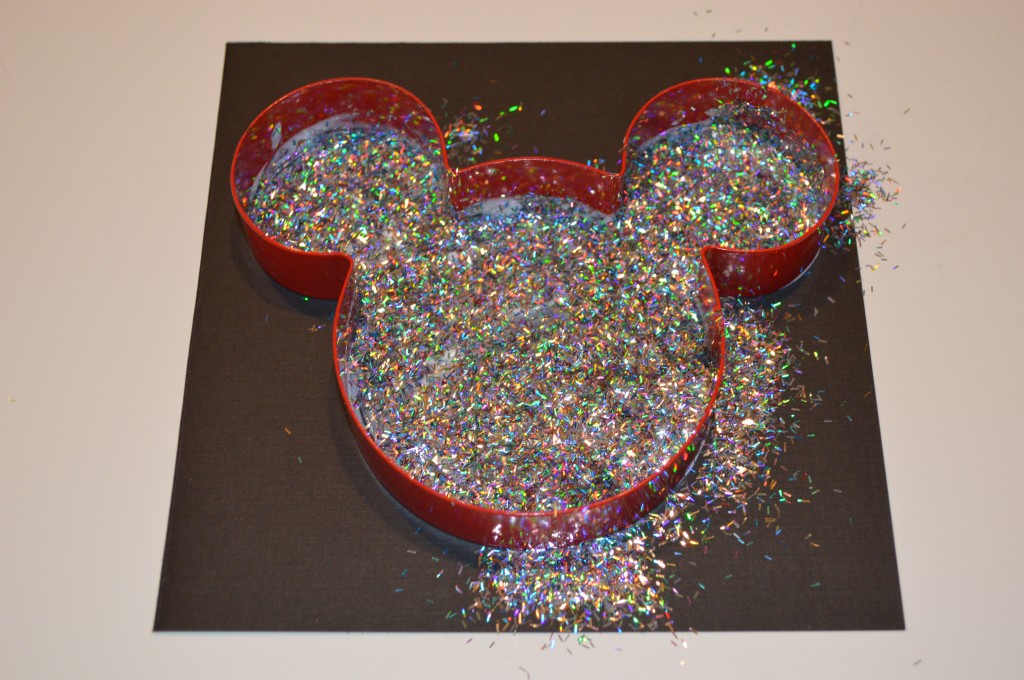
  • Brush glue on the inside of each of the cookie cutter numbers.
  • Sprinkle with glitter.
  • After a minute remove the cookie cutters, wash them and set aside to dry.
  •  Once the glue has dried, shake off the excess glitter.
  • Hole punch the corners of the squares.
  •  Using ribbon or yarn, tie each square together and you’re done!

Christmas 2013 123

Be safe and enjoy this New Year’s Eve!

I wish you and your family a Happy, Healthy and Magical 2014!

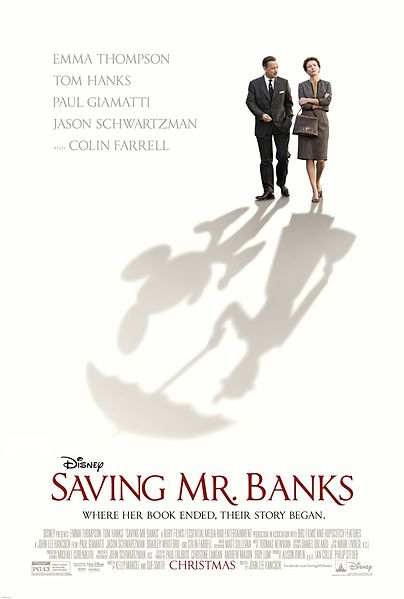
Mouse Ears Mom’s Review of “Saving Mr. Banks”

Saving

Is Mary Poppins one of your favorite childhood films?

This past weekend I had the pleasure of viewing the movie, “Saving Mr. Banks”.  Today I’m excited to share with you my thoughts on this film.  Reviewing this film as a mom and Disney Enthusiast, I’m simply telling you my opinions of the movie.  I am in no way affiliated with The Walt Disney Company.  Having said that, on with my review!

My Thoughts as a Mom

As a mom of two small children, I wouldn’t suggest taking young children to see “Saving Mr. Banks”.  Yes, it’s a Disney movie, and there wasn’t a thing that was inappropriate for them to see; however they would find it extremely boring.  It’s not a kid’s film, nor will a young child fully comprehend what is going on in the movie.  This is a film that you leave the kids with a sitter and enjoy a couple of hours going back in time to an era where Walt Disney walked the streets of his Burbank studio.

My Thoughts as a Disney Enthusiast

As a Disney Enthusiast, I couldn’t adore this movie more and I assure you, that if you too are a Disney “File”, you will leave the movie theatre with a tear in your eye.  I relished every single moment in the film.  Often when I “review” a film I try to disclose very little about the film’s plot and focus on reviewing the movie as a whole.  When going to see a movie I like to discover it on my own, not enter a theatre with the entire storyline already lodged in my memory and I assume you share in my sentiments.  However, in this review I’m going to share some details of the movie, as its required in explaining my thoughts on the film.

Before seeing “Saving Mr. Banks”, I expected to watch a film about the creation of Disney’s classic movie, Mary Poppins.  In actuality, the film has very little to do with Julie Andrews, set designs, and the physical filming of the magical nanny story.  In contrast, it tells the story of how the creation of P.L. Travers’ character Mary Poppins came to be, allowing viewers to see the heart and soul behind the creation of her classic story.  It’s a beautiful, yet heart wrenching story that will give you an understanding of Mrs. Travers, who’s portrayed by Emma Thompson.  In addition, “Saving Mr. Banks” gives us a bird’s-eye view of the often hysterical, yet most definitely stressful, process the Sherman brothers and Walt Disney endured to fulfill their dream of bringing Mary Poppins to life on the big screen.

“Saving Mr. Banks”  is filled with fantastic sets that transport you back to both Australia in the 1900’s and Southern California in the 1960’s, complete with a trip to Disneyland!   Director, John Lee Hancock gives worldwide Disney fans a wonderful gift in this film.  From Walt’s mannerism’s, to the color palates chosen for the film’s 1900’s and 1960’s scenes, and even the vintage character plush, Hancock’s dedication to keep his audience submerged in the movie is apparent in each small detail.

Being a die-hard Disney fan, it was hard for me to imagine anyone playing Walt Disney in a film.  Tom Hanks did a wonderful job; however, “Saving Mr. Banks” is not directly about Walt Disney.  Walt’s part in this beautifully orchestrated telling of the brilliantly made musical, Mary Poppins, pulls the movie together with his iconic words of wisdom.  He speaks of letting go of the past,  the important role storytelling has in all of our lives and of course, always fulfilling a promise.  I could share more but I’d like you to discover this heaping “spoon full of sugar” and its many lessons on life for yourself.

Take the time to see “Saving Mr. Banks”.  I promise you, you’ll enjoy it!
Disney Wrapping: Tips to Create Magical Packaging

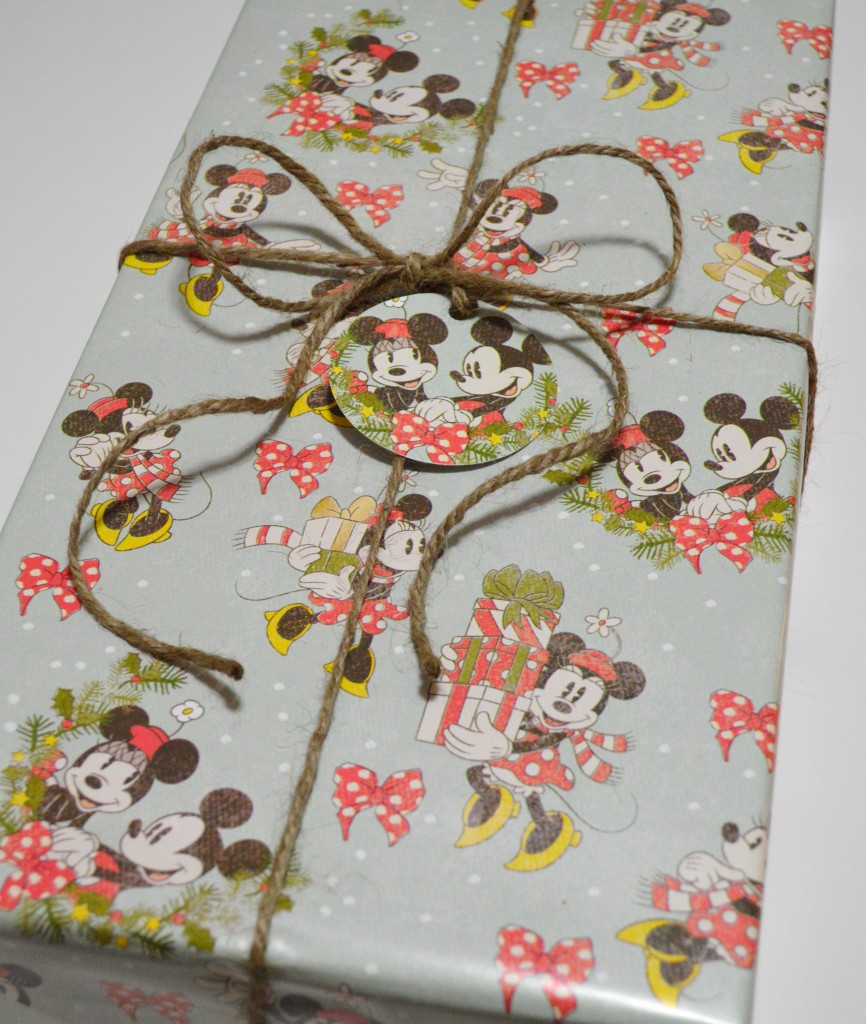
wrapping-paper-022-1024x680

Every Special Gift Deserves a Perfect Tag

Christmas presents wrapped neatly in pretty Disney prints and decorated lovely with ribbons and bows are quite a beautiful sight for wide-eyed children of all ages.  I have to admit, I LOVE LOVE LOVE wrapping paper, bows, ribbons and any Christmas trim you could imagine.  Walking down the seasonal isles in my favorite stores is as much of a thrill for me as it is for my two children!  I carefully select each year’s wrapping paper as if I’d been shopping for the perfect color to paint a newborn’s room.  Yes, I know, I give entirely too much thought to things that others may dismiss in a mere moment, but I believe that the perfect gift deserves the perfect presentation, including the first thing each child looks at, the gift’s name tag.

Minnie Wrapping paper

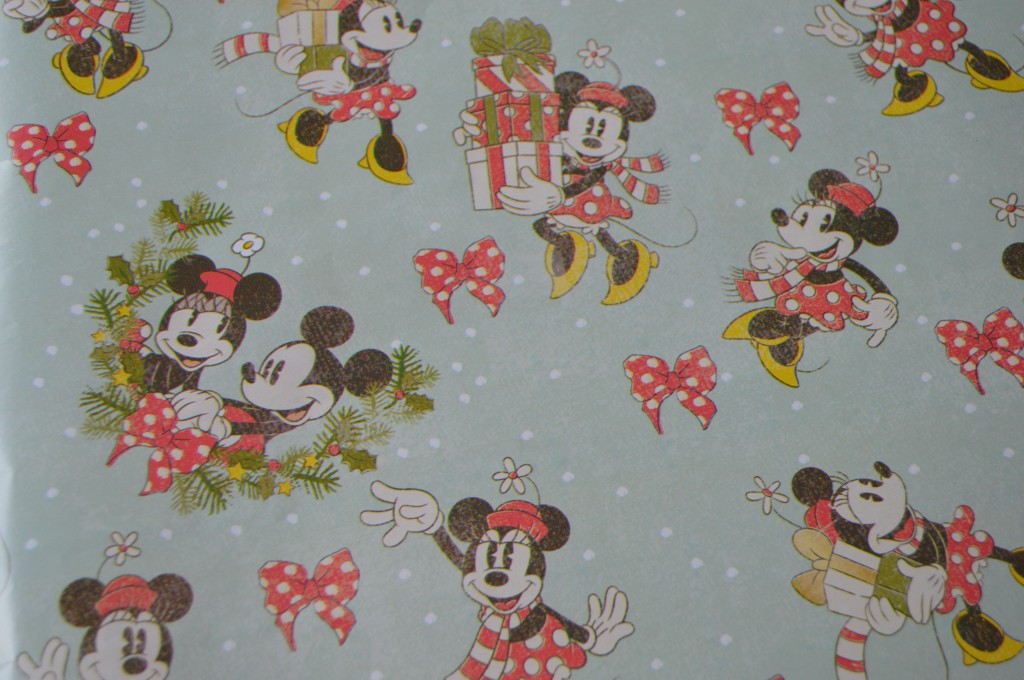
This year, I chose this pretty Minnie Mouse print for all the little girls in our family.

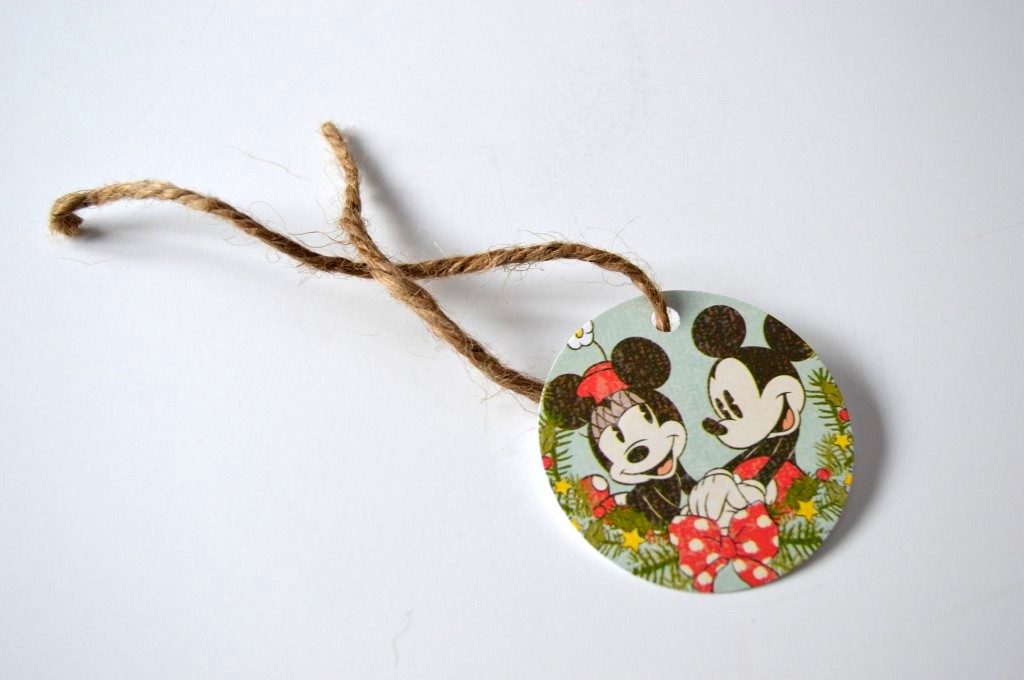
All of the girls on both sides of our family are under the age of five and love Miss Minnie Mouse.  This wrapping paper, with its distressed look, gives off the lovely feeling of an Old World Christmas where baby dolls and wooden toys were top on Christmas lists.  This paper is a perfect fit for our little princesses.  My daughter confirmed this when she squealed “Minnie!” at the sight of the first wrapped gift. I tied each present up with twine to complete the vintage look and searched for the perfect gift tag but couldn’t find a single one that would coordinate with the wrapping paper.  I decided to make some.

wrapping paper 015

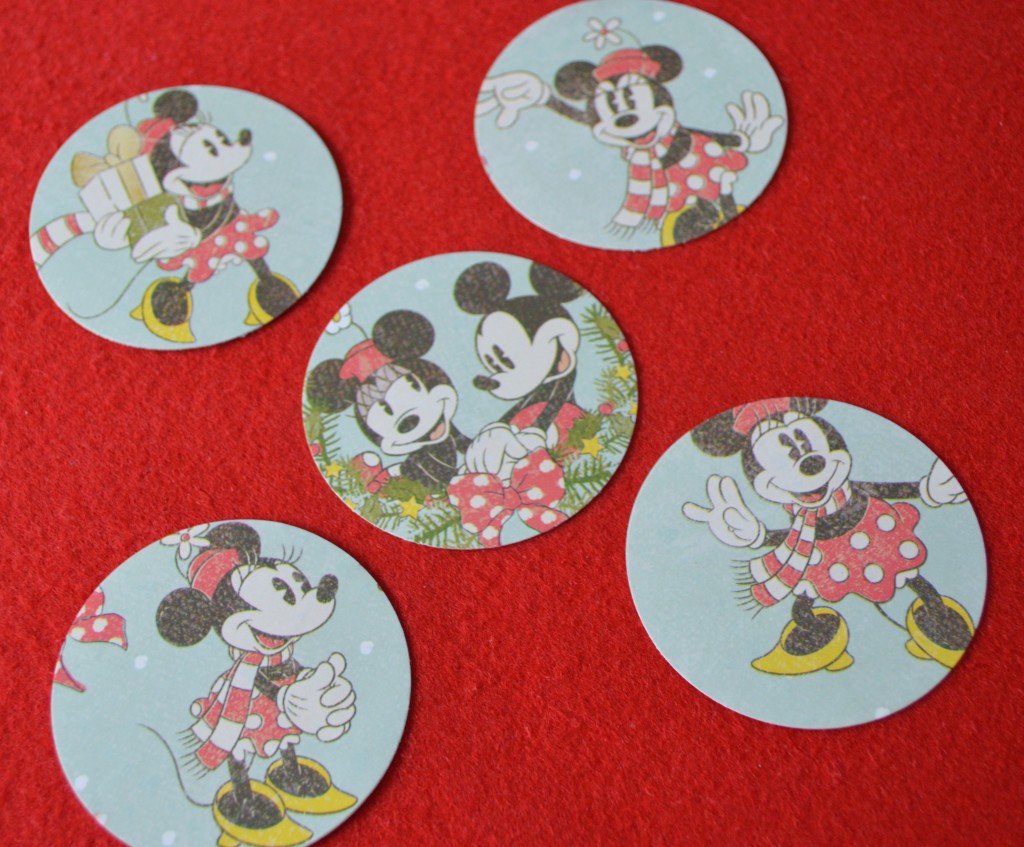
To make your own gift tags out of wrapping paper all you need is a glue stick, card stock, standard hole puncher and a 2″ circle craft punch.

wrapping paper 010

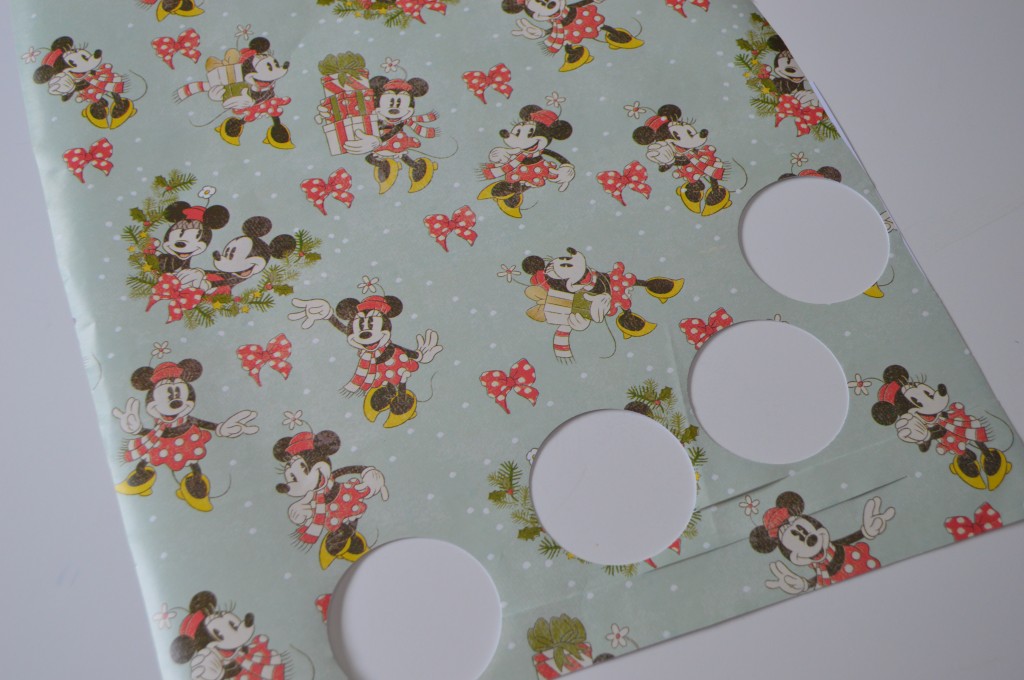
  1. Cut an 8.5″ x 11″ piece of your favorite wrapping paper.
  2. Using a glue stick, glue the wrapping paper onto card stock.
  3. To insure that you’re tags display the image that you’d like
  4. Hole punch the top of your tag to string your ribbon through.
  5. Address the back of your gift tag and you’re done!

wrapping paper 044

 It’s super easy to make your own Disney bag topper too!

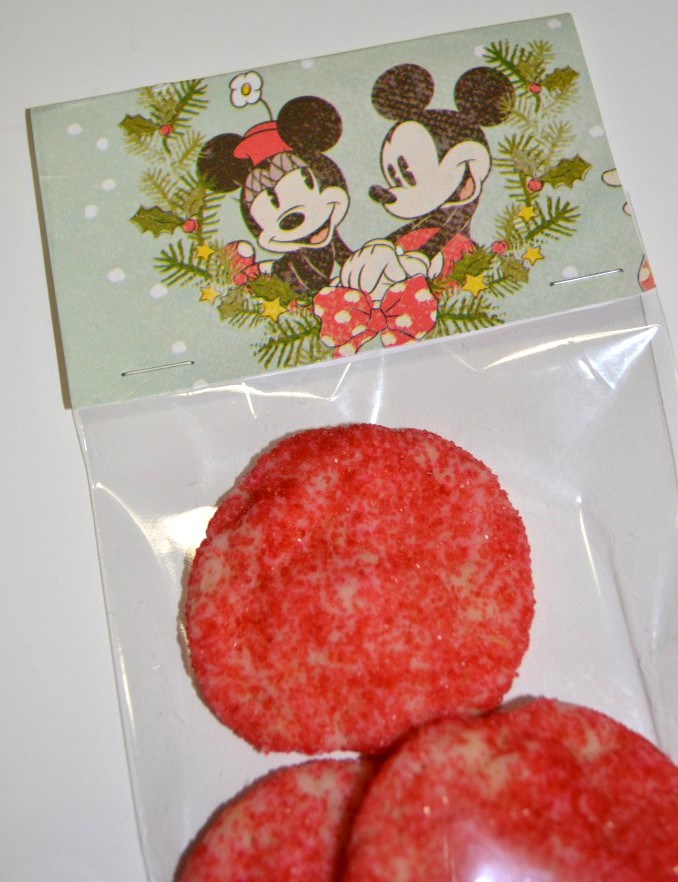
Cookie Bag Topper1

  1. Grab your favorite Disney wrapping paper again.
  2. Use your glue stick to attach the paper to card stock.
  3. Cut the card stock to fit the width of the bag.
  4. Fold the sized card stock in half to create the front and back of the topper.
  5. Staple the bottom of the topper to the plastic bag once on each side.  It’s that simple!

Don’t you think Minnie Mouse makes these pink sugar cookies look even sweeter?

There’s so much you can do with your favorite Disney wrapping paper by simply gluing it to card stock.  Try making cards for your kids to write out to their friends.  If you cut the card stock into pennant shapes, string it together with some twine or ribbon and you’ve made a fantastic decoration for the Christmas party’s dessert table.  The possibilities are endless!

Have you used Christmas wrapping paper for other fun projects?  What kind of things have you made?

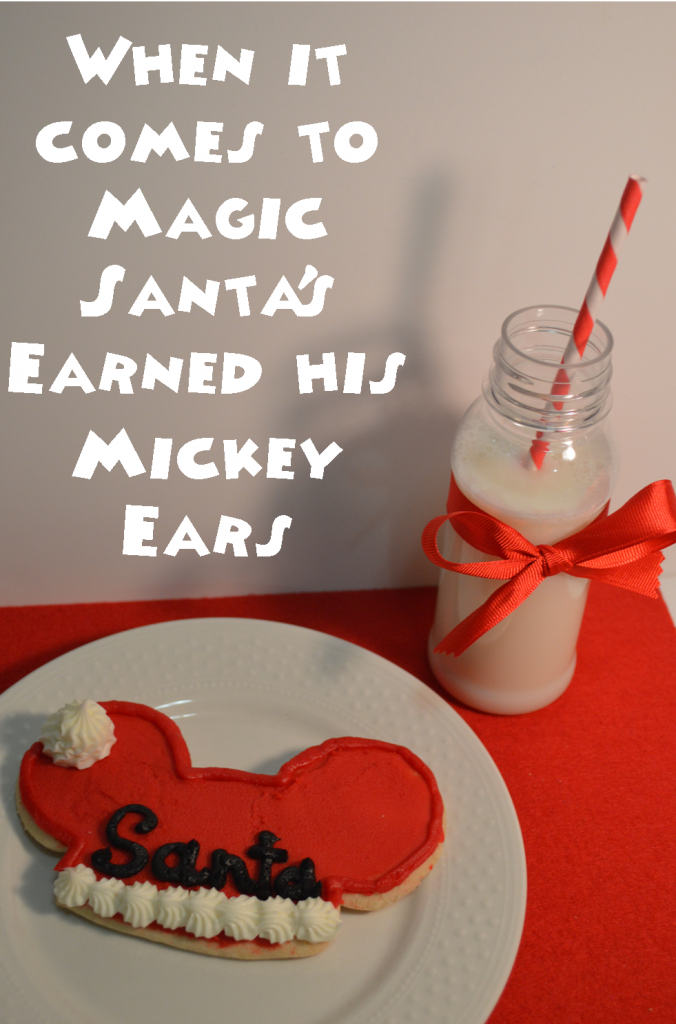
A Set of Mouse Ears for Santa

Mickey Santa  EarsWhen it comes to MAGIC Mickey Mouse shares the top of the list with the “Man in the Red Suit”.

I think it’s only fitting that Santa should have his own set of Mickey Ears!  Today on The Disney Moms Blog I’m sharing my Santa Mouse Ears Sugar Cookies tutorial.  Here’s the link to check it out!    http://thedisneymoms.com/2013/12/13/santa-needs-mickey-ears/

While you’re over there, check out some fantastic articles to help you plan your next Walt Disney World vacation!

Have a great weekend and if you live in the Northeastern part of the US, be careful.  The snow’s on its way!