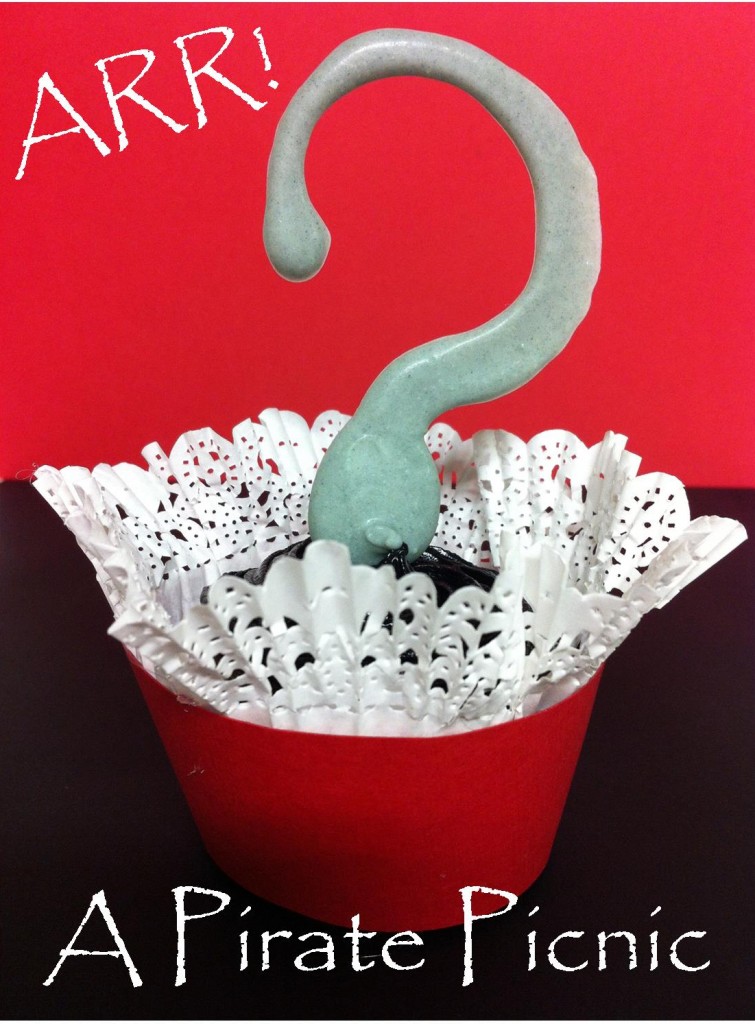
Captain Hook Cupcakes

pirate picnicAhoy Mate!  Ye invited to a Pirate Picnic!

I’m so excited to start this week!  At the beginning of summer break, the kids and I sat down with the summer calendar and a sheet of paper.  On that paper we wrote everything we wanted to do before summer was over.  One item that was a weekly “must do” was a picnic.  Amazingly enough due to schedule changes, summer vacation is more than half way over and we haven’t had a single picnic yet!  I decided this week we’d check off this summer wish list item with a bit of pixie dust.  We shall have a Pirate Picnic!

Both of my children, ages 2 and 6 years of age, are HUGE Pirates fans.  Gavin, the six-year-old, likes Peter Pan and the Pirates of the Caribbean franchise and Victoria, the two-year old, loves Jake and the Neverland Pirates from Disney Junior. This should be a boat load of fun planning and I’m happy to share the stops along the way with you.

Here’s the Pirate Picnic Day Plan:

  • Gavin and Victoria will wake in the morning to find their official Pirate Picnic Invite.
  • Gavin, assisted by his little sister, will have to check off a list of tasks to located the  clues as to where to find the Pirate Picnic Map’s location.  The kids will collect Gold Doubloons along the way as they complete the tasks, which will be items that Gavin usually does to get his weekly allowance.
  • After finding all the “clues”, the kids will be able to guess the location of the map, which will be at his Grandparents house.
  • Once we arrive at their Grandparent’s house, Grandma and Papa will give them the map to the picnic’s location.
  • The Pirate Picnic will be set up in the yard, where Gavin and his sister will find a pirate themed feast of yummy treasures.  One of the treasure treats will be the Captain Hook cupcakes that are pictured above.

Throughout the week I’ll share with you other items that I have prepared for this Pirating day, in hopes that you might be able to use them to create your own Pirate Picnic!    To get you started, check out Disney Junior’s site for Pirate Party printable items, like Gold Doubloons.  They have a bunch of ready to print items that I plan to use for the picnic.  Here’s the link: http://disney.go.com/disneyjunior/parties/birthday-party-ideas/jake-and-the-never-land-pirates-birthday-1825356
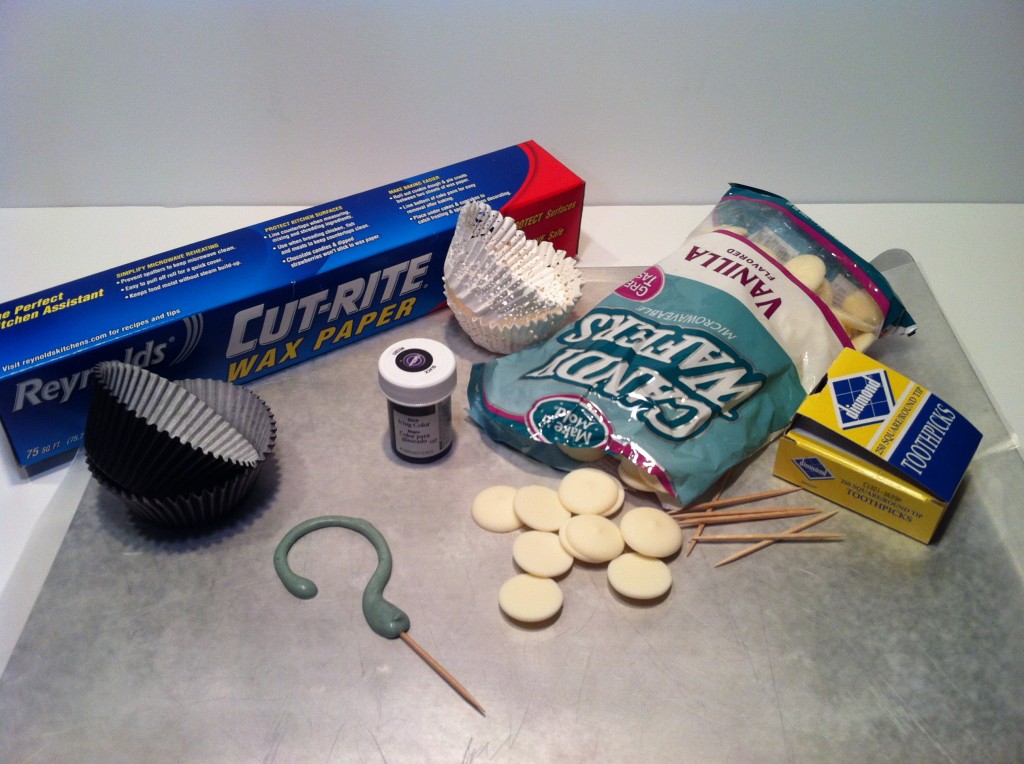
Hook To make my Captain Hook inspired cupcakes that are pictured above, you’ll need the following items, which are pictured: white chocolate melts, black food coloring, toothpicks, wax paper, and a cookie sheet to make Captain Hook’s hook.  Simply draw your hook on a piece of white paper and slide it between a layer of wax paper and your cookie sheet.  Then take your melted white chocolate and add a small amount of black food coloring to turn it silver.  Once the chocolate is ready, use your paper drawing as a template to make the hook, slide a tooth pick in the bottom of the hook and if need be, add a dab of chocolate on top of the toothpick to secure.  Chill in the refrigerator while you make Hook’s cuff.
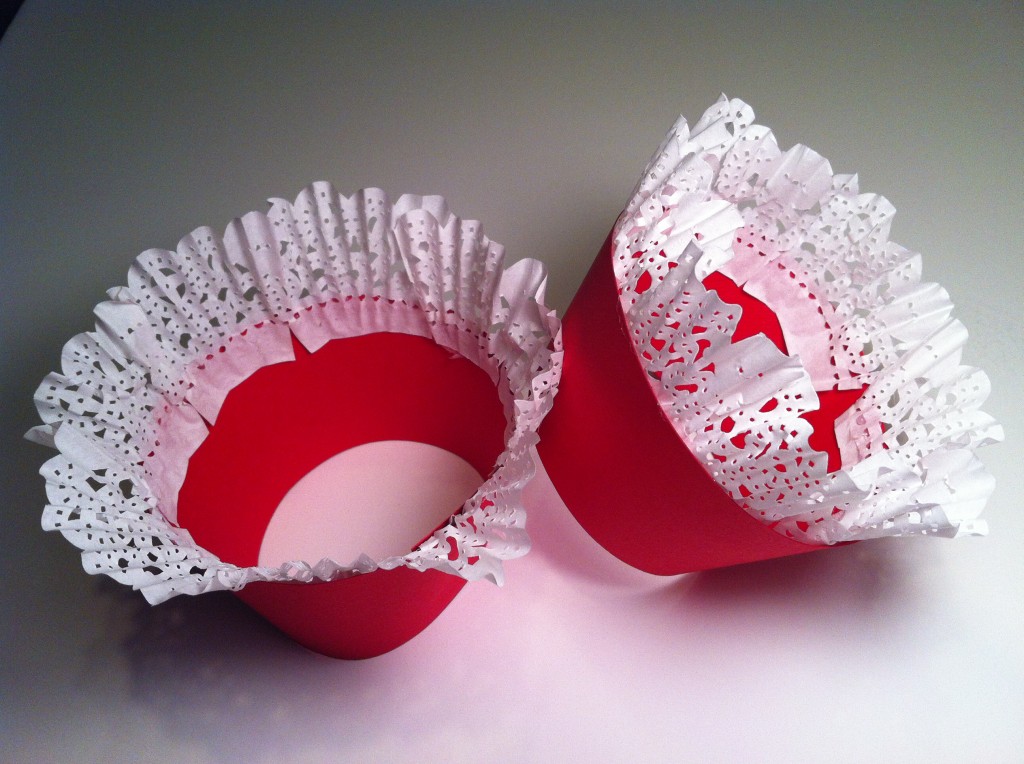
hook cupcake sleeveTo make Hook’s cuff you will need red card stock, glue gun and a doily.  Wilton makes a baking cup kit called Black Doily that I found really easy to use for this project.  The kit comes with the black and white baking cups shown in the supply photo above.  I used the black cup to bake the cupcakes in and the white doily I used as the trim to his red cuff.  I took a picture of them close up so you can see that I cut the base of cup out and cut slits into the doily every inch. This made it easier to glue the doily to the card stock.  I used a little over one doily cup per cupcake.

Last but not least, ice your cupcake with black icing, place the cupcake in Captain Hook’s cuff and gently push the toothpick hook in the center of the cupcake.  Now we are both well on our way to a feast fit for a Pirate!

Have you partied with Pirates before?  I’d love for you to share any Pirate Party photos with Mouse Ears Mom and I’ll share as many as possible on our Facebook page.
Top Three Magic Kingdom Hot Spots for Cooling Down

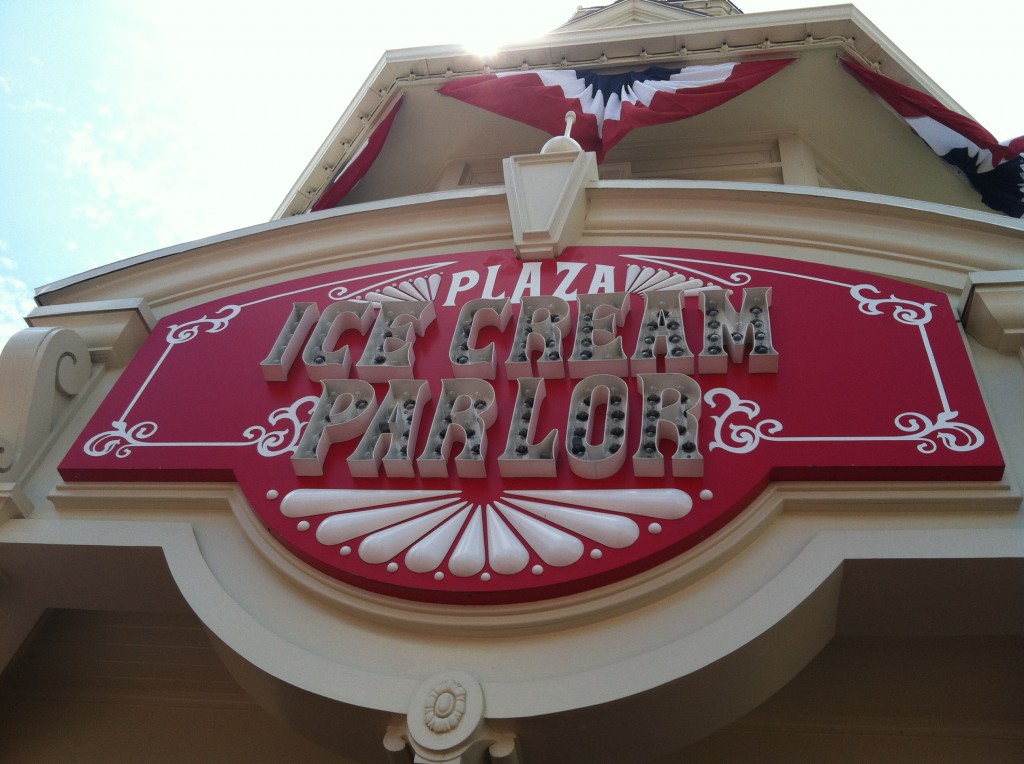
photo (15)“We’re walking right down the middle of Main Street U.S.A”…and sweat is already rolling down our faces when an oasis suddenly appears- The Plaza Ice Cream Parlor.
1. The Plaza Ice Cream Parlor, located at the end of Main Street USA, calls you in with is alluring smell of freshly made waffle bowls and a promise of a cool scoop of creamy ice cream.  It’s menu is simple; offering ice cream sundaes, hand-scooped ice cream cones, a delicious ice cream cookie sandwich and ice cream floats.  However, if you have special dietary needs, the Plaza does offer Tofutti and Rice Dream, also No Sugar Added Raspberry Sorbet and No Sugar Added Butter Pecan.  In addition, if you are simply watching your fat intake, you could purchase their Fat-free Chocolate and Vanilla Swirl.  The purchase cost per item ranges from $4.29 to $5.29 for adult portions.  For little Mouseketeers, a Mickey Mouse Kid’s Cone is around $3.00.  My favorite thing about the Plaza Ice Cream Parlor is the outdoor setting area with stunning views of Cinderella’s Castle.  It’s also a fantastic location to view The Main Street Electrical Parade and the night-time fireworks show, Wishes.  Just remember to go to the ice cream parlor before the parade begins, because the seating fills up fast.

Dole Whip

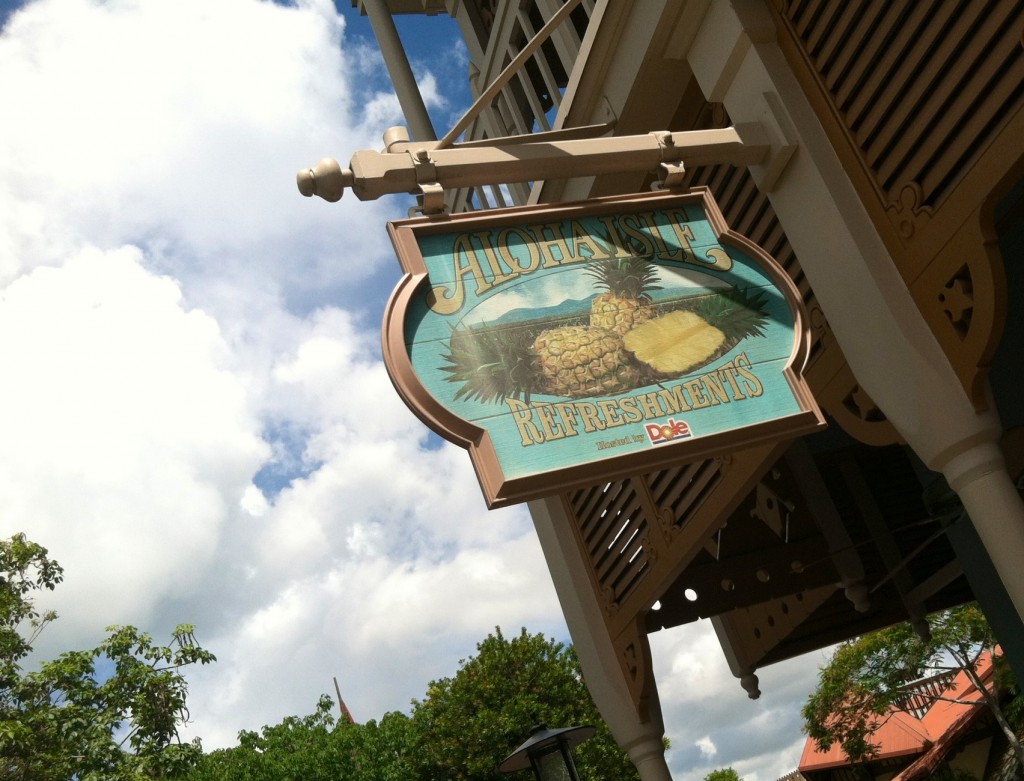
Deep in the heart of Adventureland, where there is danger lurking around every corner, you’ll find nestled quietly, golden treasures hidden behind a window at the Aloha Isle .

2Aloha Isle.  OK, so I’m being dramatic,  if you simply cross the bridge from Main Street USA into Adventureland ,then walk a short distance past a small merchandise area, you’ll find the Aloha Isle Quick Service order window across from The Swiss Family Robinson’s Treehouse Attraction.  This is my ALL TIME FAVORITE place to cool down with a special treat.  The Aloha Isle is often referred to as the Dole Whip stand, since it is famous for its Dole Whip Pineapple products. From its Dole Whip Soft Serve Pineapple or Orange Swirl to the Pineapple Juice Float, this location is a must try once and I guarantee you will be going back for more. If you don’t enjoy pineapples or oranges, the Aloha Isle also offers Coca-Cola or Barq’s Root Beer Floats. The purchase cost per item ranges from $3.79 for the soft serve ice cream to $4.99 for the ice cream floats.  This is also a great location if you are simply looking for a location to purchase Apple Juice, Orange Juice or Pineapple Juice for the kids.

Ice Cream Cart Menu
Photographer: Vanessa Mroczka
Twitter: Vanessa_rules 1
Instagram: so_truee_postss

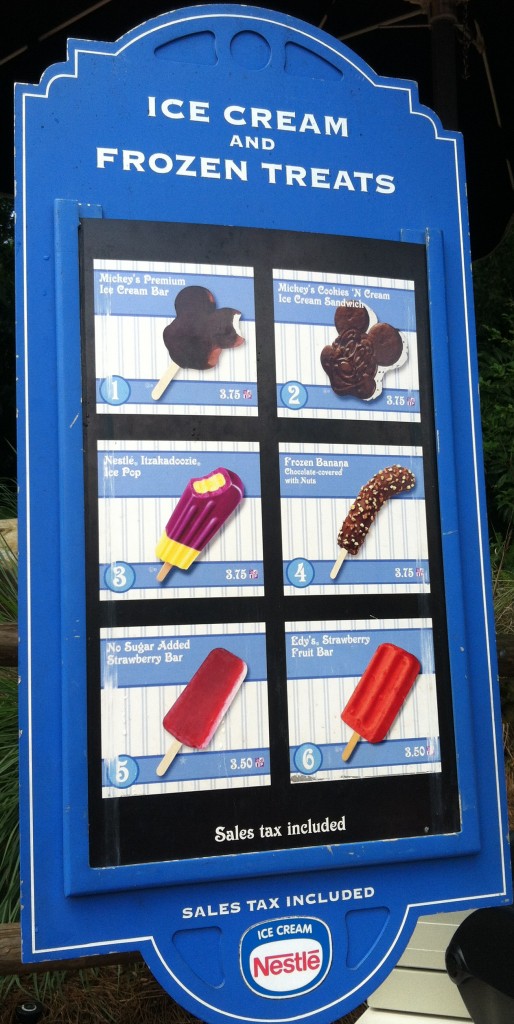
3. Ice Cream Carts-Home to Mickey’s Premium Ice Cream Bar.  My final “Hot Spot’ for cooling down is actually found in 11 location throughout Magic Kingdom Park’s Six “Lands”.  The Ice Cream Carts offer a variety of frozen treats that vary at each cart.  There is one classic item that is a favorite of most Walt Disney World guests, the Mickey Premium Ice Cream Bar.  Moms and Dads, the bars are extremely yummy and enjoyed by children of all ages, but I do want you to be aware of the nutritional values on this set of Mickey Ears.  One Mickey Premium Bar is  330 calories with 22 grams of fat.  It’s a rather large ice cream bar and most little mousekeeters will not be able to finish one.   That said, you may want to have smaller children share one or even opt for the Strawberry Fruit Bar, which is a fraction of the calories,

What is your favorite “cool” snack at The Walt Disney World Resort?  I’d love to know! Please feel free to post them in the comment section below.

Mickey Mouse “Premium” Healthy Bar

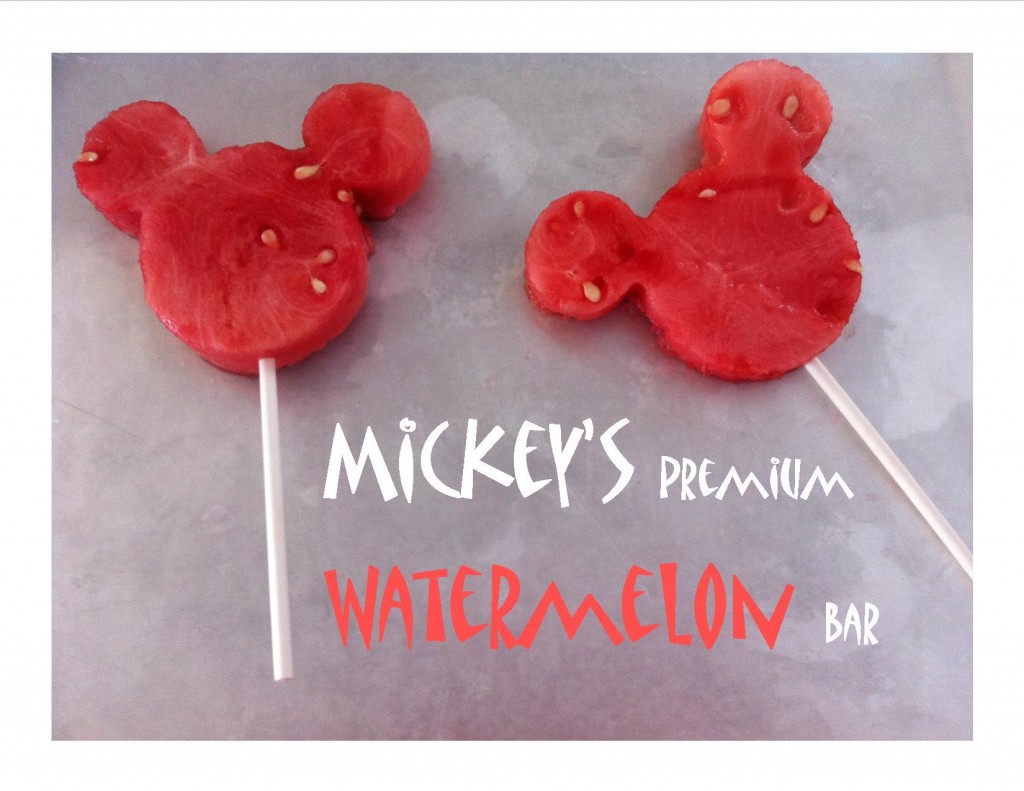
Mickey's Watermelon BarMouse Ears Mom’s Healthy Twist on a Walt Disney World Treat Favorite
If you’ve ever traveled to The Walt Disney World Resort then you know that the “Mickey Premium Ice Cream Bar” is a classic treat.  Within moments of the stepping foot on property, I am quickly discarding the evil nutritional fact wrapper and chopping off one of those precious chocolate covered ice cream ears!  At that wonderful moment the family vacation has officially begun.    But unfortunately, vacations end and once you leave Walt Disney World, the magical bars stay behind.  This is probably a good thing for my waistline.

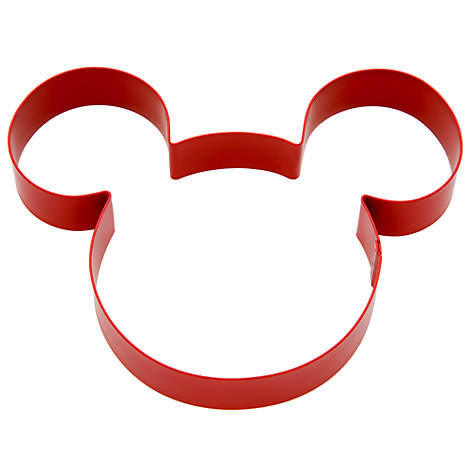
Using my family’s favorite summer fruit, I decided to pay homage to the “Worlds” most classic ice cream ears by recreating them with a healthy twist.  Super easy to make, you and your kids could be enjoying Watermelon ears this evening!  All you need is a watermelon, a Mickey Mouse cookie cutter, and some cookie pop sticks.  After cutting the watermelon, place it on a cookie sheet lined with wax paper, then insert a cookie pop stick, and freeze on the cookie sheet.  I also chose to place each pop in a freezer bag.  I used the cookie cutter that is pictured to the right.  It can be purchased on Disney Store’s website or at Disney’s Parks.

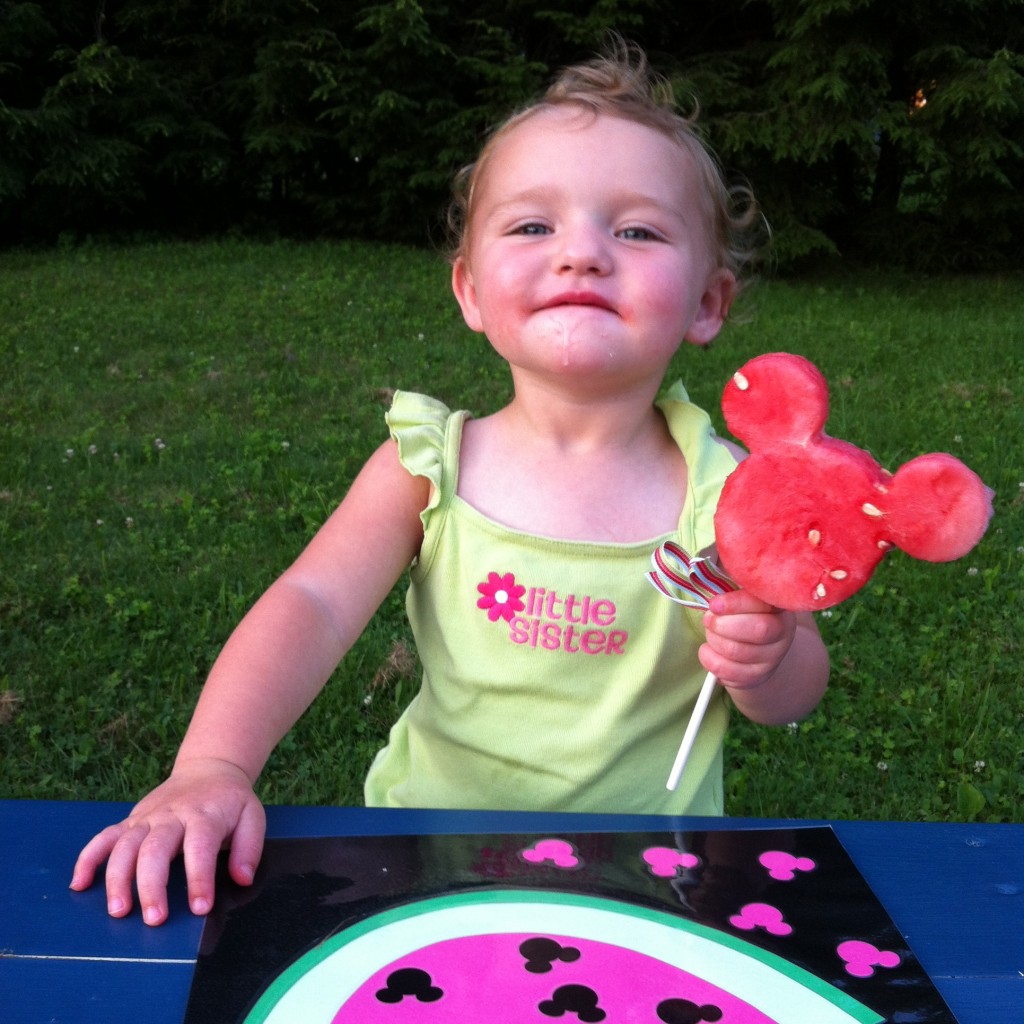
My two-year old, Victoria, LOVES popsicles.  The juicier the pop, the better is her motto.  Since the watermelon was frozen, she spent some time sucking the juice out of this pop!

Victoria enjoying her Mickey pop

As you can see by the photo, Victoria absolutely enjoyed this fruit version of Mickey’s ears!


Mickey Mouse Printable Summer Craft

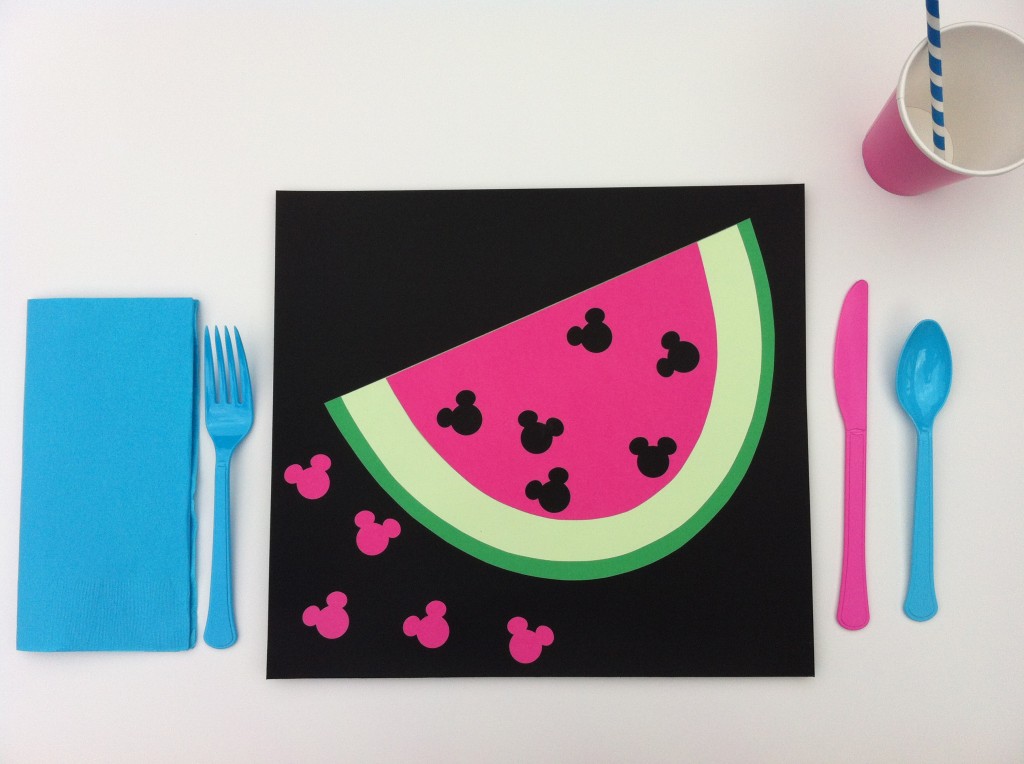
Mouse Ears Mom 012Mickey Mouse Watermelon Placemat

If you’re a Friend of Mouse Ears Mom on Facebook, then you already know that this week I’ll be talking about a few of the most delicious things to enjoy during the heat of summer and sprinkling them with a touch of pixie dust!

My children’s favorite summer fruit (and mine too) is Watermelon.  July is National Watermelon month, so I’m guessing that our family is not alone when choosing this fruit as our favorite healthy summer treat.  Despite how wonderful watermelon tastes, it’s the messiest of messy.  So, I decided to make this little preschool size Mickey Mouse Watermelon Placemat for my two-year old.  It was super easy to make and I’ve even included a printable stencil to help you.

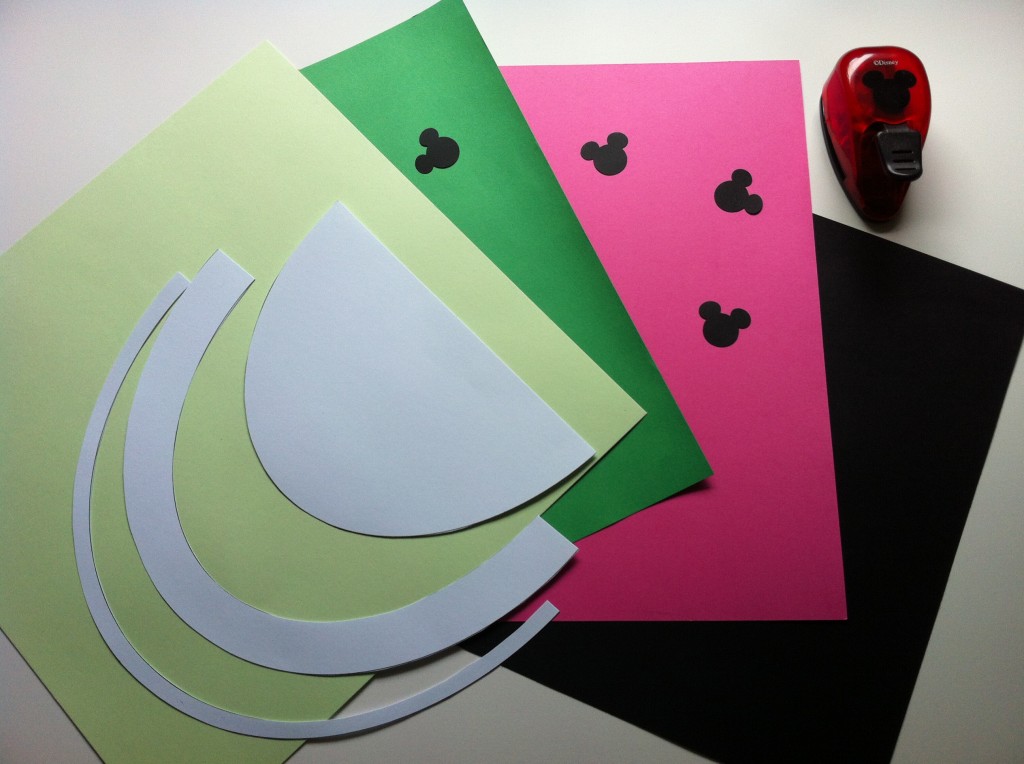
Mouse Ears Mom 016  All you need to make this placemat is four pieces of scrap-book cardstock, black, hot pink, green, and I chose light green for the watermelon rind.  The paper pictured to the left is 12″x12″.  You’ll also need scissors, a glue stick and the trusty Mickey Mouse puncher that is pictured in the top right corner of the image.  I purchased this punch at A.C. Moore craft store.  Last but not least, you’ll need one sheet of card stock to print out the watermelon template.  Just click on the file below for the printable watermelon template.

watermelon template

OK, now after you’ve printed that out, you’re ready to get started!  Here are the quick steps to complete you’re little one’s placemat.

  1.  Cut the black scrapbook paper to 11″ top to bottom and leave the width at 12″.  The remaining one inch black strip you can use to make your Mickey seeds and place them off to the side.  If your little Mousketeer is nearby, they can help with that part.  The puncher is very easy to use.
  2. Cut out the three parts to the watermelon template.
  3. Trace each part onto the pink and green papers, cut each out and then glue them all together, including those Mickey seeds you placed to the side earlier.  Since it’s probably your Mouseketeer’s glue stick you’re using, she can help you with this part too!
  4. Glue your colorful watermelon onto the black scrapbook paper.
  5. With your left over pink paper, punch out a few Mickey Mouse seeds and add that final touch to your placemat.
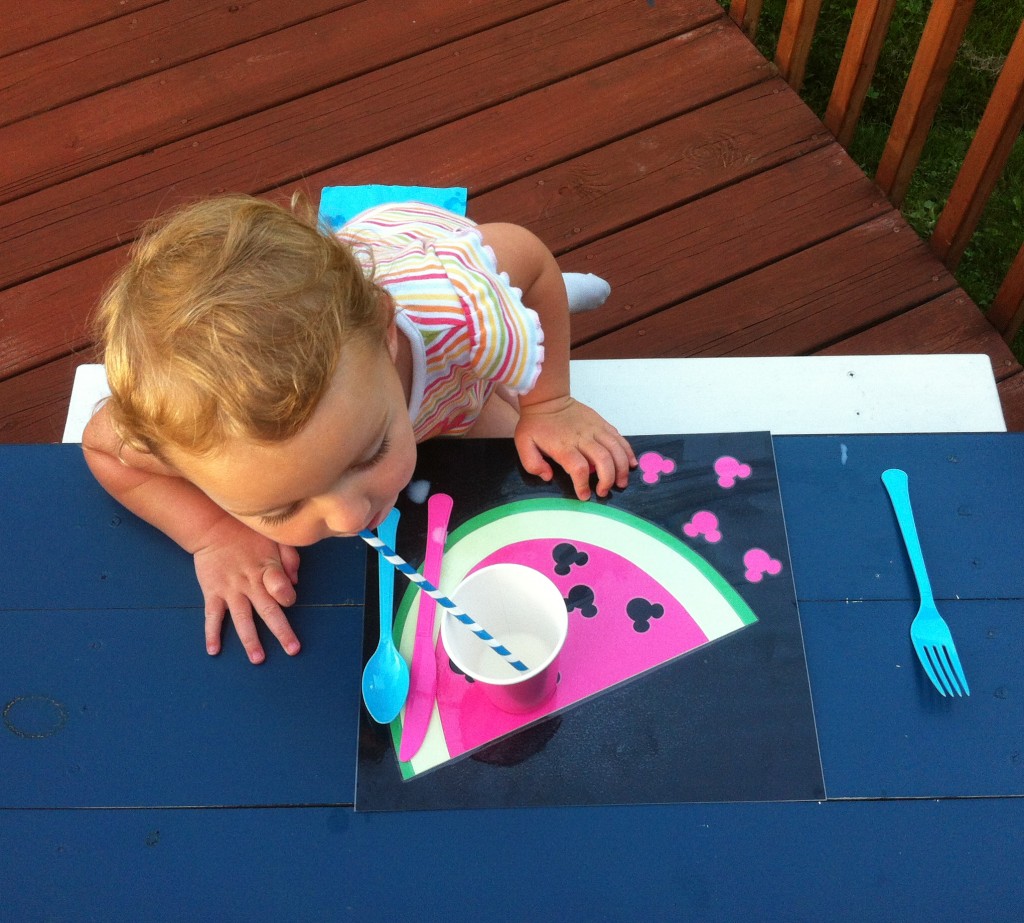
  6. To complete- Laminate.  I do not own a lamination machine, so I asked Staples to help me with this part.  When asked what type of lamination I would like, I chose the heavier weight lamination, due to the depth of the final piece.

Drip Drip DropNow all those little drip, drip, drops are an easy cleanup.

Now, where’s the watermelon?


Disney with Kids- Nemo Attractions

Living SeasToday I’d like to “Just Keep Swimming”…

And tell you about “Splashing” adventures at two of Walt Disney World Resort’s Theme Parks.  If you have read my posts from earlier this week, then you already know that Nemo from “Finding Nemo” is a constant talked about character in my family’s life.  It’s imperative that when at The Walt Disney World Resort we FIND NEMO.  These are the two places within Disney’s theme parks that you can find Nemo.

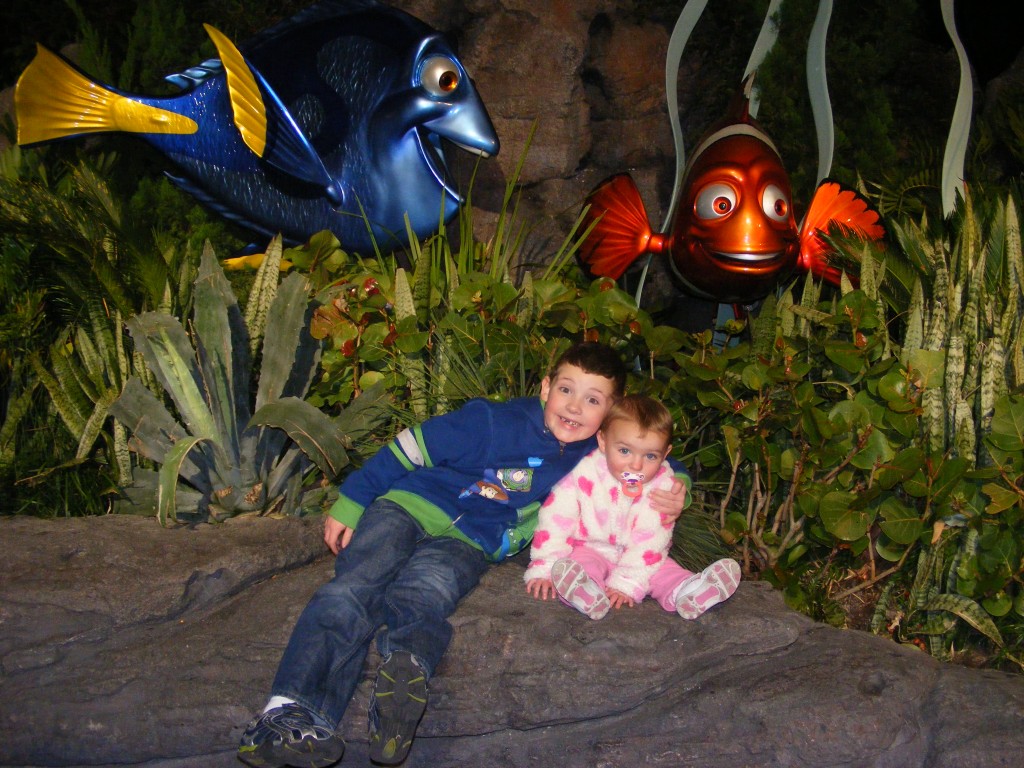
  1. The Seas with Nemo & Friends Pavilion – located in Epcot within Future World.  This attraction is for kids of all ages.  The queue for the attraction is fantastic.  If you and your children focus on your surroundings, your kids might notice that they are walking from a seaside setting into an underwater environment.  Make sure they “Don’t touch the Butt”!  Once through the line, you’ll board your very own clam shell vehicle.  The vehicle is generous in size and we were able to fit our entire family of four (2 adults, 6-year-old and 1.5- year- old) in one vehicle.  I won’t spoil the actual ride but will say that when you depart the vehicle at the end of the ride, you’ll be ready to explore a massive 5.7-million-gallon saltwater aquarium.  The aquarium is home to dolphins, sharks, and sea turtles, to name a few.  At this point it’s up to your family how long you want to explore within this pavilion.  There are TONS of things to do and an abundance of educational fun for the entire family.  My one and a half year old was happy watching the dolphins.  My six-year-old explored quickly and then opted for going to the Turtle Talk show.  Let me say – funny.  It’s very interactive with young children.  FYI kids sit on the floor in the front of the room for the 15 minute show, so be prepared to let your little guy know to stay put when it’s over and you can go get him.  The Sea with Nemo & Friends pavilion also has Bruce’s Shark World, where kids and adults can learn through hands on activities.  I would recommend budgeting time for this pavilion.  It’s really a great spot to relax in a climate controlled environment and follow your kids around.  They will truly enjoy unstructured fun while learning all about “Nemo” and his friends.  Can’t get enough of your fishy friends?  You might want to have dinner at Coral Reef Restaurant, which has an amazing view into the aquarium.  I’ve even seen Mickey swim by the restaurant’s window in his scuba gear!

    Finding Nemo the Musical
    Photographer: Vanessa Mroczka
    Twitter: Vanessa_rules 1
    Instagram: so_truee_postss
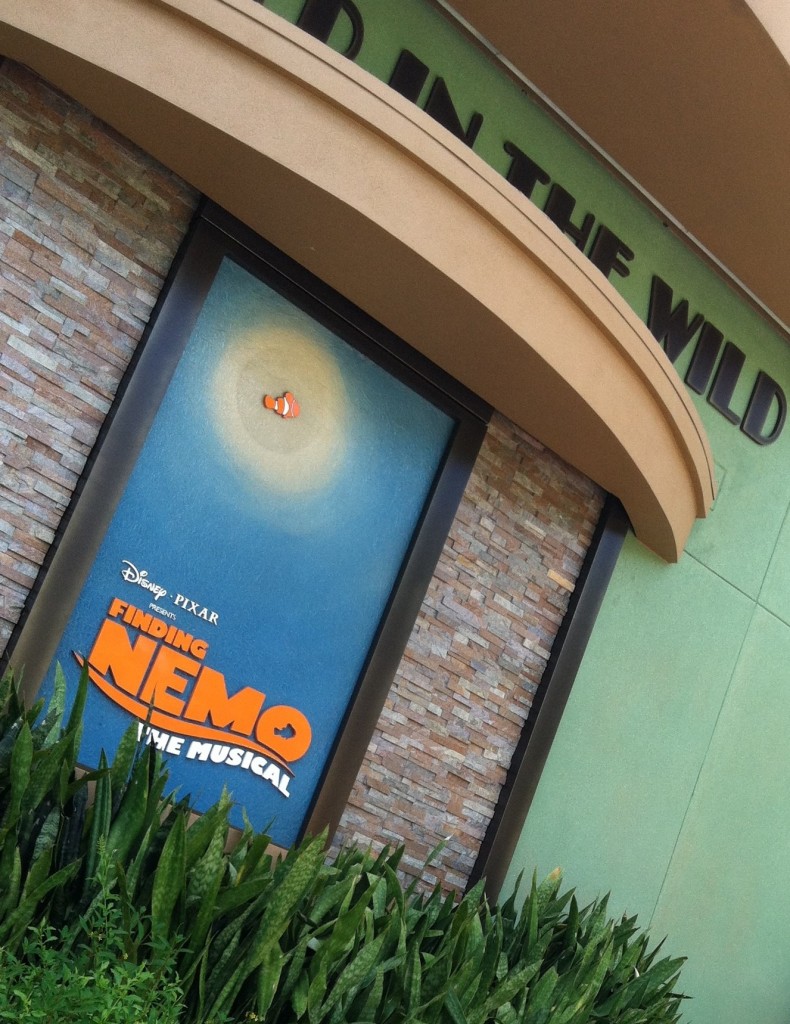
  2. Finding Nemo ~ the Musical – located in Disney’s Animal Kingdom Theme Park within Dinoland USA.  Although this fantastic, over the top show boosting beautiful sets and amazing puppeteering performances, is a must do for many children, I do not recommend the show for children under the age of four.  The show is 40 minutes long.  You might think with the spectacular sets your child would be able to sit through the show.  I speak with experience, my child did not sit more than five minutes and she’s obsessed with Nemo.  The theatre is enormous and she just wanted to run.  So a word of advice, if you are like me and think, “Oh let’s just try it.  Maybe she’ll sit.”  Sit on the end of a row on the far right side of the theatre.  This way, you can leave during the performance when she has a melt down.  Having said that, my six-year-old stayed with his grandmother to see the remaining part of the show and he absolutely loved it.  If you family consists of children ages four and up, make sure you pick up a park TIMES brochure when you enter the park.  This brochure will tell you the times of “Finding Nemo ~ The Musical”.  Schedule it into your day, you won’t regret it!  If you have a family like mine, where one child is the perfect age to watch the performance and the other child is just not ready, have one parent watch the performance with one child and the other parent head to The Boneyard (also in Dinoland USA) with the little one.  Both parents and kids will be happy!

I hope you enjoyed this week’s Nemo Inspired Posts.  Visit Mouse Ears Mom next week where I’ll be talking Summer Treats – Yum!

Have a great weekend everyone!