Tag: Monsters University

Disney Easter Egg Decorating Ideas For Kids: Q-Tip painting and Monster’s U Egg Dying

Easter Eggs 050

Today, many kitchens are filled with families preparing for Easter by dying hard-boiled eggs.

Yesterday, my children and I followed the tradition of decorating eggs, but this year we decorated eggs two different ways, of course both showcasing our #DisneySide. For our usual way of decorating eggs, I purchased a packaged dying & decorating kit to use at Grandma’s house for some hard-boiled egg fun.  I purchased this Monsters University Easter Egg Dye Kit at Target for $3 US.
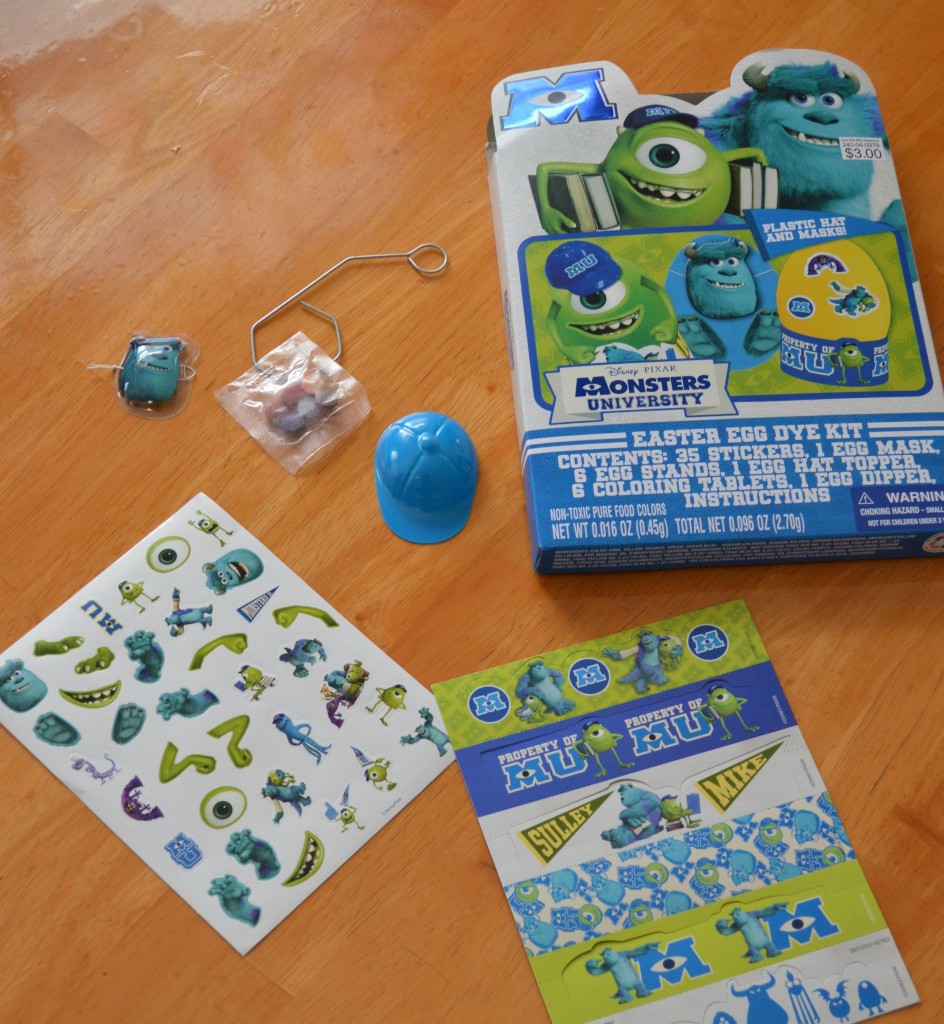
Easter Eggs 018Gavin’s favorite part of the kit was the little blue hard hat that he used for his Mike egg.  I’m thrilled to report that he made this adorable egg for his Mommy!
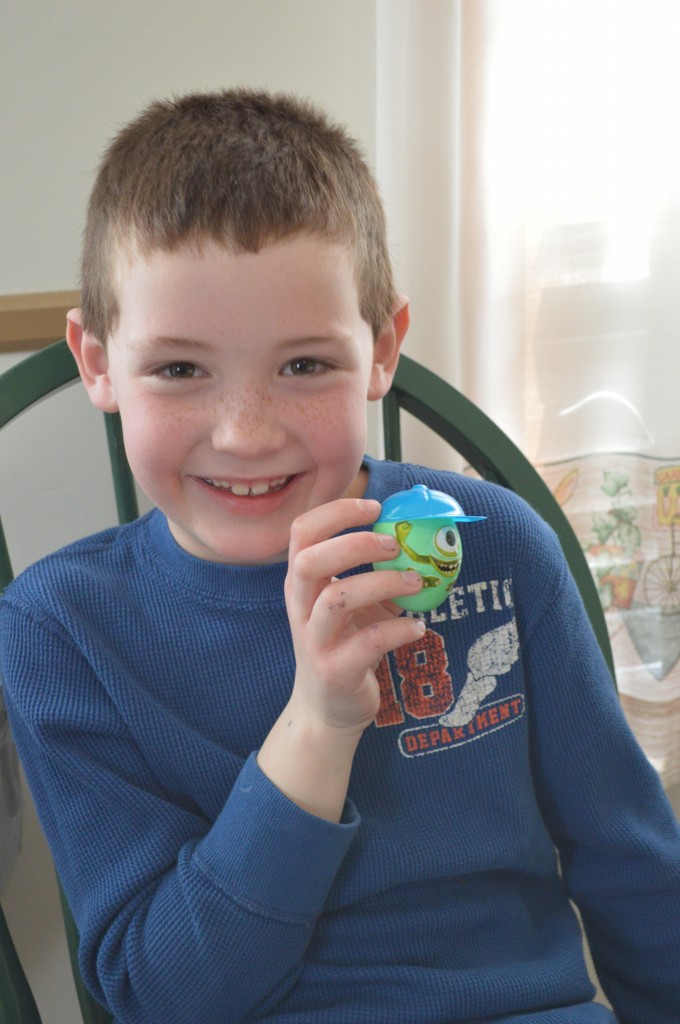
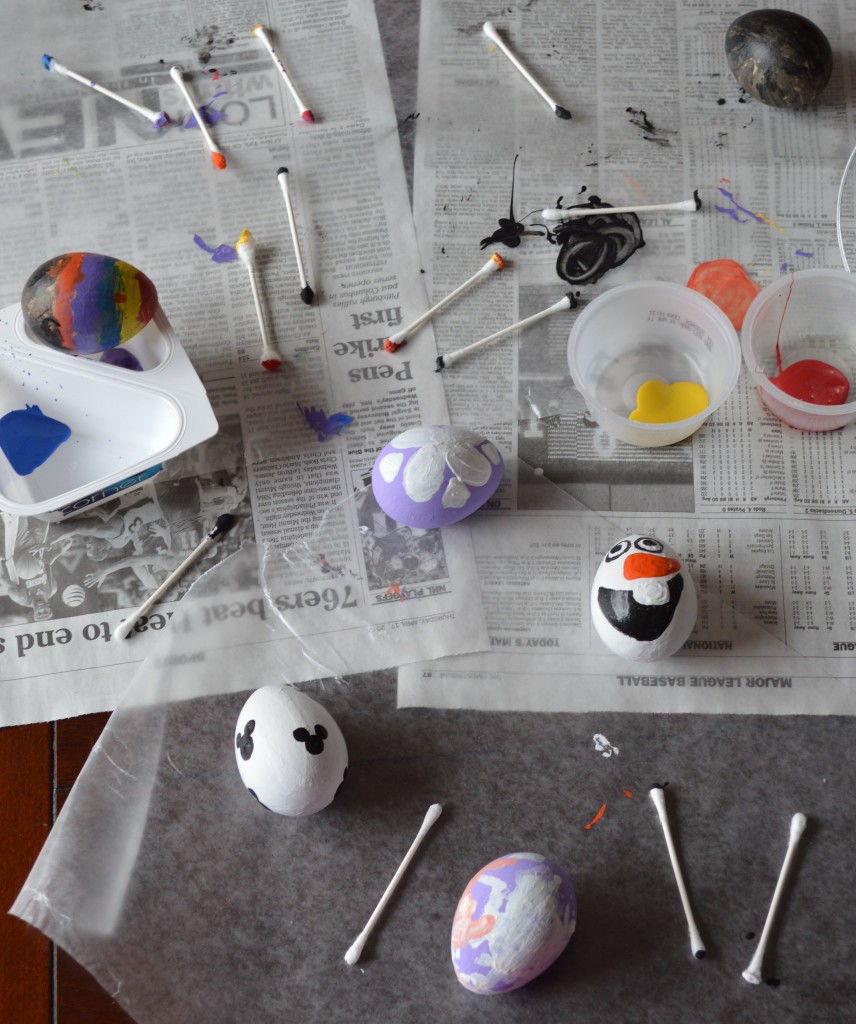
Easter Eggs 043As with previous years, the kids and I had a blast dying eggs with Grandma.  It’s a shame that despite all the hard work that went into decorating the eggs, they will be gone in a few short days.  So this year I scheduled an additional egg decorating activity for the kids to make eggs that we will be able to keep for years.  I purchased these craft eggs at our local Michael’s Craft Store.  I laid out some newspaper, wax paper, paint and Q-Tips and let the kids have some fun.  Having small children work with non-breakable eggs really is a great idea.  The eggs fell on the floor a few times and it saved quite a few tears when my son saw that they had survived the multiple falls!
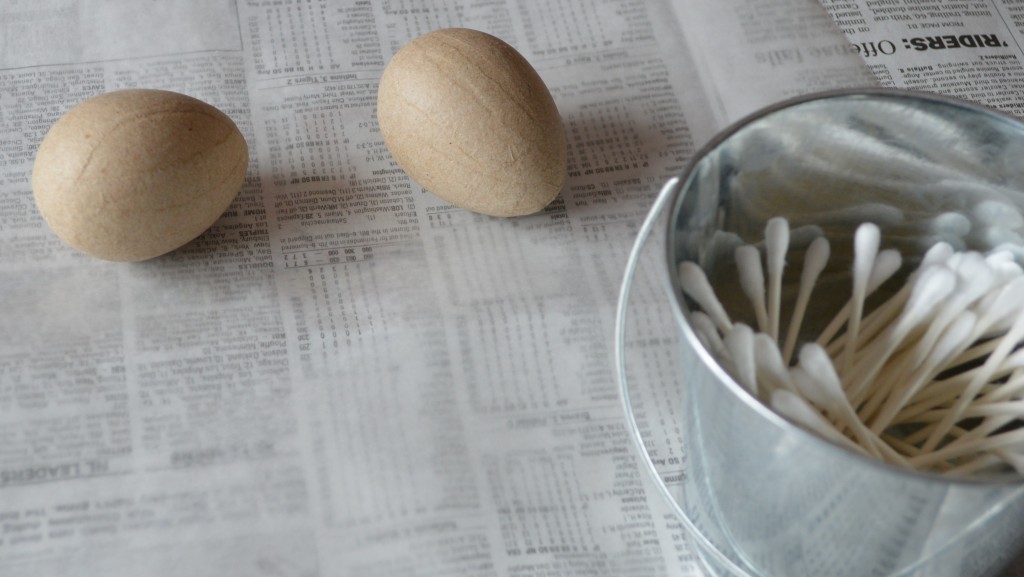
Easter Eggs 003This Q-Tip project is perfect for young children, like my 6-year-old son and 2-year-old daughter.

Here are the reasons that I love to have my children paint with Q-Tips.  First, LESS MESS.  Painting with kids is messy.  Giving a child a tiny little cotton swab to use for painting alleviates the potential mess that could come with having a regular paint brush in the set of destructive little hands.
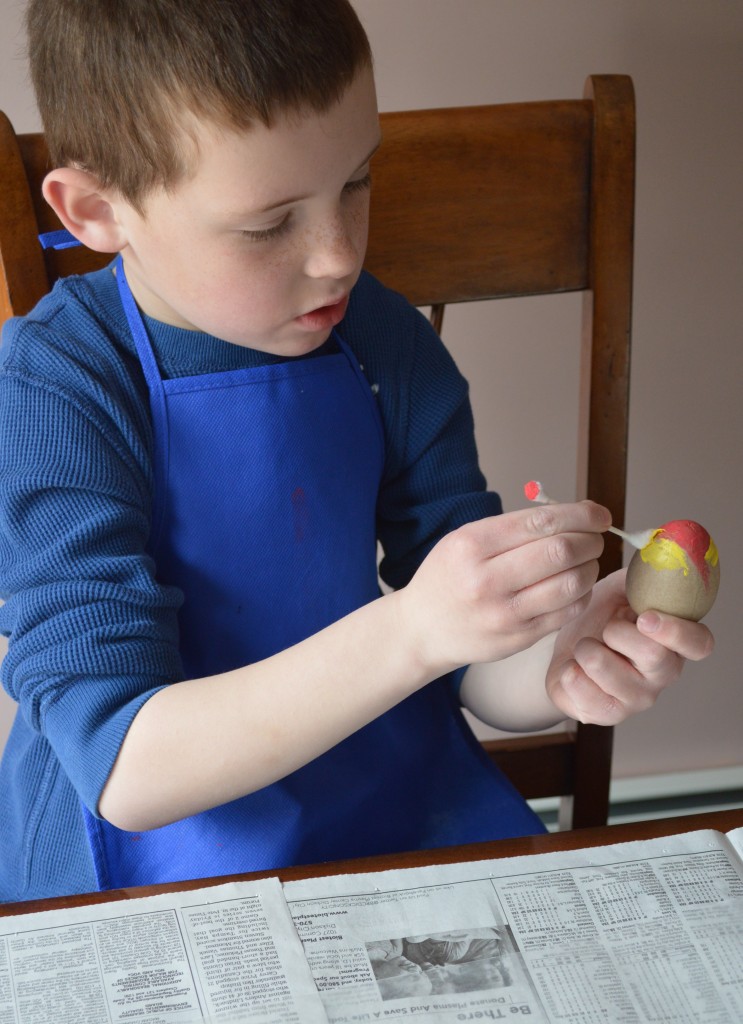
Easter Eggs 008Second, painting with Q-Tips allows for QUICK CLEAN UP…if there is such a thing with kids.  Once the kids were finished, I simply picked up the Q-Tips and threw them away.  I  enjoyed not having to clean the brushes after the project was over.  Take a glimpse of just some of the Q-Tips that were used in decorating six eggs!
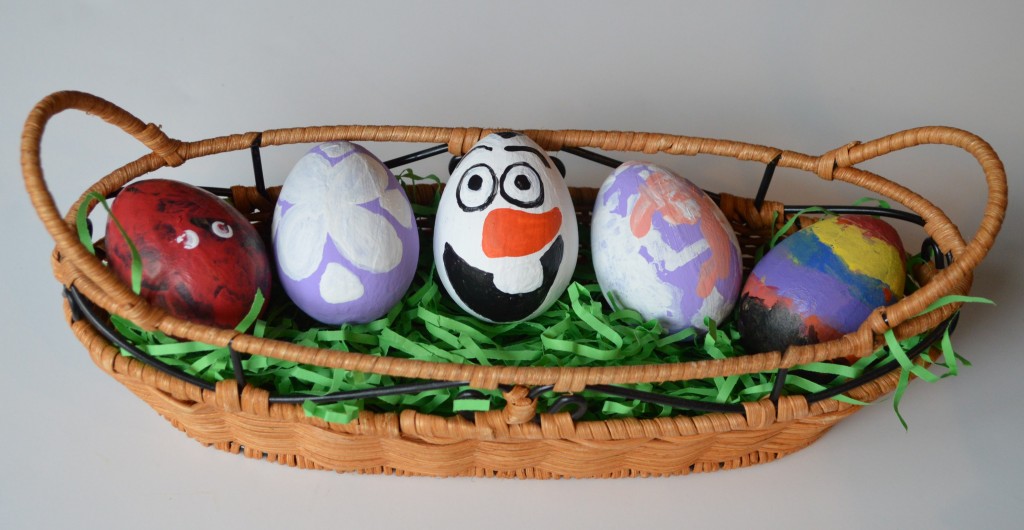
Disney character inspired eggs Q-Tip painting

Have you figured out what characters we’ve modeled our painted eggs after? Victoria worked on a pretty Sophia the First purple egg.  She tried her best to draw the white on her dress, so the other purple dress is my attempt to make a Sophia dress design.  Gavin’s red and black egg is a Mickey Mouse inspired egg.  Any guesses as to whom the silly one in the middle is themed after?

Happy Egg Decorating!

Disney Infinity Party Planning

Disney Infinity 017Do your kids love Disney Infinity?

My son, Gavin, is a HUGE Disney Infinity fan. I have to admit that I enjoy playing the game with him, although with my lack of good gaming skills I just hold him back!  One of the things that I really like about the game is the creative side known as the “Toy Box” mode.  Seeing Gavin create a world of his own is a pretty cool experience.  It’s amazing to watch his six-year-old mind inventing before my eyes.

As you could probably guess, when I asked what kind of party theme he would like to have for his upcoming birthday, Gavin instantly said, “Disney Infinity!”  Unfortunately it’s not an easy task to be able to set up enough game systems for his entire class to play together.  So another theme was chosen for the party that he’ll invite his classmates to attend.  And in addition we will have a small party on the day of his birthday with his grandparents where he can challenge them to an afternoon of Disney Infinity game play.

Even though it will be a small gathering, I still want the afternoon to have a festive feel so of course I’ve started to look for Disney Infinity party supplies. If you’re trying to find them too, let me save you some time and tell you, I can’t find a thing created by Disney!  So I’ve started making my own and thought I’d share how with you.

First, let me start by telling you that the images that I’m using are the property of Disney.  I am using them solely for the purpose of decorating my son’s party.  I don’t sell the party supplies, but I will tell you how I made them, so you could do the same for your child’s party too.

So here’s what I worked on last night…

Cupcake Garland

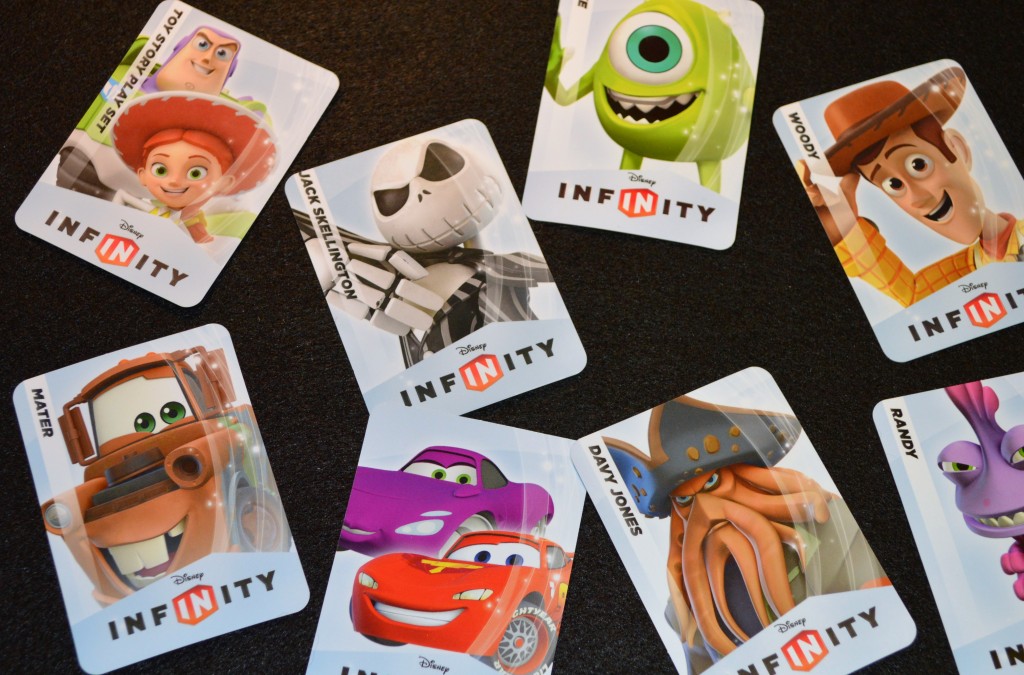
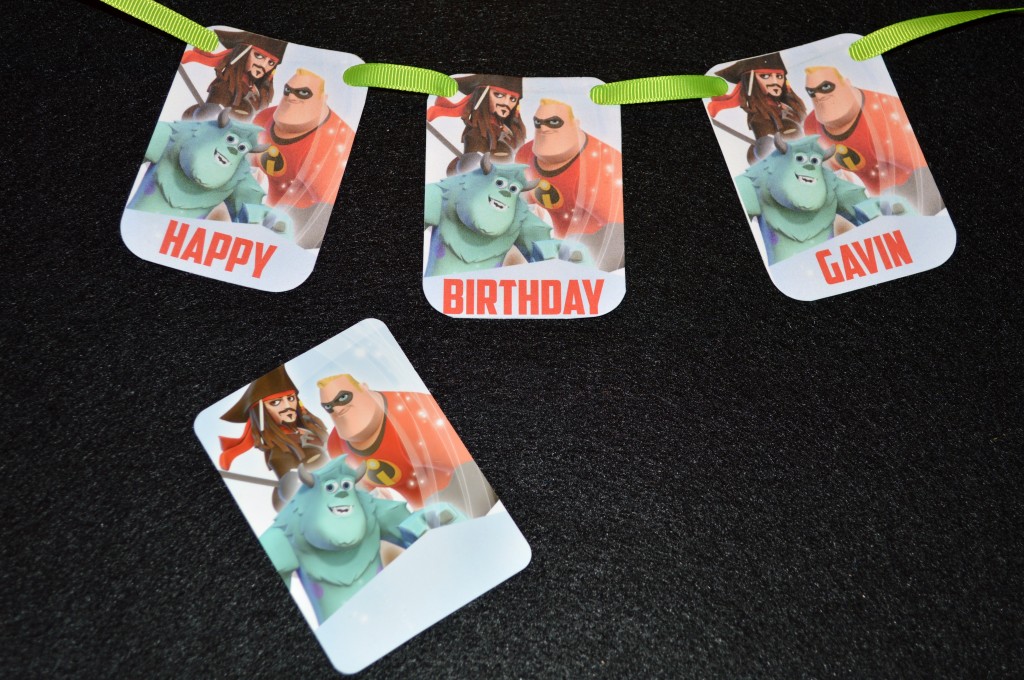
Disney Infinity 010The card on the bottom of the above photo came as part of the original game set.  What’s super cool about this card is that it can be easily used for so many different decorating ideas.  The bottom of the card has an open area that is perfect to use for personalization.  All you have to do is scan it into your computer, insert the picture into Publisher, add a text box and then you can add your child’s name, or whatever birthday message that you’d like!  The font I used is called Captain America and I used the eye dropper tool on Mr. Incredible’s shirt to get the right color match for the font.  Then I hole punched the personalized cards and laced ribbon through them.  I plan on using red ribbon, not the green featured in the photo.  Once the cupcakes are made, I’ll attach each end of the RED ribbon to red and white straws and insert them into cupcakes.

Party Garland

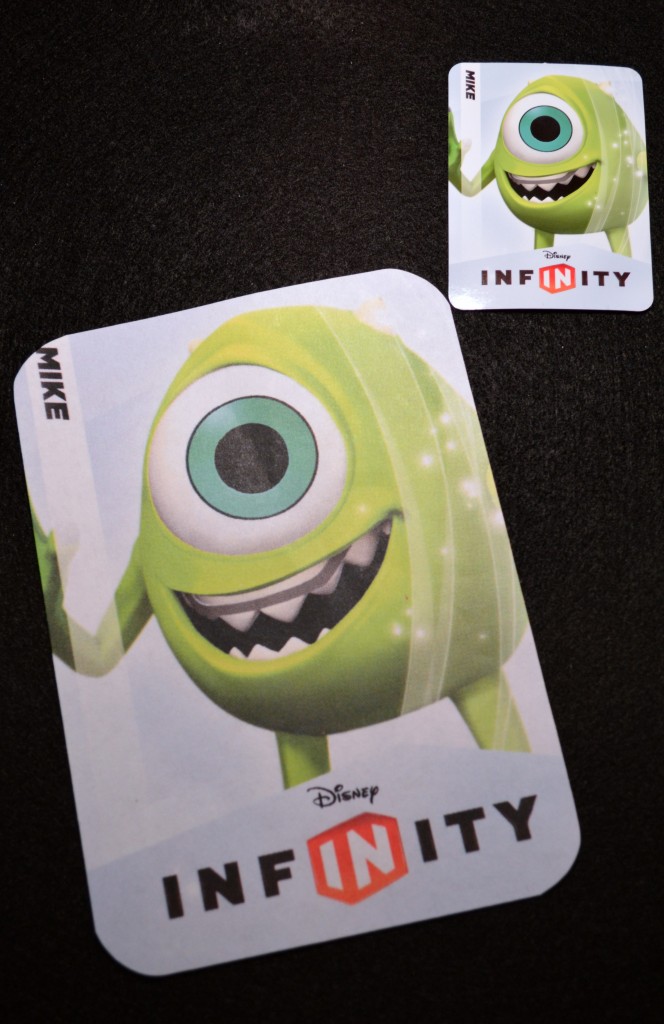
Disney Infinity 021Every Infinity character comes with a card like the one in the top right corner of the photo above .  I’m in the process of scanning each card into my computer and resizing them for a party garland.  It a simple, yet perfect way to add a touch of Infinity to our little gathering.

These are two of the ideas that I worked on last night and I’ll share more as I continue to work on Gavin’s two different parties.  Did you notice on Facebook what Gavin’s other party theme is? And I also have a little princess turning three years old soon too.  YAY- Parties!!!

Look for many Disney-Inspired party planning posts coming up in the near future!

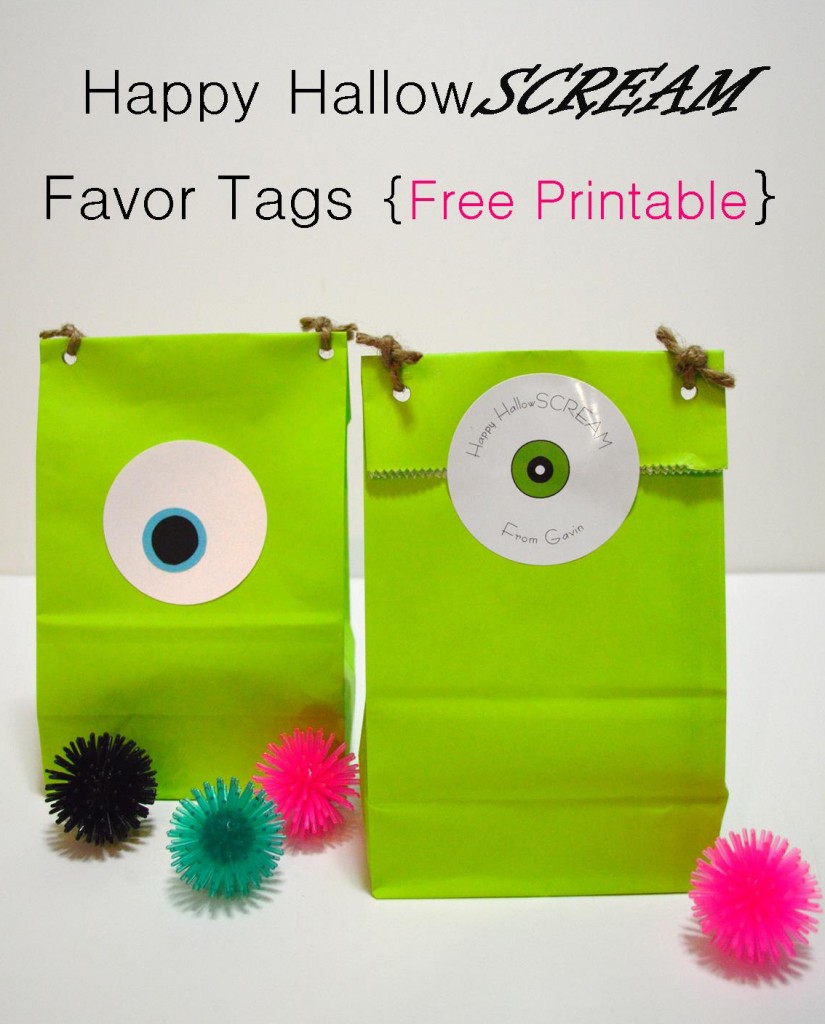
Happy HallowSCREAM Favor Tag {Free Printable}

 Happy Halloween favor tag

Happy Halloween Everyone!

Today is a short post that may come in handy this week.   After my little “monsters” and I finished putting together Gavin’s classmates’ Monsters University-Inspired goody bags, I thought I’d create a simple tag for the back side of the bag. If you’re preparing your children’s classmates goody bags today, you may be able to use this tag too!   They are a basic white tag with a little eyeball in the center.  The tag simply states, “Happy HallowSCREAM”.   These tags could be used on any trick-or-treat goody bags!  I used Avery brand 2 1/2″ diameter glossy white round labels to print out the tags.  Using a sticker to apply the note was so easy!  If you’d prefer to use white cardstock, punch the tags out using a 2 1/2″ round craft punch and glue it on the back side of the bag, so easy!  Just make sure your little Monster remembers to sign them!

To use these tags, click on the Adobe pdf file below.

Happy Hallowscream printable

If you newly discovered Mouse Ears Mom, you might have missed my post of what’s inside the Mike inspired gift bag and an easy tutorial on how I made them.  Check out the post here:

http://www.mouseearsmom.com/2013/10/15/classmate-halloween-gift-idea/


Have a Monstrous Halloween!

Classmate Halloween Gift Idea

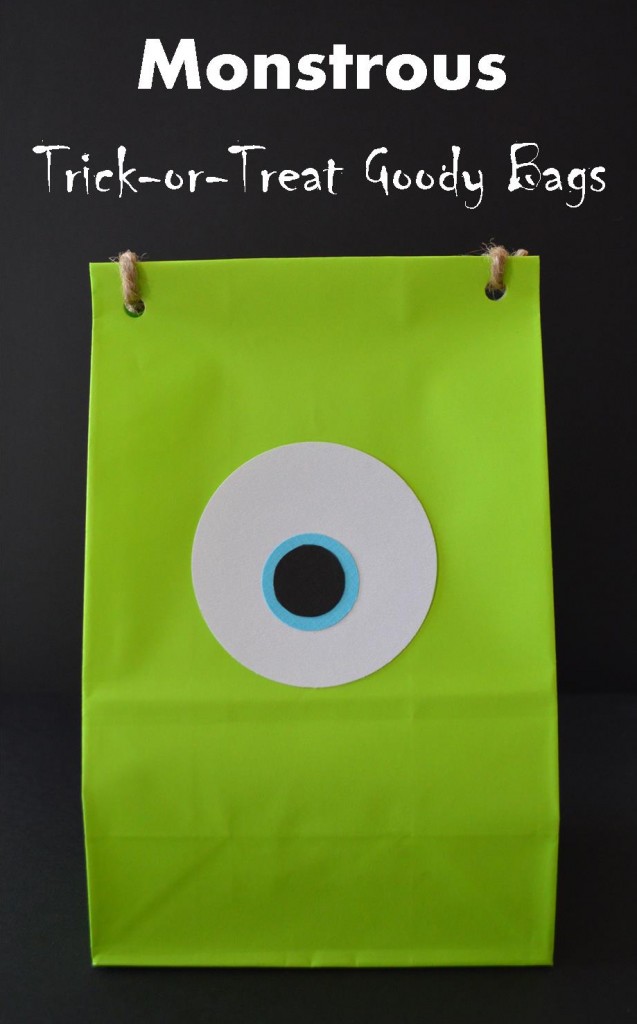
Mike bagMonsters University Favorite, Mike Wazowski makes a perfect Monstrous goody bag.Roba's 2013 092Put these little goodies in the Mike bag and little monsters will be screaming happy.
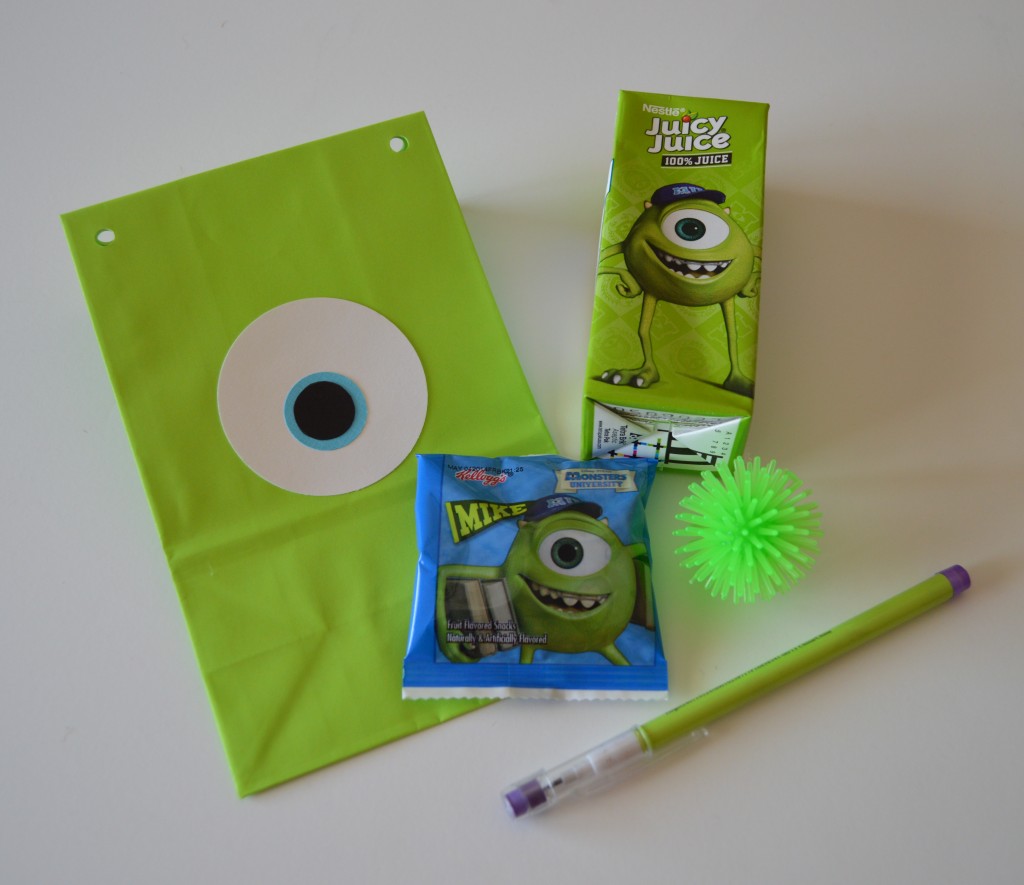
This year for my son’s 1st grade classmates,  I wanted to make a Halloween treat that wasn’t super scary, could be for a girl or a boy and it had to be easy to make since there are 19 little “Monsters” in his class.  I made this little treat bag in less than 10 minutes and the goodies were staring at me with one big eye.

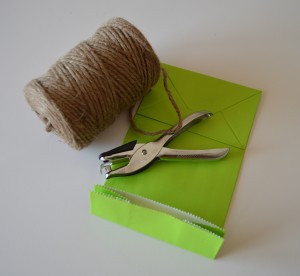
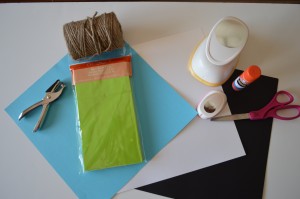
If you’d like to make your child’s classmates this one-eyed monster bag, here’s what you’ll need: white, black and blue scrapbook paper, a 3″ hole punch, a 1″ hole punch, a dime, glue stick, everyday hole puncher, twine, scissors, and lime green paper sacks.  I found these treat bags at Michael’s Craft Store.  They were only $3 for a bag of 12. The bag dimensions are 4.7″ x 2.8″ x 8.9″. Mike Goody Bag Supplies

Start the project by using hole punches.

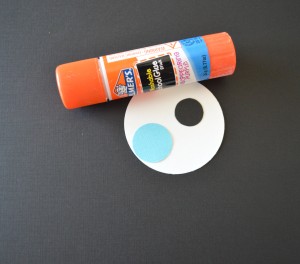
You will need a 3″ punch in white and a 1″ punch in blue.  I didn’t have the right size hole punch for the black of his eye. I used a dime as a template. Trace the dime on the black paper and cut it out.

Mike's EyeThen glue Mike’s eye together.

EyeGlue the eye to the middle of the bag.

Glue Eye

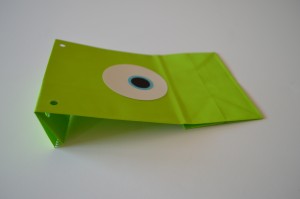
Fold back the top of the bag.

Goody Bag FoldHole punch the corners of the top through the fold.
Roba's 2013 090

Open your bag up and fill it with Monster treats.

I chose to stay true to my one-eyed friend and purchased Monster University Juicy Juice Apple Juice Boxes and Monsters University themed Kellogg’s Fruit Snacks.  In one part of the Monsters University movie the monsters were afraid of spiky balls.  I found these mini spiky balls at Target.  They come six in a pack for $1.  The matching pencil in Mike’s lime green color was also from Target’s Halloween section, $3 for a pack of 24.

After adding all your treats, the final step is to tie each side with the twine.  I knotted each side on the back and cut the ends short.

I hope my son’s 1st grade class of little Monsters enjoy!


Monsters University Cupcake Creations

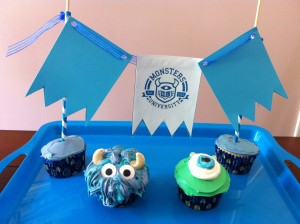
Cupcake Sulley and Cupcake Mike

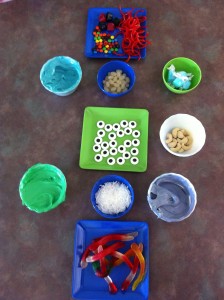
As school came to a close this June, we couldn’t be more excited to jump into a new semester at Monsters University!  My son, Gavin and I decided to design some cupcakes to look like students we might meet at MU.  Off to Wegman’s bulk candy department we went to collect our supplies before making our creations.Monster Making Supplies

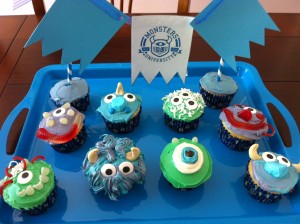
With licorice, M&M’s, candy eyes, jelly beans, cashews and lots of blue, purple and green icing in hands, we were ready to create Monsters University’s newest students.  My Sulley inspired cupcake was created using cashews for horns, Wilton candy eyes and lots of blue and purple icing.  Mike’s cupcake was made using green icing, a large squirt of white icing, topped by a small squirt of blue icing and a mini brown M&M to complete his eye and his little horns were made by cutting a Jelly Belly Cream Soda jelly bean in half.  I don’t think decorating a cupcake could be any easier!

Our version of some students you might see at Monsters University

Disney Pixar movies are the most creative and inspiring films to watch.  I hope these inspired monsters will inspire you to go out and make your very own Monstrously sweet cupcakes!