Tag: Muppets

From the Kitchen of The Swedish Chef {DIY Free Printable}

The Swedish Chef favor tagsThe birthday weekend is finally here!

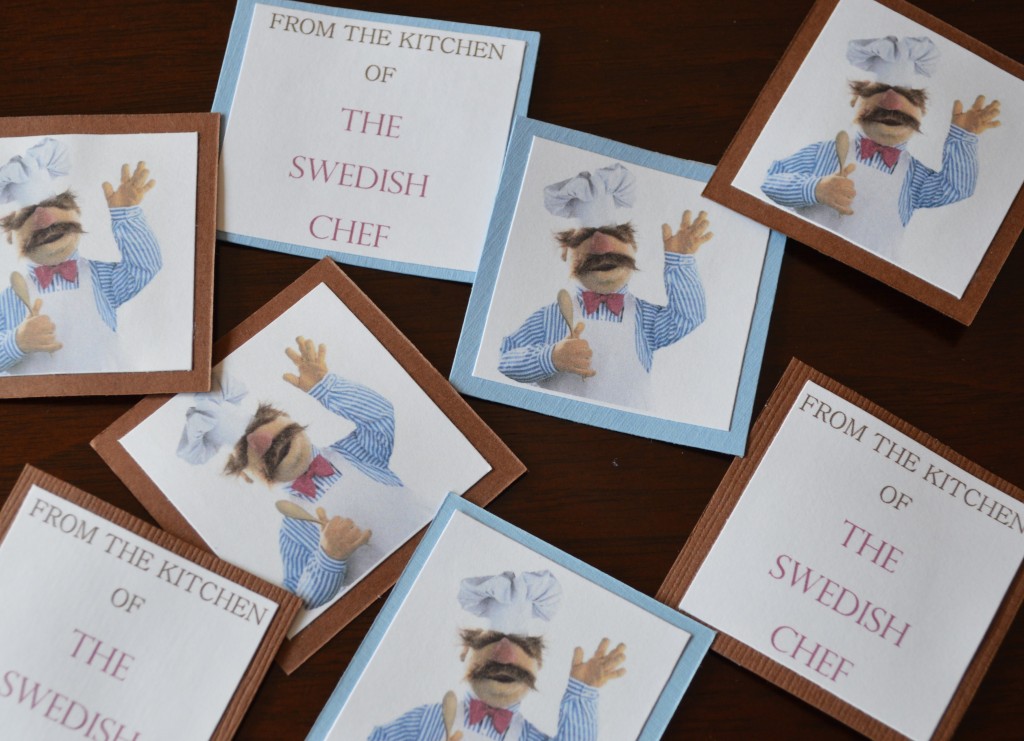
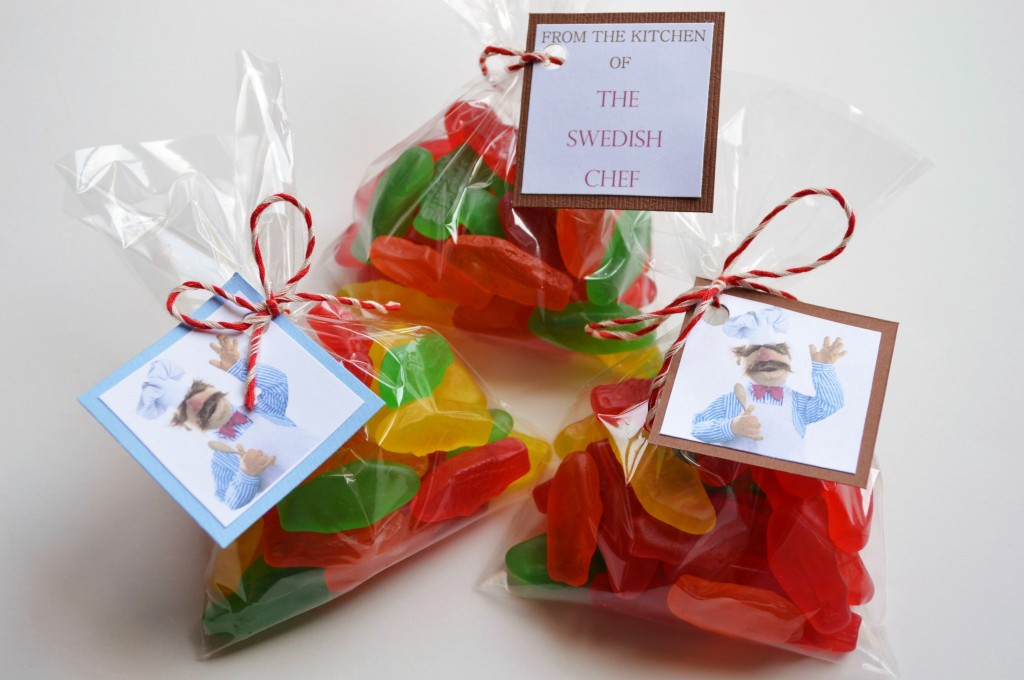
My son, Gavin’s birthday party is tomorrow.  Today I’ll spend the day preparing for his big day. Last night I put together these little tags for the candy favors that will go inside the Muppet tote bags his guests will be receiving.  One of Gavin’s favorite candies is Swedish Fish (yum).  I have to admit, he gets his sweet tooth from his Mommy.  Anyways, I thought I would be perfect if these special fishes came from The Swedish Chef.  He is Swedish, you know.

The little bags came out cute and I’d love to give each and every one of you a bag, in honor of Gavin’s 7th birthday.  However, the shipping fees would kill my bank account, so I thought I’d share the file for the tags instead.  I think the tags would be a perfect accessory for “Muppets Most Wanted” movie night treat or if you plan on throwing a Muppets themed party too!  I found the image of The Swedish Chef on Wikipedia and it’s most likely a copyrighted image.  These little tags are not for sale and are only being used for my son’s party.  Having said that, here’s the PDF file for your personal use:

 The Swedish Chef

Here’s how to put the tags together.

 Print the page out on a piece of 8 1/2″ x 11″ white card stock.

The PDF file has two rows, one with The Swedish Chef’s images and the other with the “FROM THE KITCHEN OF THE SWEDISH CHEF” text.  Cut both the Chef’s image and the text out in a square that measures 1 1/2″ x 1 1/2″ .

Glue the two sides together back to back or what I did was insert a 1 3/4″ x 1 3/4″  piece of a brown or blue card stock between the top and bottom and then I glued it all together.

Hole punch it, add the string and your ready to go.

Now for me to get back to the kitchen. Have a great weekend!  “BORK BORK BORK!”

The Swedish Chef snack bag tags

Easy To Make Kermit Inspired T-shirt

Muppets Shirt 052It’s So Adorable Being Green!

With the release of  “Muppets Most Wanted” this weekend, and the continuation of planning my son’s upcoming Muppets party, I’ve been searching the stores for anything Muppets related.  Strangely enough, there’s not much available.  I haven’t been able to find even a t-shirt!

Freezer Paper Stenciling is something I’ve wanted to try for a while now, and I thought this would be a perfect time to try!  Today I’m going to share with you my experience trying this for the first time, my mistakes and all!  First I started by consulting my little Muppet fans as to their characters of choice.  To my surprise both picked Kermit!  Then I went to work gathering supplies.

1. Before you head to the craft store, pick up some Freezer Paper at your local grocery store.  Muppets Shirt 003
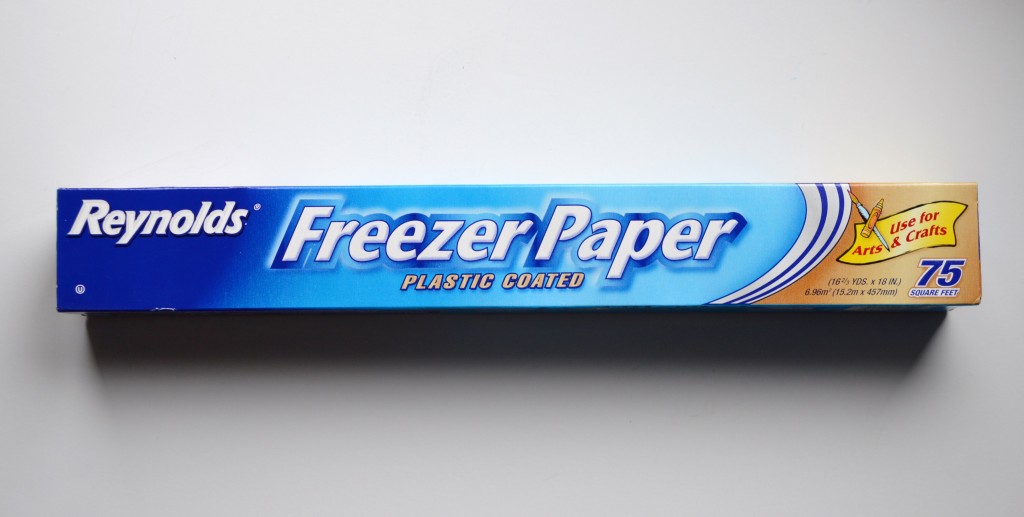
2  . Pick up the supplies from your local craft store.

You’ll need a T-shirt, fabric paints, cutting board, X-Acto cutting knife, and brushes. I purchased this basic green t-shirt for $2.50 at Michael’s Craft Store. The paint that I chose to use was Tulip brand.  The first mistake I made was not reading the bottles completely, I purchased three containers of Matte finish paint and one container of Pearl, which could have easily been called glittery.  Luckily I started with my daughter’s shirt first!  Gavin quickly put his foot down and proclaimed he wasn’t wearing a shirt with glitter.
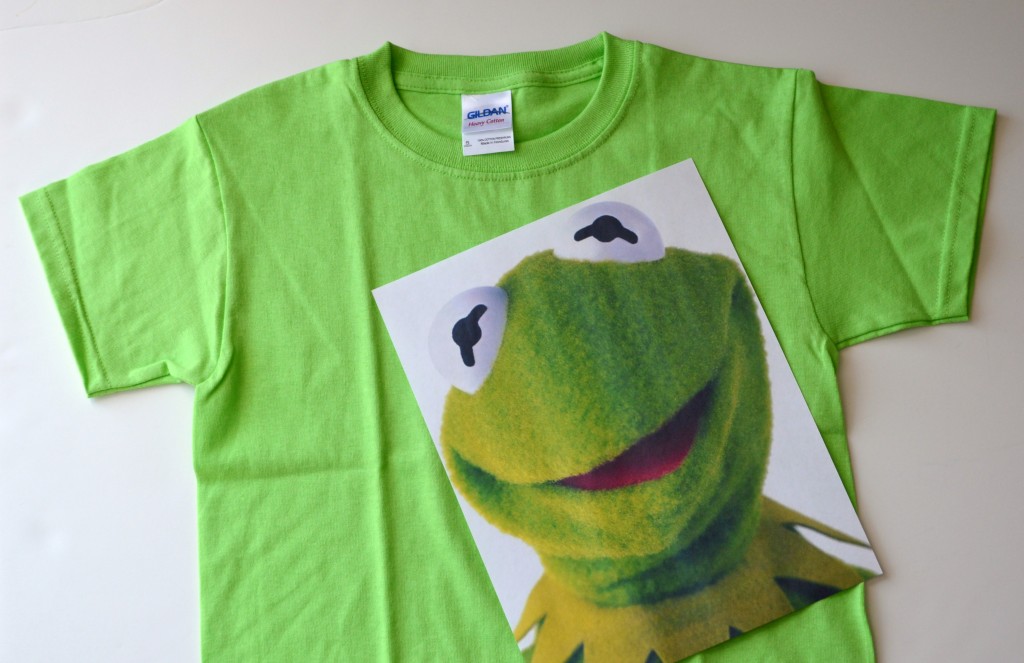
Muppets Shirt 009

3. Choosing an image to stencil.

 I chose a photo of Kermit that I sized to fit the area I wanted to paint.  I found the photo on Disney Wiki.  Here’s where my first problem occurred.  Since Kermit’s green and red are deep colors, I had a horrible time trying to trace the mouth.  If you take a look at the image below, you can see that the eyes were easy to trace, but I ended up having to freehand his mouth and looked to other images to come up with his neck area too.  After this project I can see why most freezer paper stencil projects are text or graphic related.
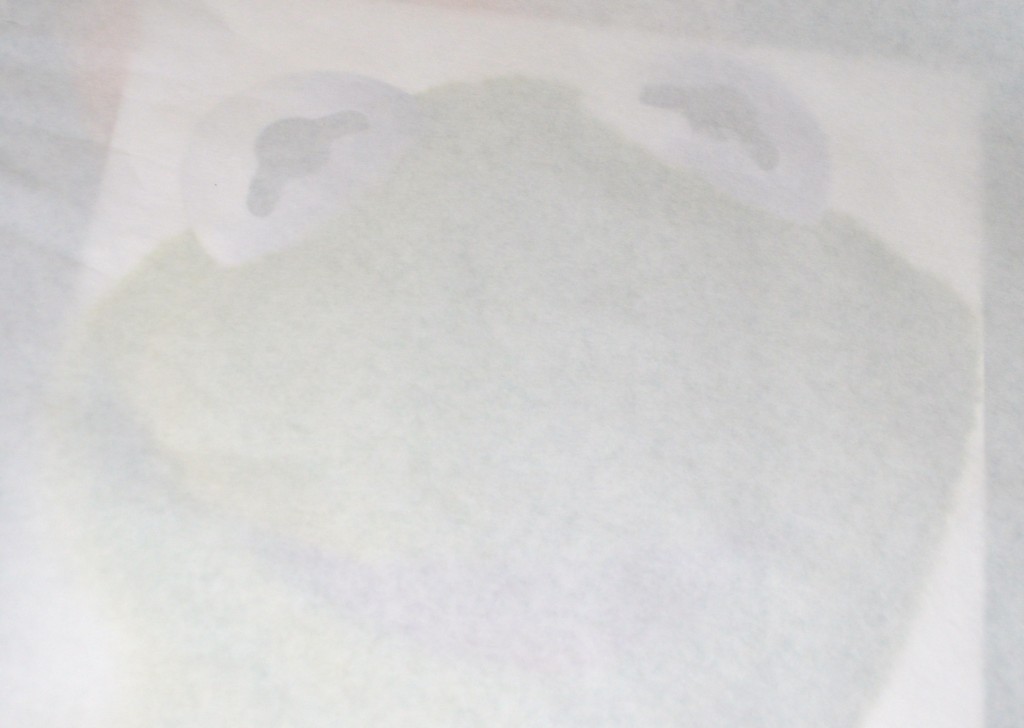
Muppets Shirt 0154. Trace your image onto the Freezer Paper.

Make sure that you have the shiny side of the Freezer Paper on the image and the dull side of the paper facing up.  This means that your tracing on the dull side of the paper.  I used a black permanent Sharpie marker to draw the template.  Here’s a look at the template.
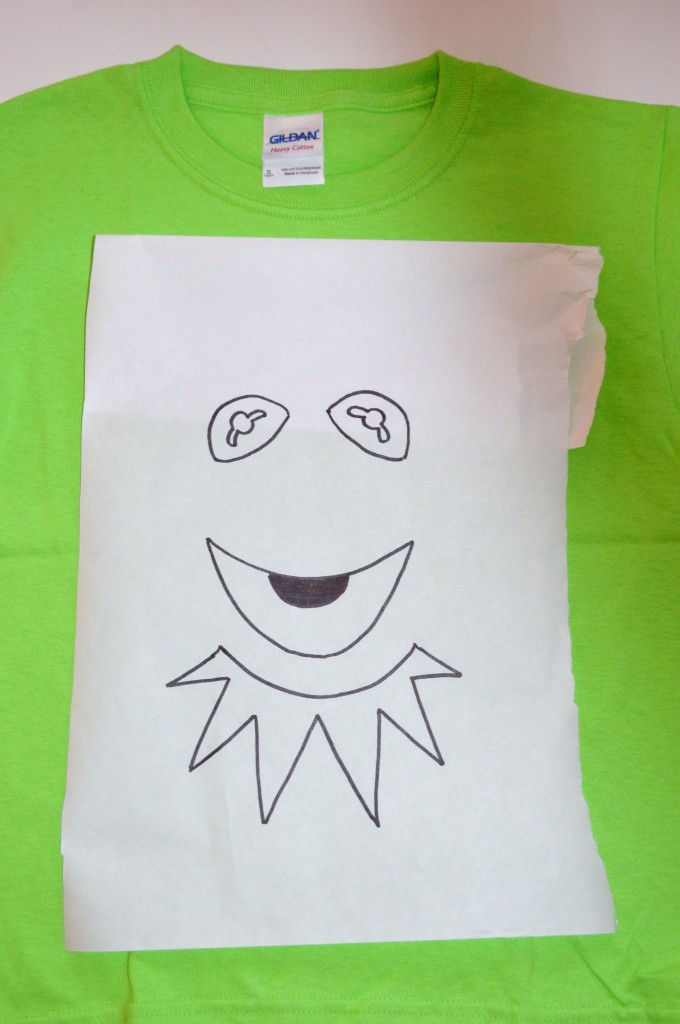
Muppets Shirt 025   5. Cut the Template Out

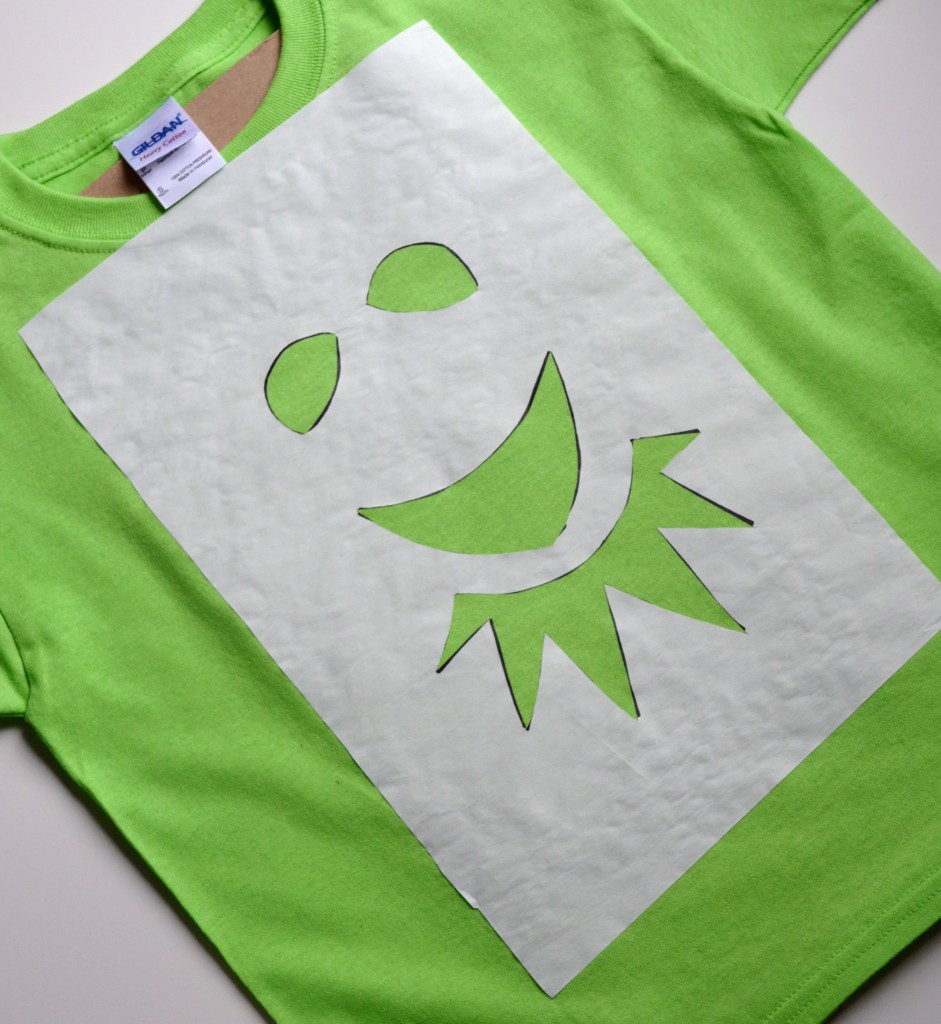
Protect your cutting surface by a mat board to cut on.  Take your time cutting it out and remember that the remaining negative space is where you will be cutting.  Here’s what the template looked like after cutting out the areas to paint.
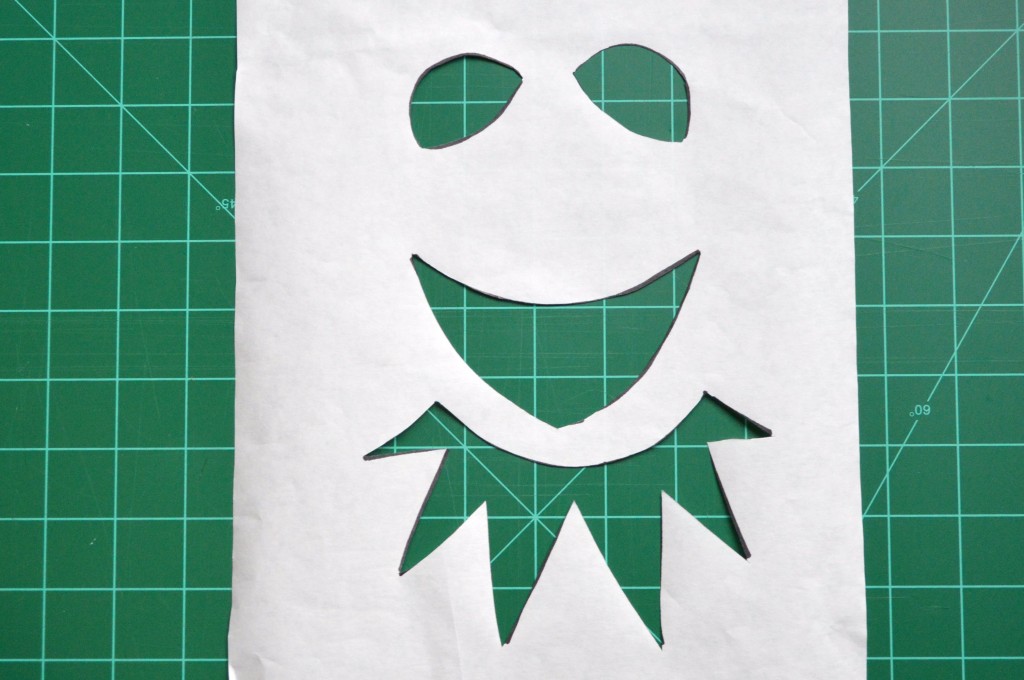
Muppets Shirt 026

6. Iron the Freezer Paper template to the t-shirt.

Before ironing the paper to the t-shirt, iron out all the wrinkles on your shirt.  Then I placed a cardboard piece in-between the top and bottom of the shirt.  This way it’s prepared for me to paint in the next step.   Next, shiny side down, place your template where you want it on the shirt and gently iron it onto your shirt.
Muppets Shirt 027

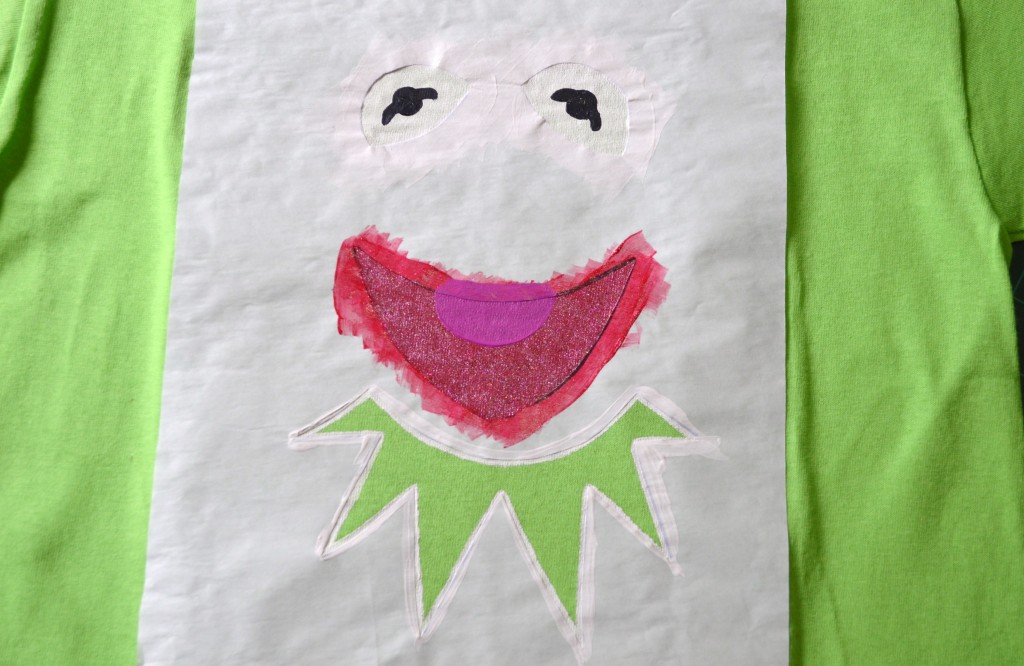
7. Paint!

In painting Kermit, he had overlapping colors, such as the white and black of his eyes and red and pink of his mouth and tongue.  So, first I painted the white and pink layers.  The paint bottles told me to wait 4 hours for it to dry, but being impatient I used a blow dryer to dry it quickly so I could move on to the next layer of paint.  His eyes took three coats to cover the green color.
Muppets Shirt 033

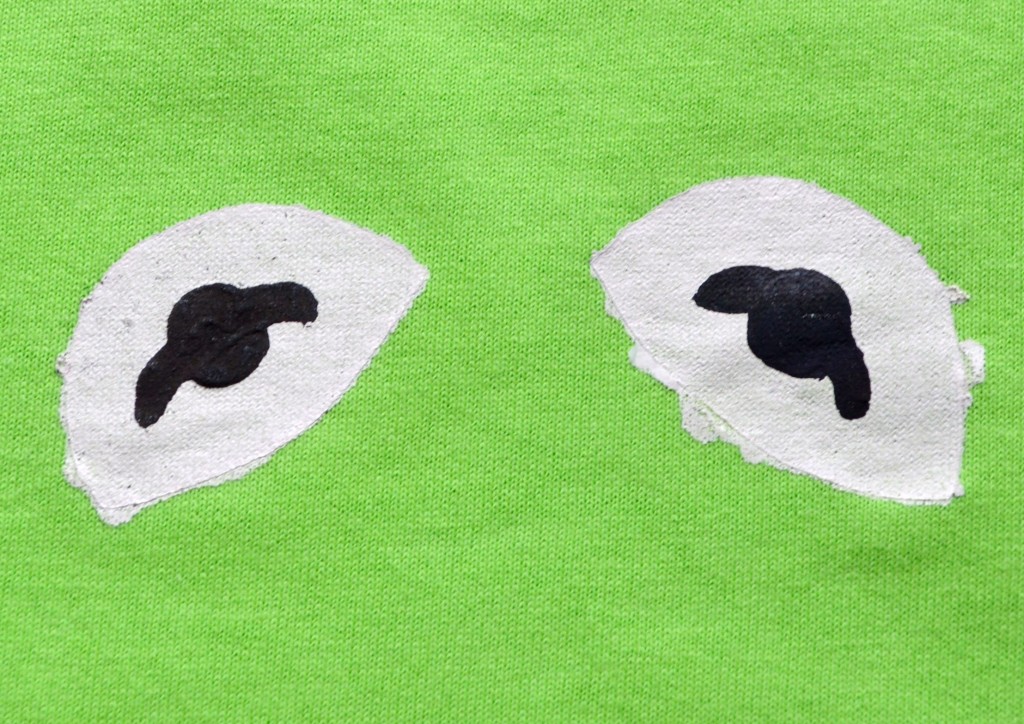
 8. Peel off the Freezer Paper to see your finished piece.

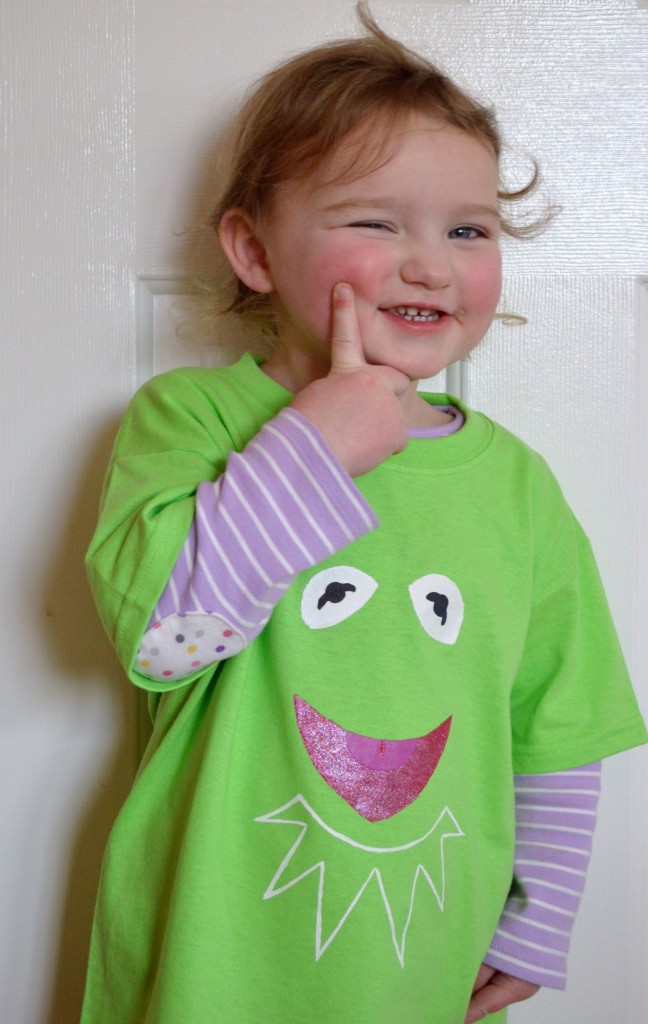
Unfortunately, the result wasn’t what I had hoped.  The paint of Kermit’s eyes and mouth didn’t have the clean edge I had hoped for.
Muppets Shirt 035

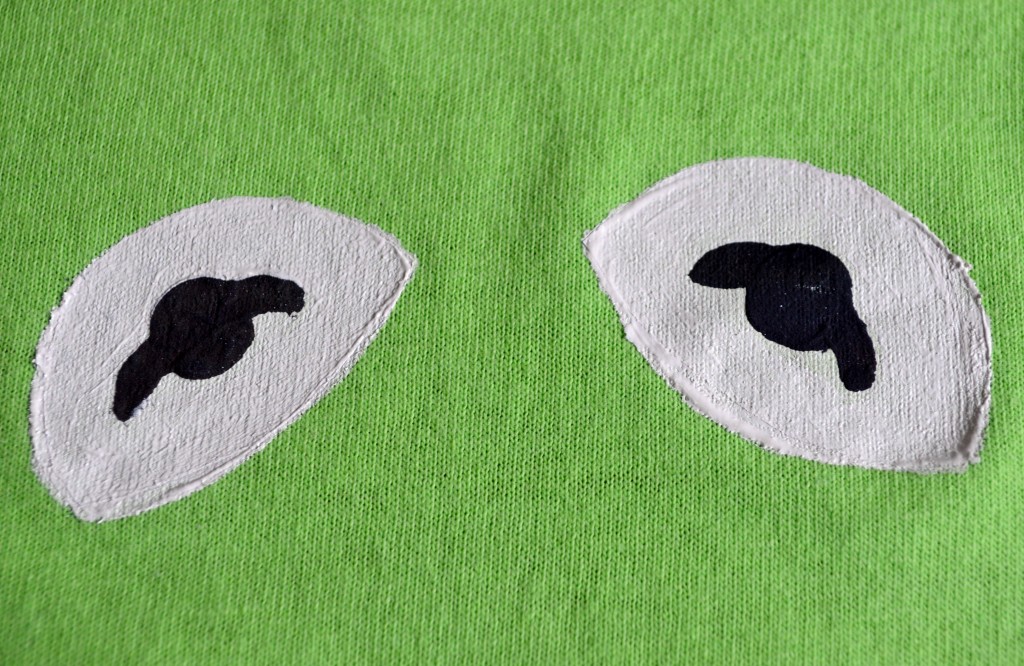
9. Touch up the edges.

Freehand touch up any little messes left behind where the freezer paper allowed the paint to leak through.
Muppets Shirt 037

10. Steam iron the painted area to allow it to set into the shirt.

According to the paint instructions, I was supposed to hold the iron 1/2 an inch away from the shirt and steam the image.  I haven’t washed the shirt yet, but I’m pretty happy with the turn out!  Now to make another one for my son, Gavin…without the sparkly pink paint, of course!

 There were a few bumps in the road, but it’s actually pretty easy being green!
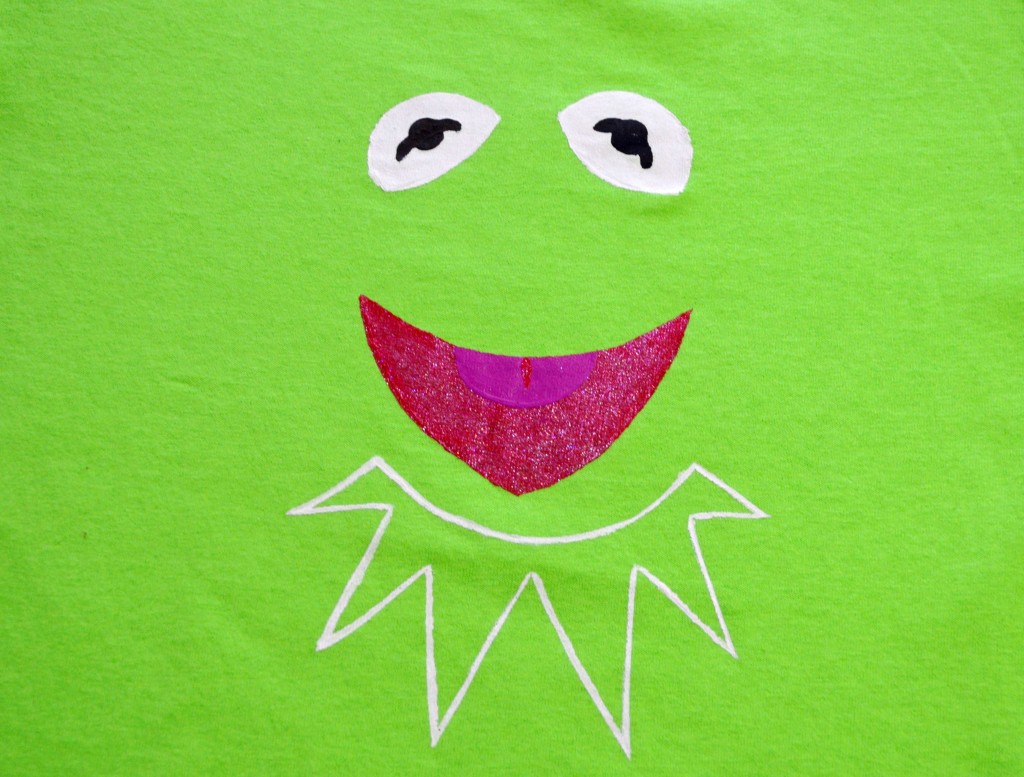
Muppets Shirt 045

To complete this project I looked at a few blogs for reference in learning this technique.  If you’d like to check out their projects and steps for completing them, here’s the links.

http://crafts.tutsplus.com/tutorials/how-to-make-freezer-paper-stencils–craft-1838

http://topicspill.com/2013/04/10/diy-tutorial-freezer-paper-fabric-stenciling-a-beginners-guide-to-stenciling/

http://www.thinkingcloset.com/2013/08/12/keep-calm-onesie-with-freezer-paper-stenciling-silhouette-winner/

 Have you tried Freezer Paper Stenciling?  I’d love to see your results! If you’d like, share the links to your Freezer Paper Stenciling projects in the comments below.

Thanks for stopping by the blog today and as always, I hope you have a Magical Day!
Muppet’s Favorite ~ Beaker Cookie Pops

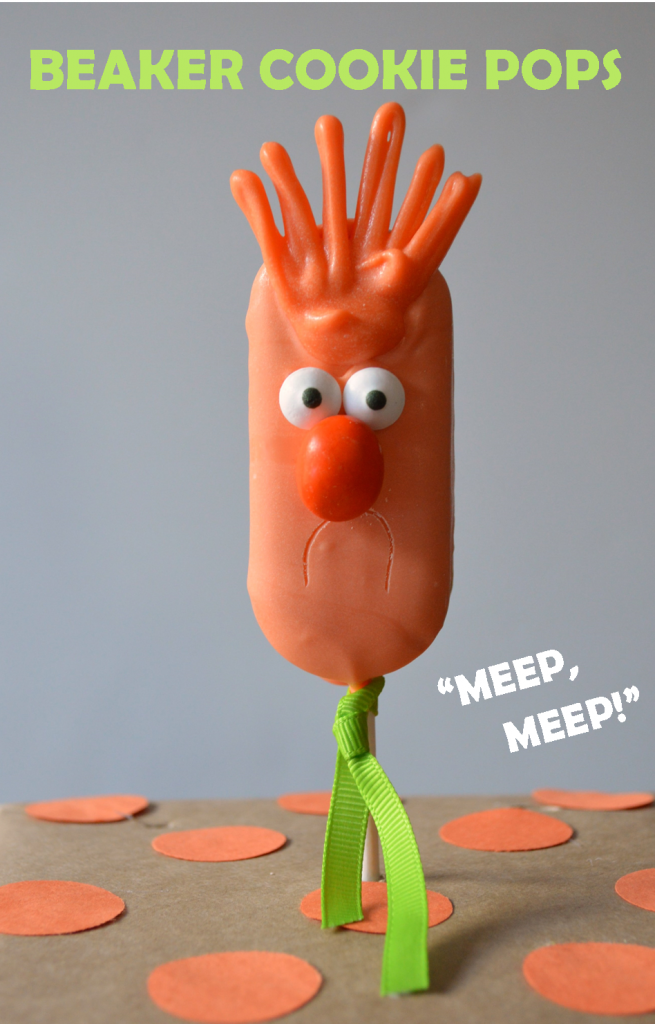
Beaker PopBeaker, with his adorable little “Meep” noises and willingness to help in any situation, is one of my family’s top five favorite Muppets.
In actuality, Beaker is my husband’s favorite Muppet.  So when planning our son’s upcoming Muppet’s themed birthday party, I had to create a Beaker-themed treat.   I’m happy to report that after catching a glimpse of this sweet cookie pop my husband exclaimed, “That’s my favorite thing you’ve ever made!”  Success!  If you know someone that loves this shy Muppet as much as my husband does, surprise them with this easy to make treat.

Here’s the simple tutorial of how I made Beaker into a cookie pop.

Beaker Cookie Pops 001

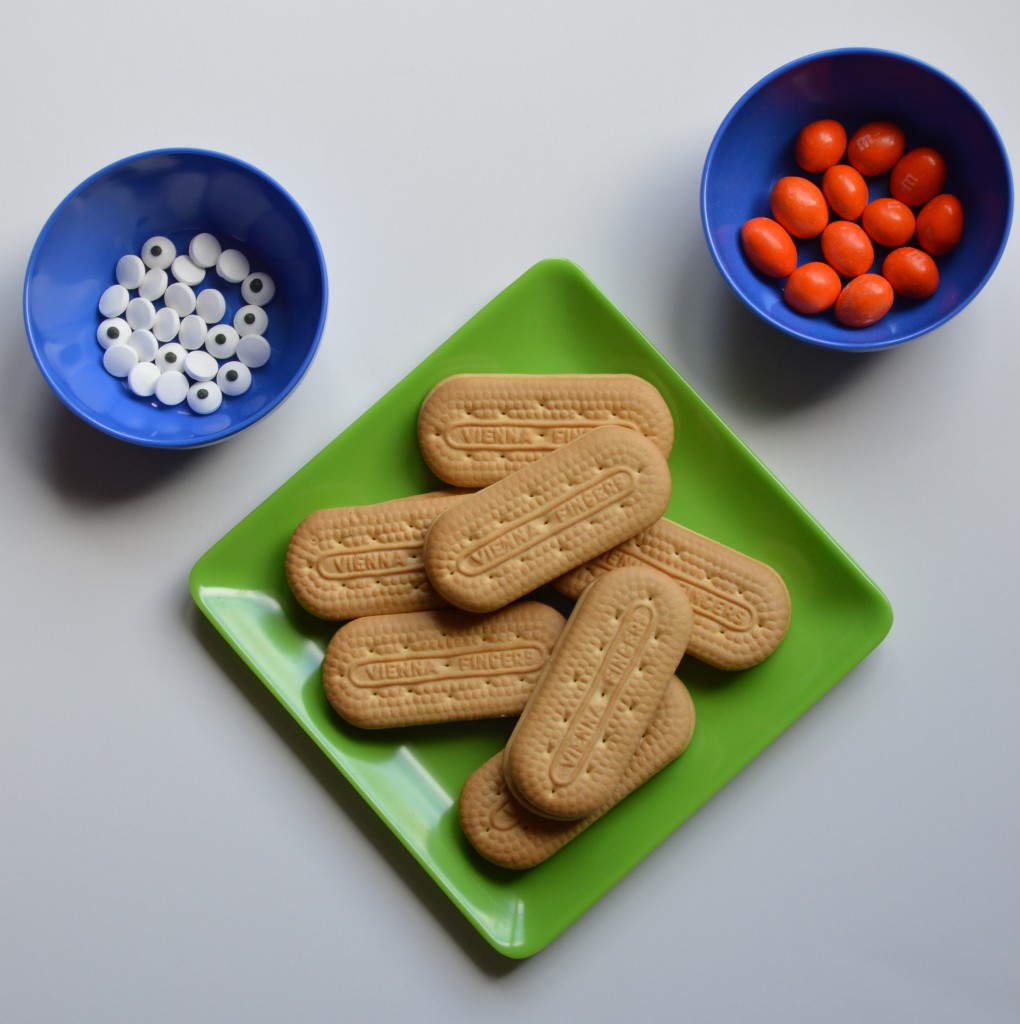
Gather Supplies:  I used Vienna Fingers cookies for the head of Beaker, candy eyes and orange peanut M&Ms for his nose.  You’ll also need cookie pop sticks.

Beaker Cookie Pops 002

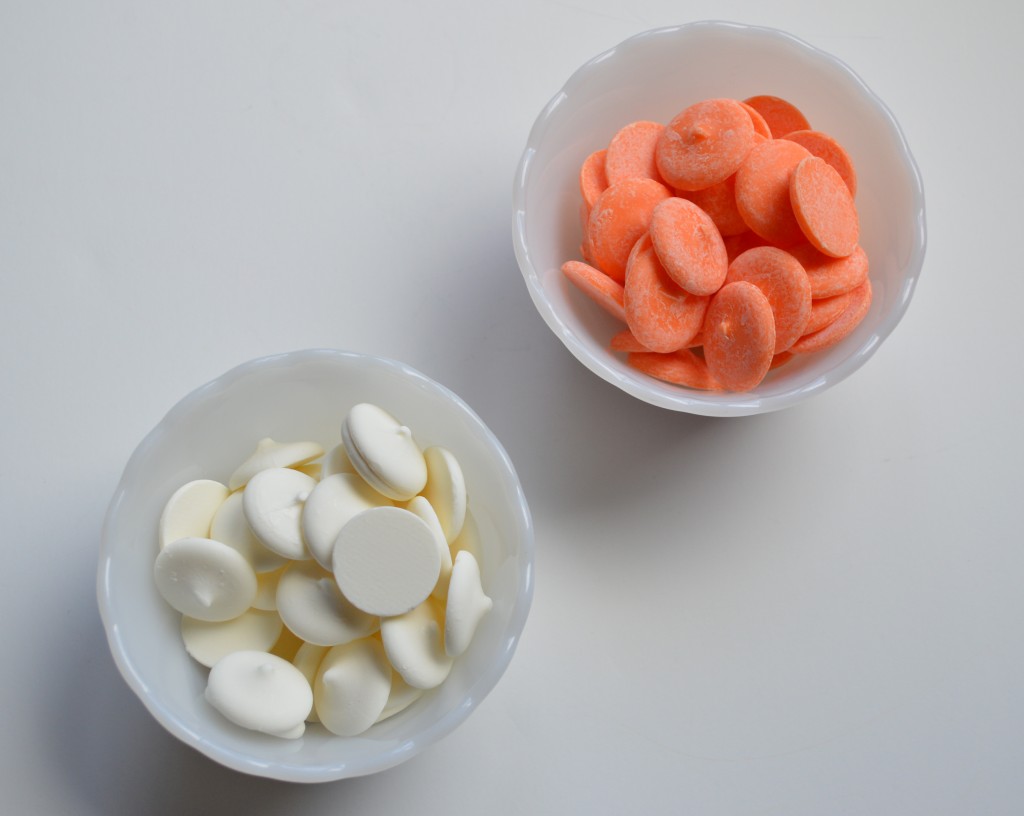
Additional supplies:  I used white and orange candy melts by Wilton candies.

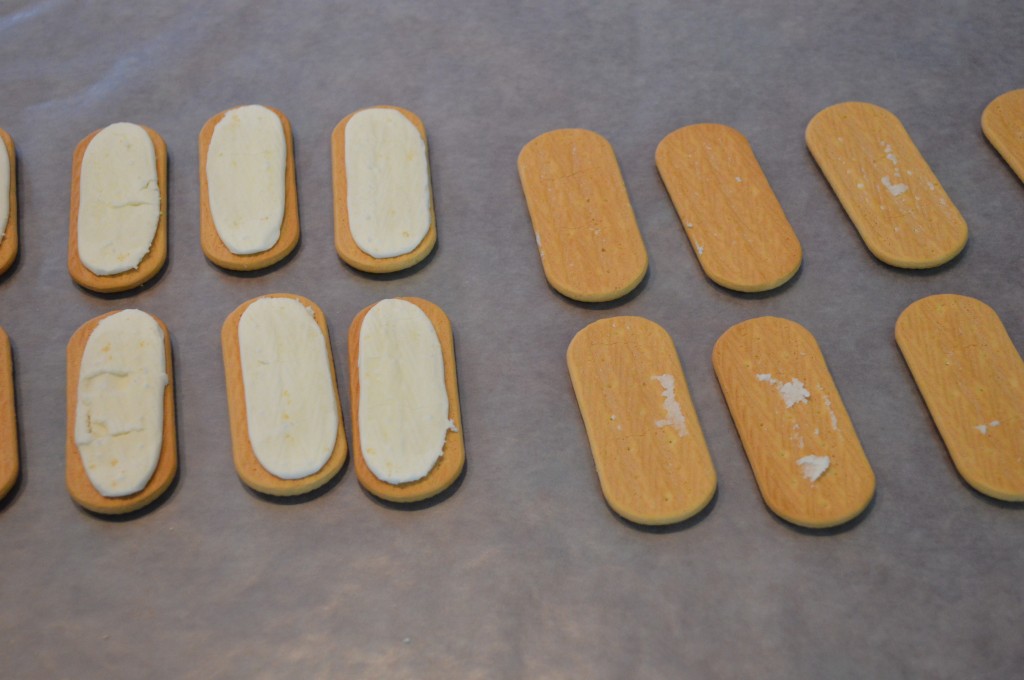
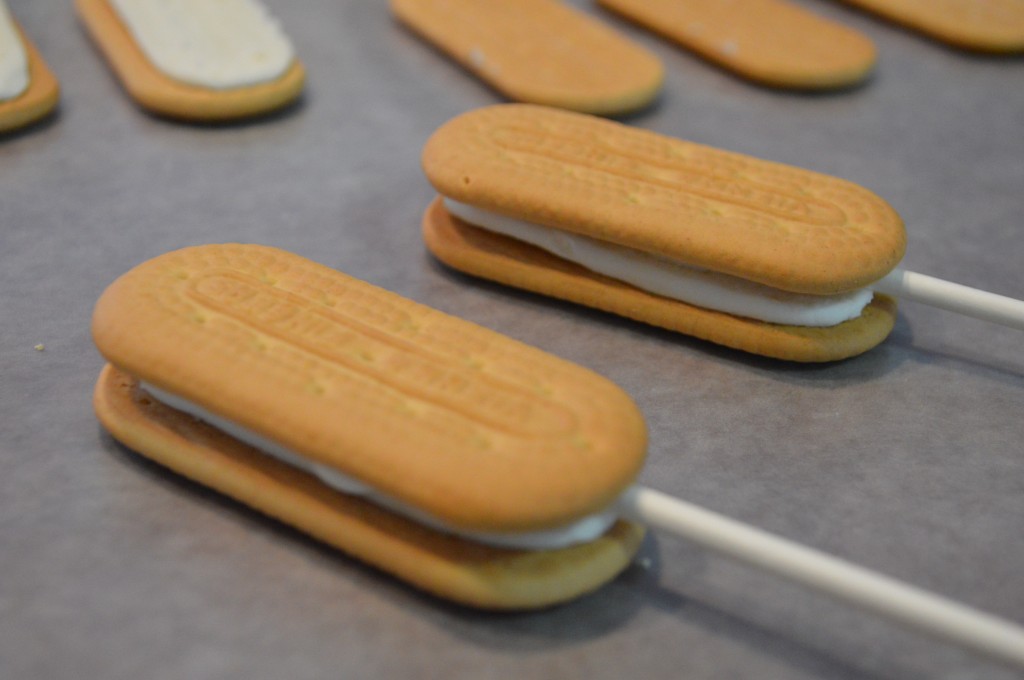
Beaker Cookie Pops 006Step 1. Separate each cookie sandwiche’s top layer from their bottom layer.

Beaker Cookie Pops 007

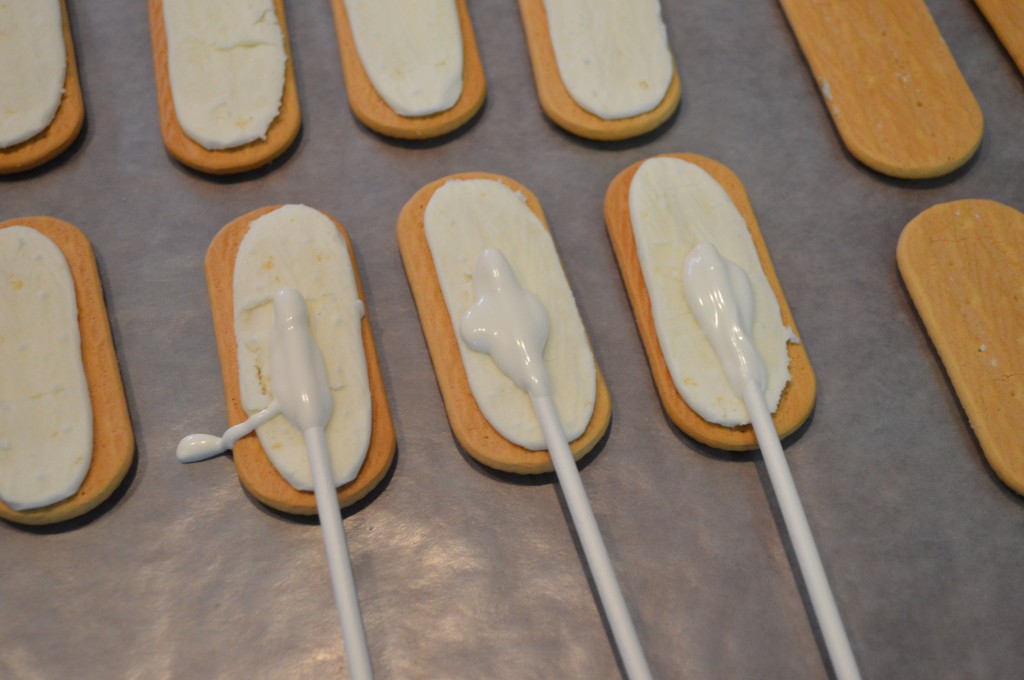
Step 2: Melt a small amount of white chocolate.  Dip the cookie pop stick into the white chocolate and place it in the center of the pop.

Beaker Cookie Pops 009Step 3: Put the cookie sandwich back together very gently.  To make it stay together easily, I added a dab of white chocolate to the bottom of the top cookie layer before placing it back together.

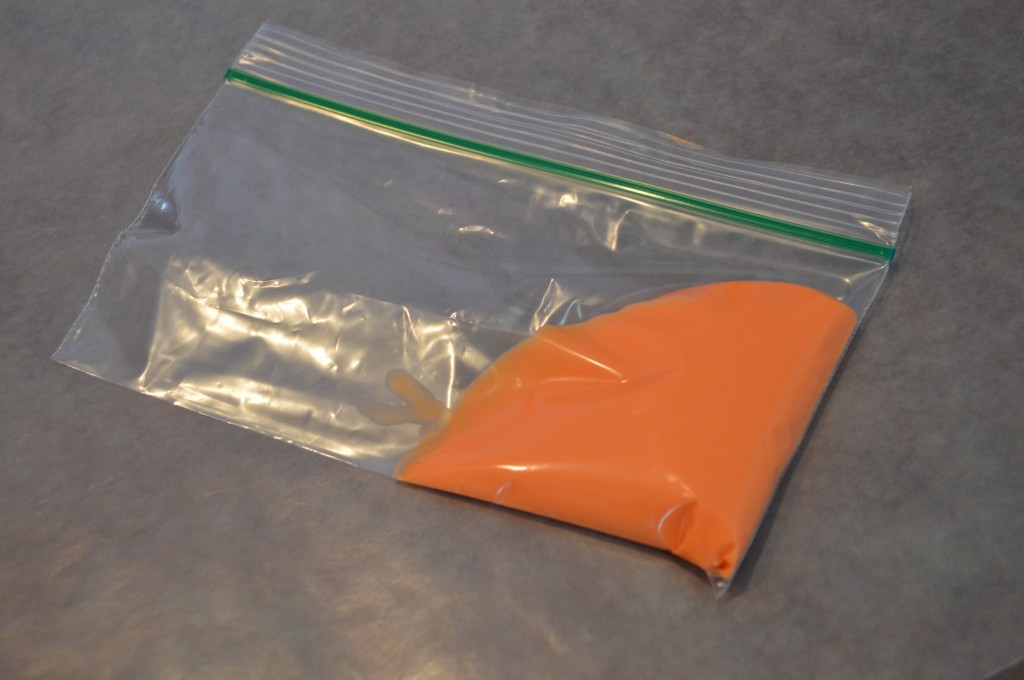
Beaker Cookie Pops 013Step 4: While the chocolate hardens around the cookie pop stick, melt a small amount of orange chocolate.  Once melted, put it inside of a snack size Ziploc bag.

Beaker Cookie Pops 014

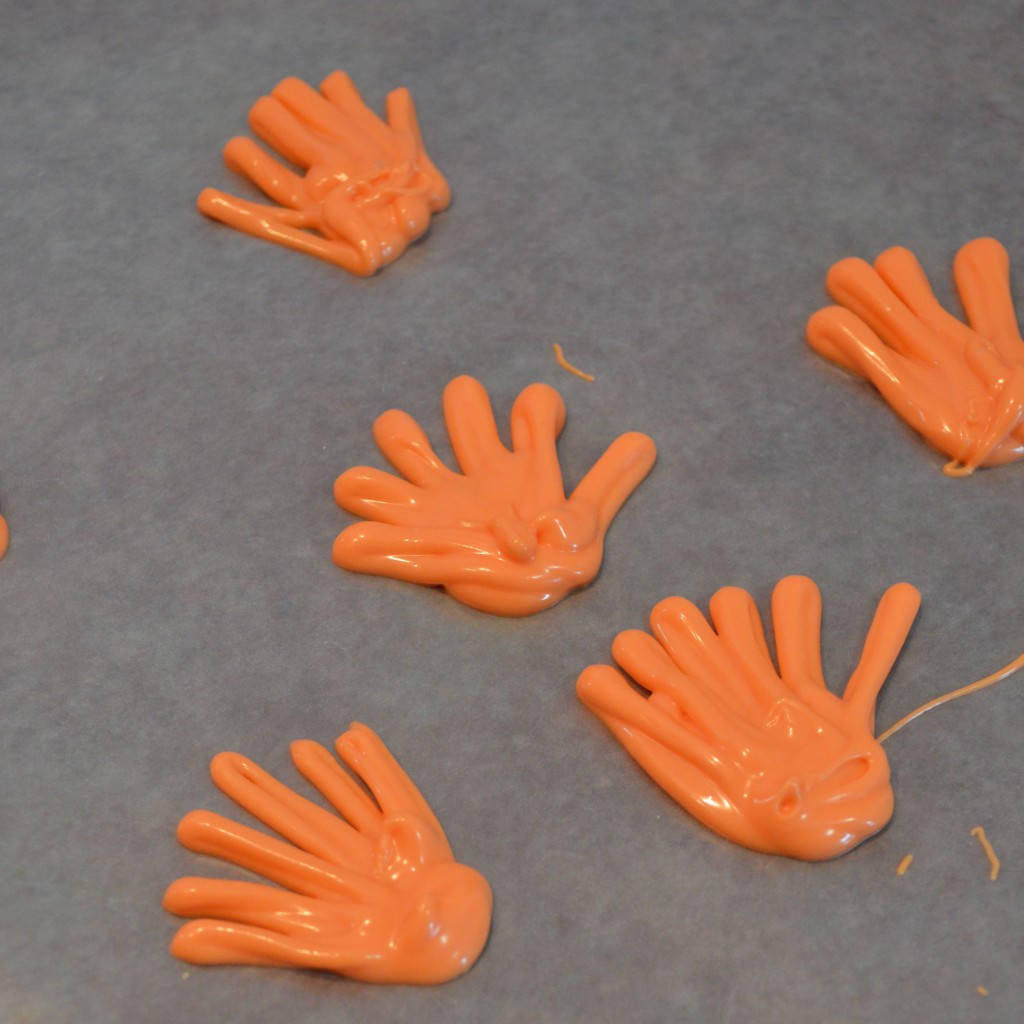
Step 5: Lay down a sheet of wax paper on your counter.  Then snip a tiny hole at corner of the bag with the melted orange chocolate and pipe Beakers hair on the wax paper.  Allow five minutes for the candy hair to harden.

Step 6: Mix the remaining white melted candy with the remaining orange candy.  This will give you the slightly lighter orange color for Beaker’s face.  If needed, add more orange candy melts until you have enough to dip the cookie pops.  I used a shallow pan to dip them in, by dipping one side and then flipping it over to dip the opposite side.  Place the cookie pop on wax paper after dipping.

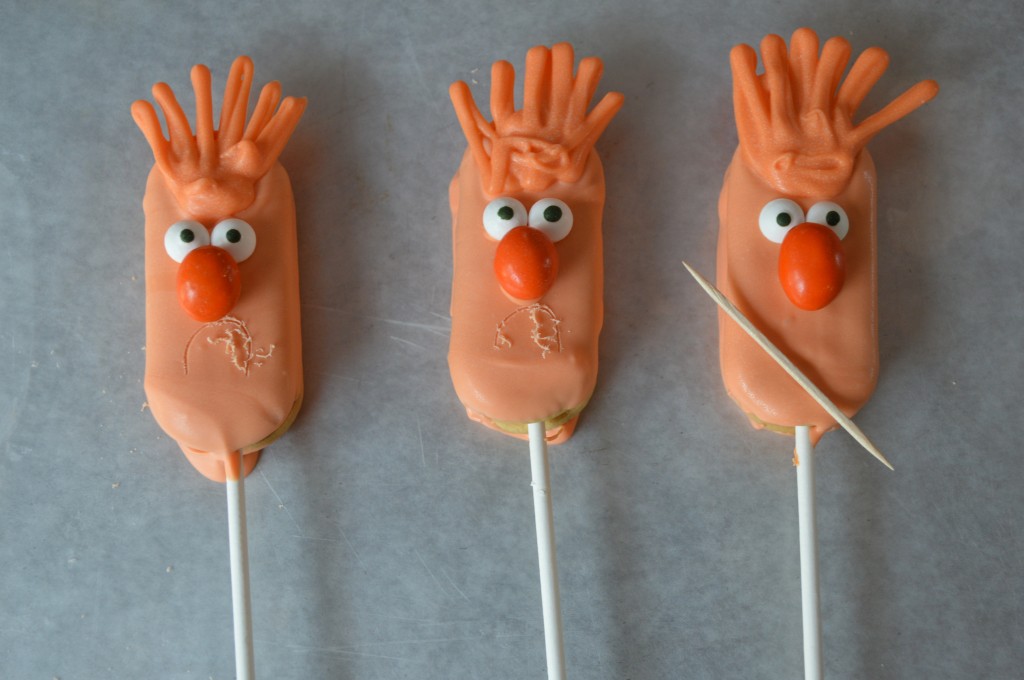
Beaker Cookie Pops 024Step 7: Attach Beaker’s hair on the cookie while the chocolate is still hardening.  Once the hair has been secured, add his eyes and nose.  Allow all the chocolate to harden.

Step 8: Once hardened, you can now add Beaker’s mouth by using a toothpick to lightly carve into the chocolate.

That’s it!  If you’re not ready to enjoy these treats, I recommend placing them in a airtight storage container and keeping them in a cool area.

Are you ready for this weekend’s premier of Muppets Most Wanted?  Here’s to hoping Beaker gets some screen time!

This Friday I’m happy to be participating once again in the Favorite Food Friday blog hop hosted by Disney Day by Day.  If you love Disney food, hop over to Disney Day by Day to check out more Disney food. Today he’s featuring FRUSHI!  YUM!  Disney Day by Day even links you up with the recipe to make this Epcot Flower & Garden Festival favorite.  Check it out at:

http://disneydaybyday.com/favorite-food-friday-frushi/

If you have a Favorite Disney Food item that you’ve blogged about, why not link up?  Stop by Disney Day By Day for details!
DisneyDayByDay

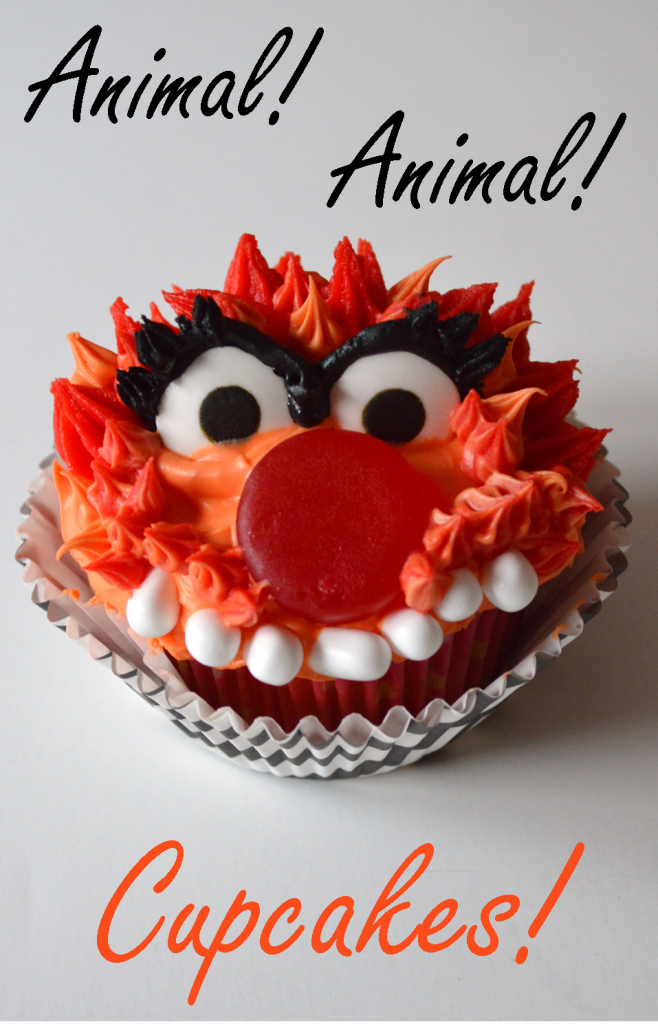
Animal! Muppet Cupcake Tutorial

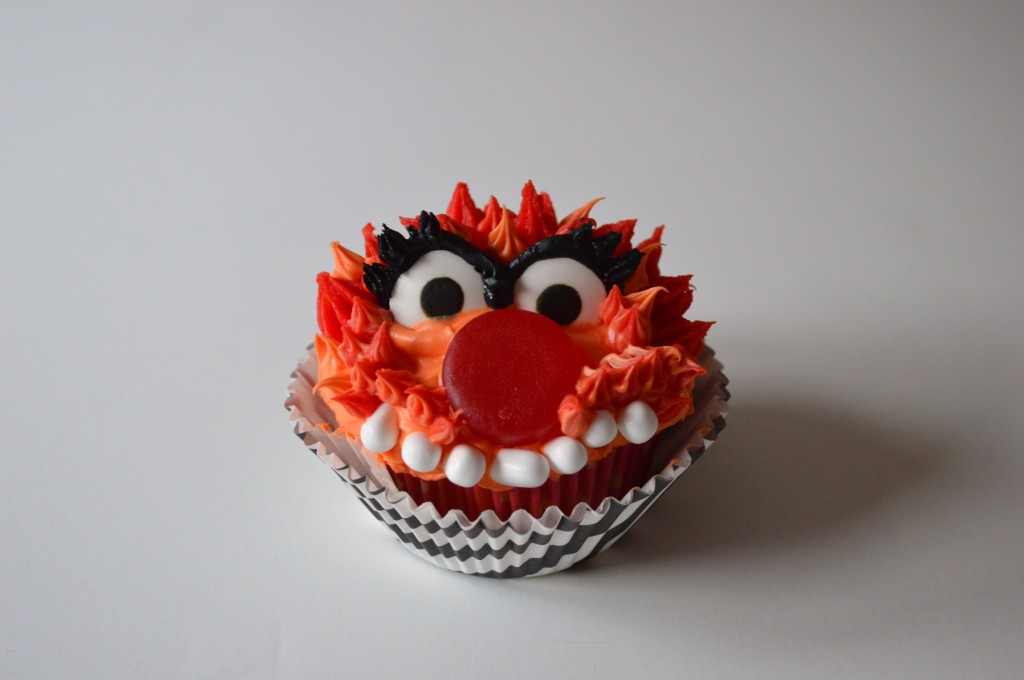
animal cupcakeDoes your family have a pick for Favorite Muppet?
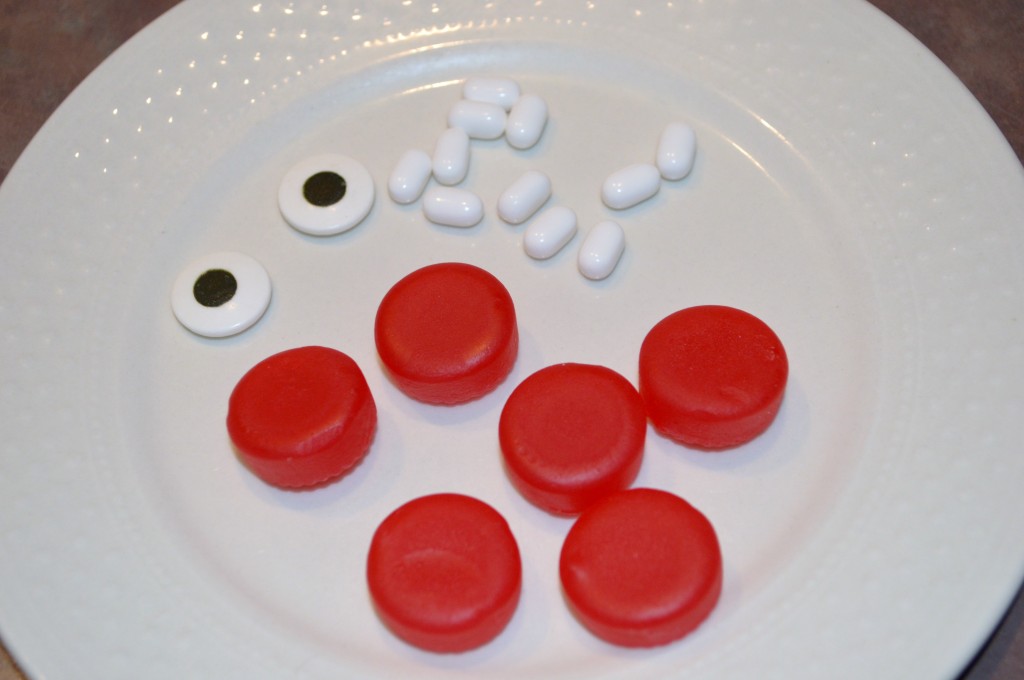
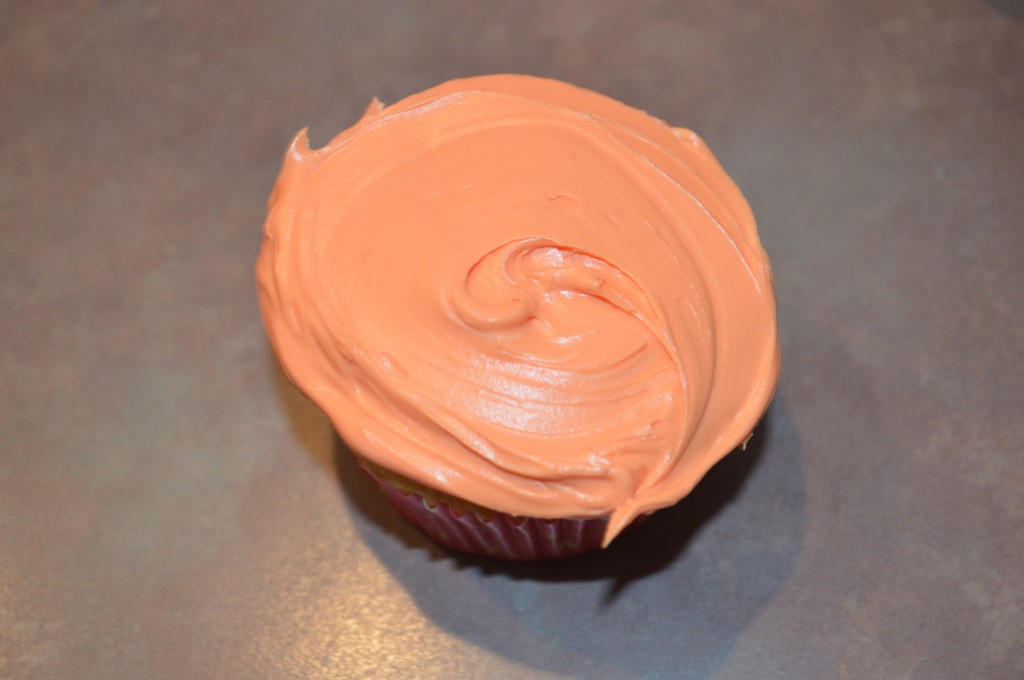
In our house, Animal is one of our top five favorite Muppets.  Today I gave it my best attempt to make an Animal-Inspired cupcake.  If you like how he turned out and would like to make Animal cupcakes for your kids, here’s a quick tutorial!

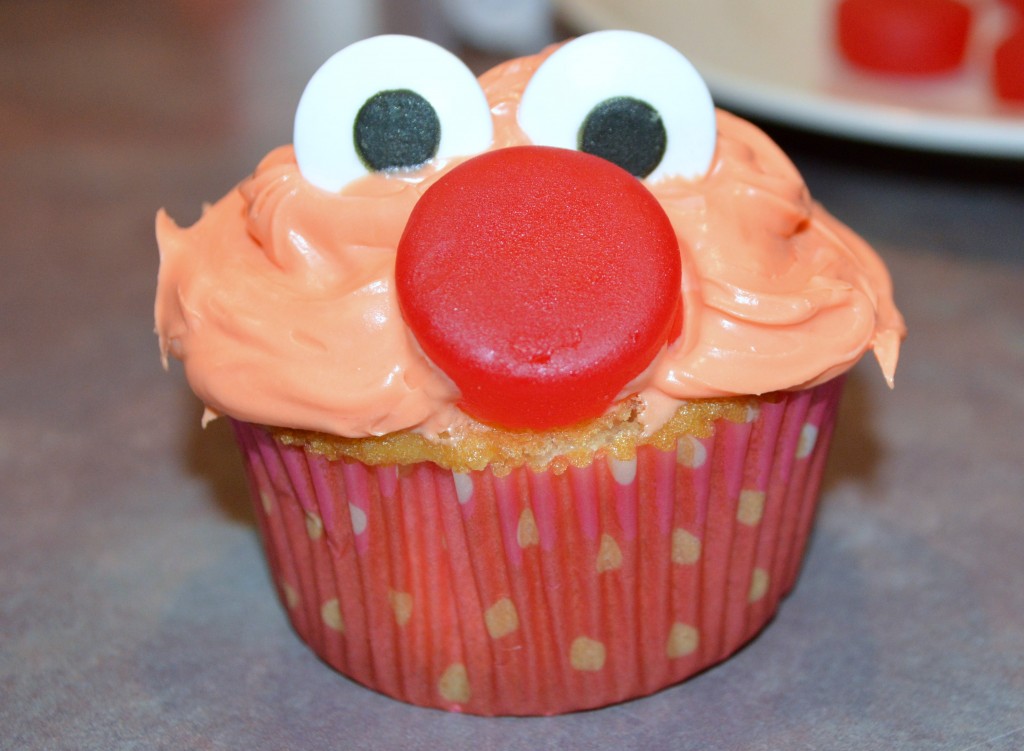
Muppet cupcake 003Gather the following supplies:  Candy eyes, Tic-Tacs, Juju coins, red & orange icing, and cupcakes.

Muppet cupcake 010Start by icing the cupcake with orange icing.

Muppet cupcake 012Next, add the eyes and nose.

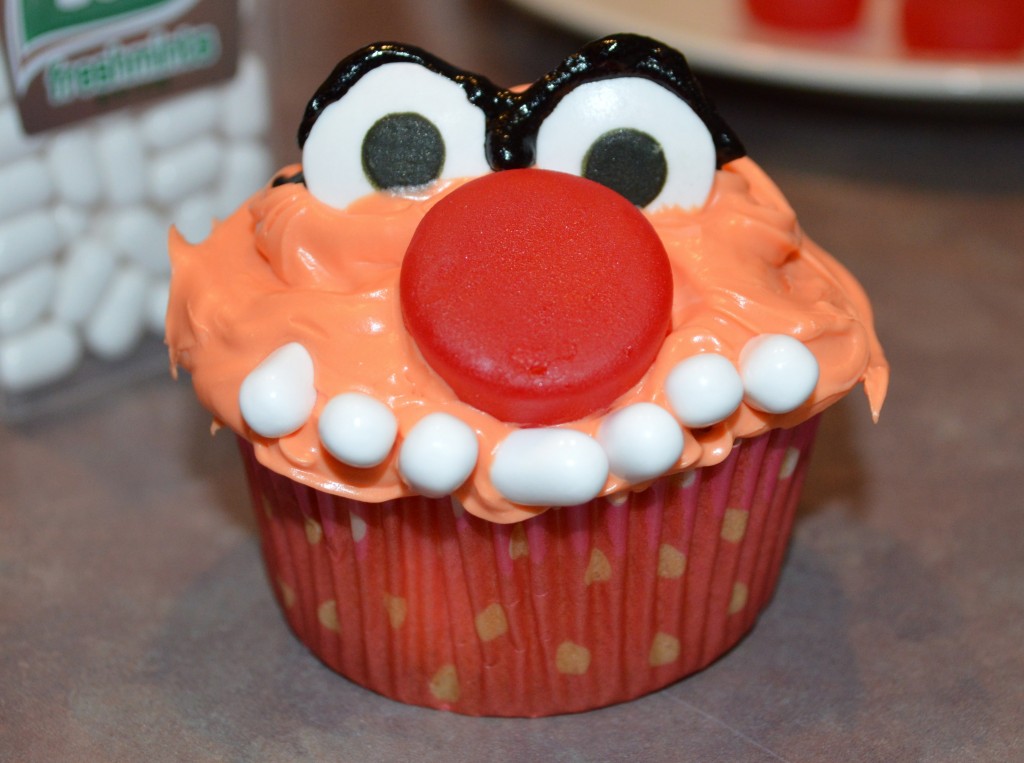
Muppet cupcake 015Then add his seven wonderful teeth.

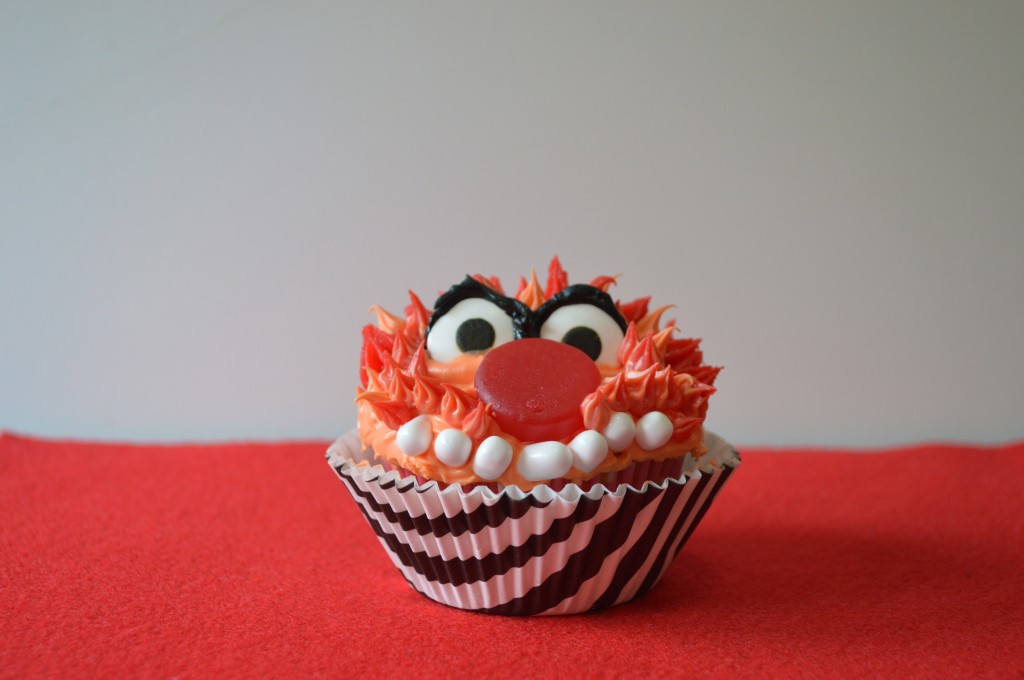
Muppet cupcake 031Using a Star decorator tip, pipe Animal’s orange and red fur icing.  Last, but not least, add his black eyebrows.  It’s that simple!

Animal cupcake take 2 006

Which Muppet is your family’s favorite?  I’m working on a few other Muppets-Inspired ideas to share with you shortly.  So far, I’ve shared with you Kermit and Animal Inspired ideas.  Look for my family’s other three favorite Muppets to show up on the blog in upcoming posts.

This Friday I’m thrilled to be participating in the Favorite Food Friday blog hop hosted by Day by Day Disney.  If you love Disney food, hop over to Day by Day Disney to check out more fun Disney food. He’s featuring the “Grey Stuff” cupcake today!  Check it out at

http://disneydaybyday.com/favorite-food-friday-grey-stuff-cupcake/

DisneyDayByDay

Preparing for a “Muppets Most Wanted” Party

Kermit photo 002“It’s time to get things started..”

“Muppets Most Wanted” will be opening in theatres on March 21st and my family couldn’t be more excited.  Add a hysterical group of Muppets to any birthday party and wouldn’t you be excited?

My son Gavin will be turning seven in April.  I can’t even believe it.  I know how cliché it is to say that, but it’s true.  When he chose a movie theatre birthday party with his classmates over our annual family birthday party the realization that he’s not my baby anymore smacked me straight across the face.   So with his decision made, Gavin and I did a bit of research to see what movies would be showing during his birthday month and what movie do you think he chose?  Well of course, “Muppets Most Wanted”!  The fact that Gavin picked this movie has made it easier to deal with the reality of my baby becoming a big boy.  Yes, it’s purely the distraction that his party will be Muppets themed.  I have to admit, I’m pretty excited about making a “few” Muppet-Inspired items for the party.  Seriously, who could blame me?  It’s the Muppets!  Needless to say, the planning is well underway.

Today I thought I’d share a few things that I’ve started to put together for his classmates’ “Thank you” bags.

The photo was taken from Disney Wiki.

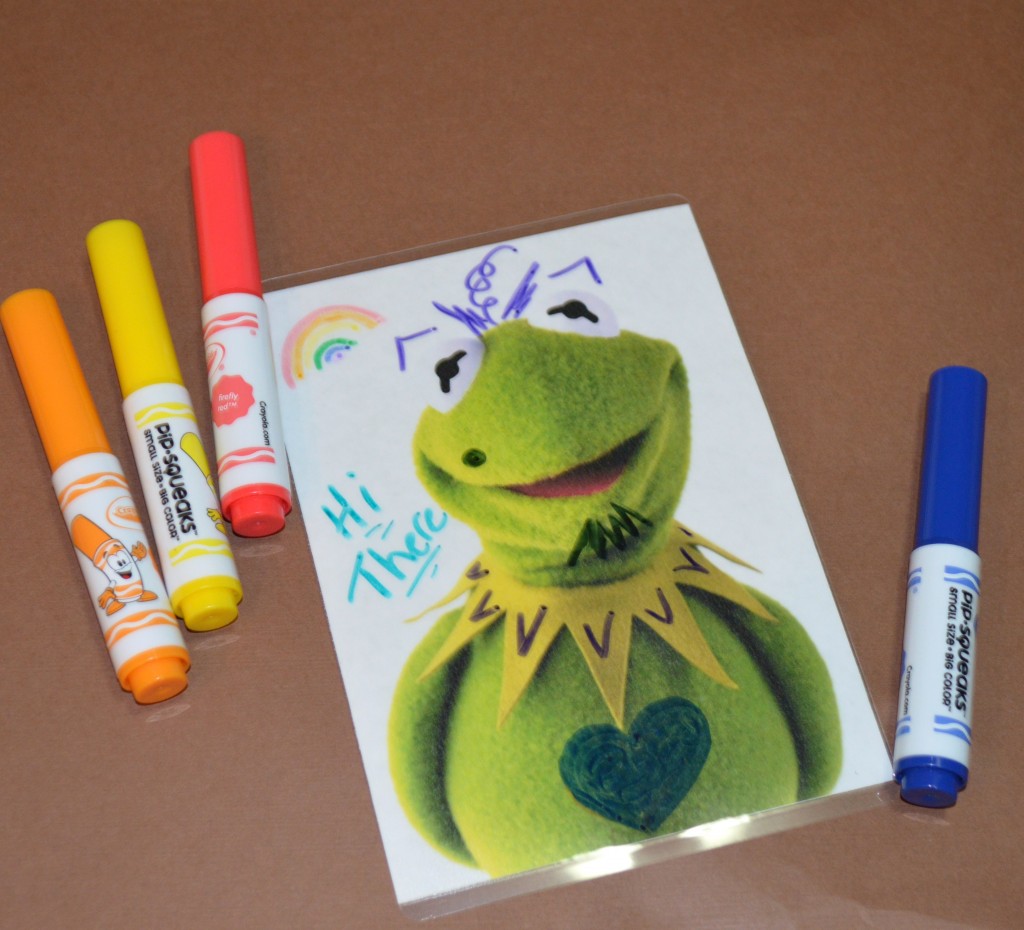
Is it Kermit?  Or is it Constantine?  Hmmm…

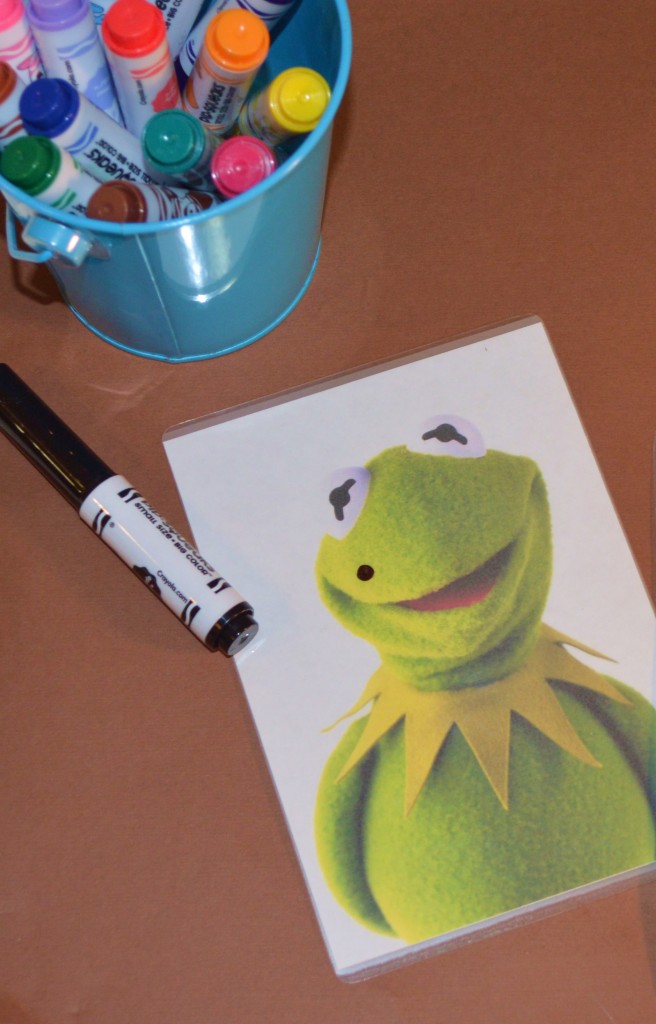
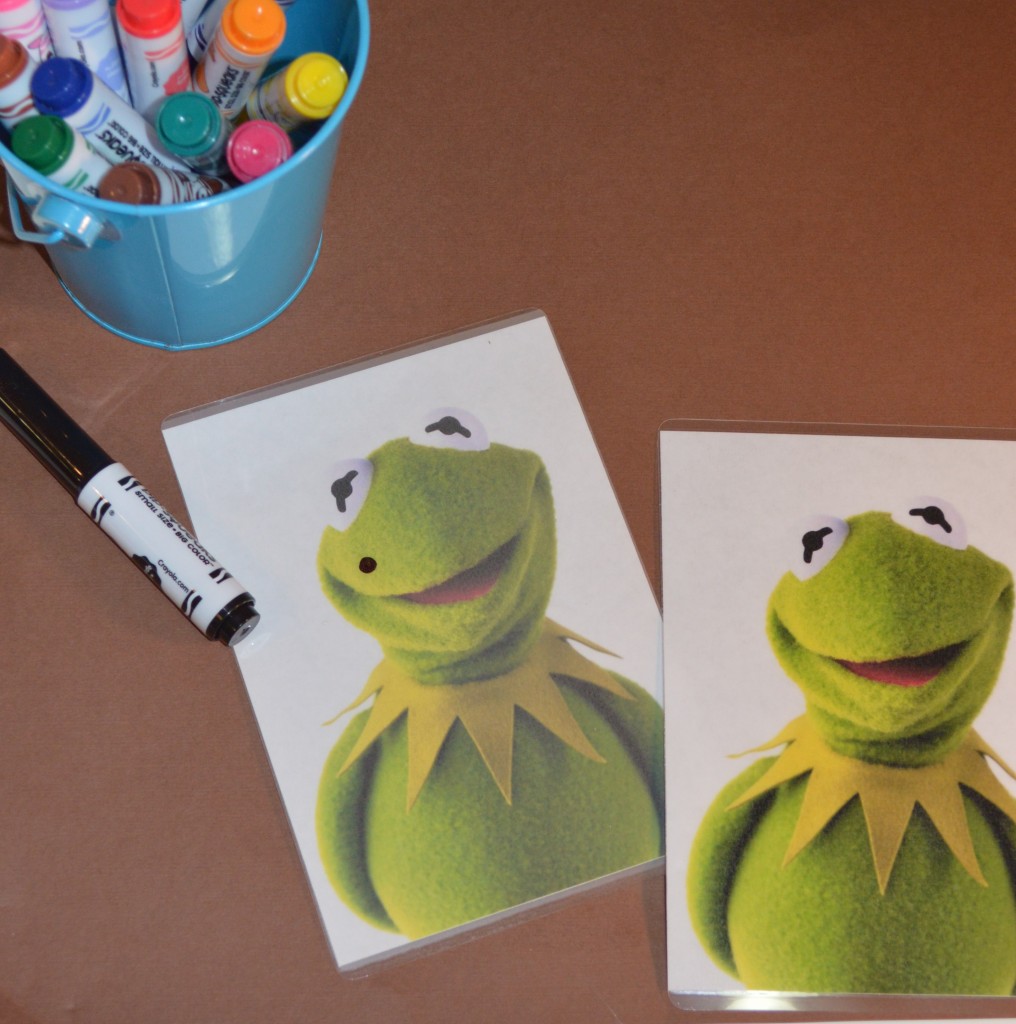
This fly loving frog’s likeness could be transformed or disguised whatever way a little artist decides with the use of washable markers and then washed off whenever he wants to create again.  Or even better, if you have a dry erase marker kids could clean it off with a tissue.

Masterpiece KermitHere’s how I made this simple craft.

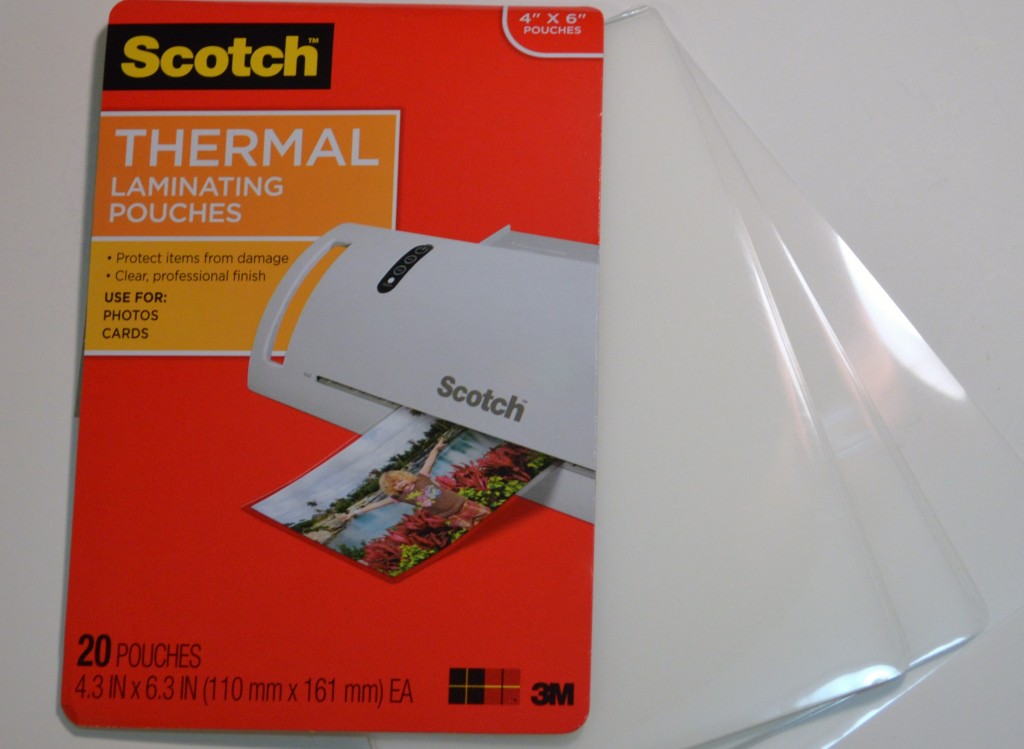
The images above are of a  4″ x 6″  laminated photo of Kermit.  I found the Kermit image on the Disney Wiki site.  It’s perfect because he’s looking straight forward.  Then I saved it to my Pictures file, uploaded it into Publisher and sized it to 4″ x 6″.  After I printed it out on copy paper,  I cut it out and laminated it using the pouches you see in the photo below.  It couldn’t be more simple!   If you don’t want to use a laminating machine, contact paper can be used for the same effect.

Kermit photo 009

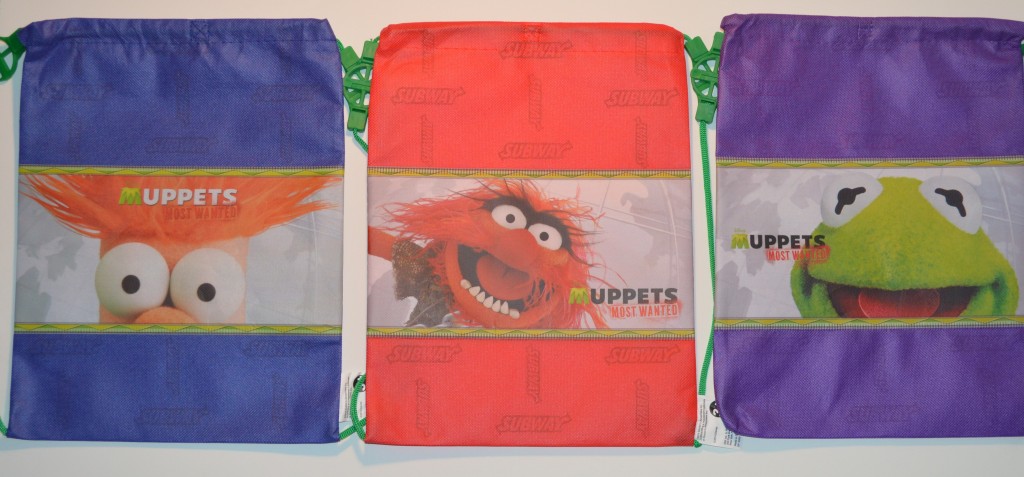
 This “Disguising Kermit” card will be one of a few special Muppets related items that Gavin’s guests will find in their party bags.  I decided to use these adorable Muppets backpacks as party bags.  I found them at SUBWAY.  Each Subway Fresh Fit for Kids Meal comes with one of six fun Muppet style backpacks.  These are the three styles we chose for our party.  Subway has a wonderful Muppet campaign going on right now.  Have you seen the commercials?  Adorable!  You can visit Subway’s website for more Muppet fun.  Here’s a link to “Get Things Started!”

http://subwaykids.com/

Kermit photo 010

 Each party bag will include a small tribute to several of our favorite Muppets.  Can you guess what item Fozzie would want us to include?  Yep, we’ve included one of those!

Look for more Muppet-Inspired fun this week on the blog!