Tag: Olaf

D.I.Y. Olaf Inspired Frozen Heart Pillow

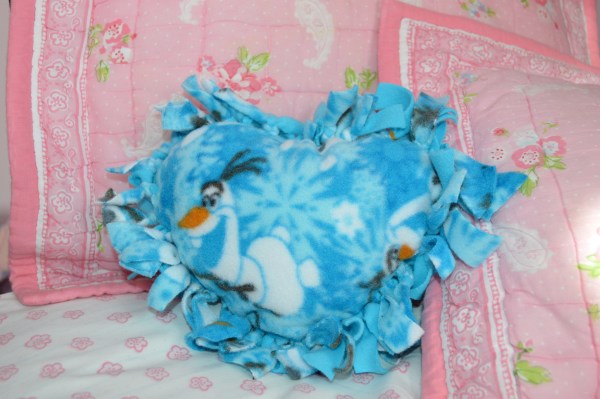
Olaf Frozen No Sew Heart Pillow

Looking for a fun and inexpensive Frozen-Inspired Valentine’s Day craft to make with your children?

At JoAnn Fabrics this past weekend I found adorable Frozen themed fleece on sale for 40% off! With Valentine’s Day just around the corner I thought it would be cute to make a miniature (5.5″ wide x 7″ high) “Frozen” heart pillow with the kids.  After completing this one, Victoria, my three-year-old daughter, snatched it up for her Bitty Baby doll to use and Gavin, my seven-year-old son, immediately wanted to make one “all on his own.” How could he not? Don’t we all love this warm hug-loving little snowman?

I’m not the first person in the world to come up with the idea of a “no-sew” heart pillow. In fact, a quick Google search of “no sew heart pillow” will give you a ton of tutorial options to read. Regardless, I’ve included my tutorial in this post to give you some insight on how we made our pillow.

Supplies

Disney licensed material of any type is significantly more money per yard than your typical run of the mill fabric. So for this project I decided to use the licensed character fleece on one side and a generic blue on the opposite side.  In addition, if you’re planning on following my directions for this project to make more than one pillow, note that you’ll need more of the Olaf print than the blue fleece. Why? Due to the character placement on the fleece, you will end up with a pillow that doesn’t have Olaf’s face represented and instead you’ll have Olaf’s feet or a partial face. It’s important to decide what images you want shown on the pillow and measure out from there before you start cutting.

Here are the exact sizes and supplies I used for making one pillow.

  • 8″ x 7″ hand drawn heart template cut out of card stock
  • Measuring tape
  • Fabric scissors
  • Marking tool – I used a fine tip marker but a fabric pencil would have been easier.
  • 18″ x 14″ piece of fleece “Olaf Winter Snowflakes Scene by Disney for Springs Creative Products Group, LLC. (NOTE: This material is for noncommercial home use only.) Why this large? If you are choosing to make multiple pillows, I found that allotting this size piece will guarantee at least one Olaf image as a focal point for the pillow.
  • 14″ x 13″ piece of complimentary-colored solid blue fleece
  • Polyester Fiberfill

10 Simple Steps Tutorial

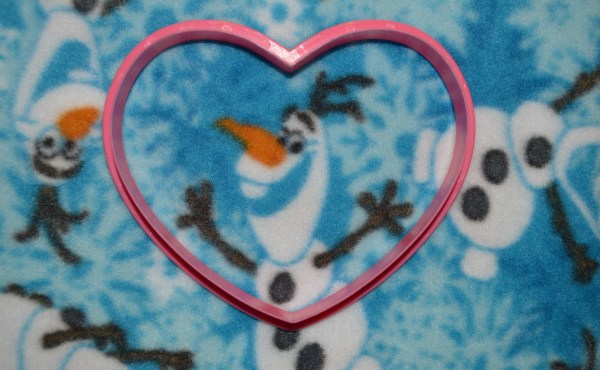
1. Using the heart template that you drew out of card stock, decide how you’d like the pillow to lay out. Below is an example of how I started. (However I chose to go larger as the original cookie cutter idea was way too small.)

Olaf Fabric www.mouseearsmom.com

2. Draw your heart outline onto back side of the Olaf fabric using your template.

3. Measure three inches from all sides of the heart to create an outside heart image around the originally drawn heart.  (This three-inch border will be the area that you’ll need to mark and then cut for knotting.)

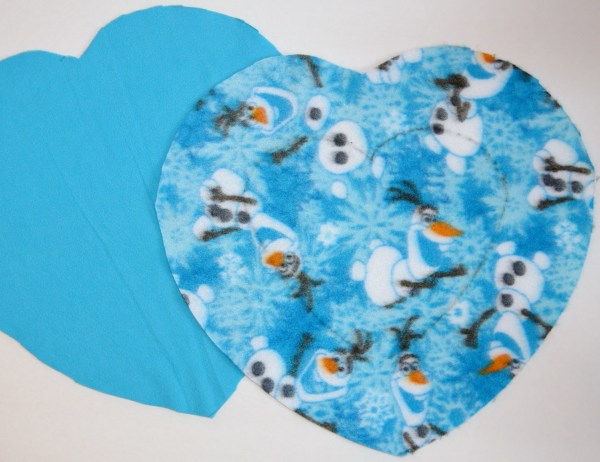
4. Cut an equal size heart out of the solid blue fleece. I did this by tracing my Olaf fabric heart after I cut it out.

Materials for Frozen hearts  www.mouseearsmom.com

5. Using your measuring tape and marking tool, mark off 3/4″ to 1″ pieces around the perimeter of the heart. They will act as guide lines to follow when creating your fringe to later knot.

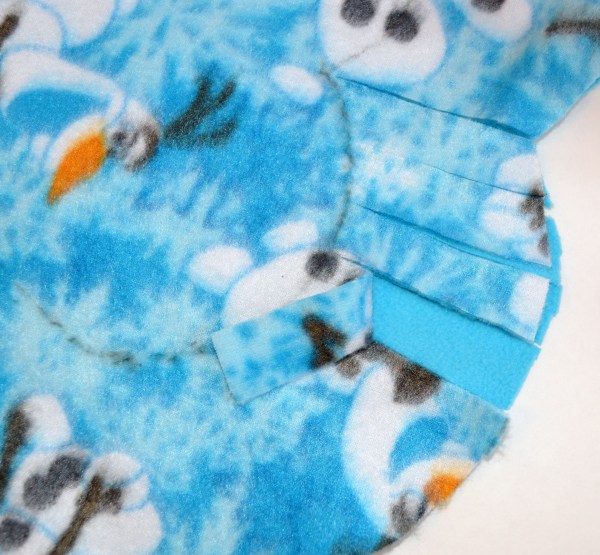
6. With the two pieces of fleece fabric placed on top of each other, cut three-inch strips into both layers of fleece at the same time.

www.mouseearsmom.com

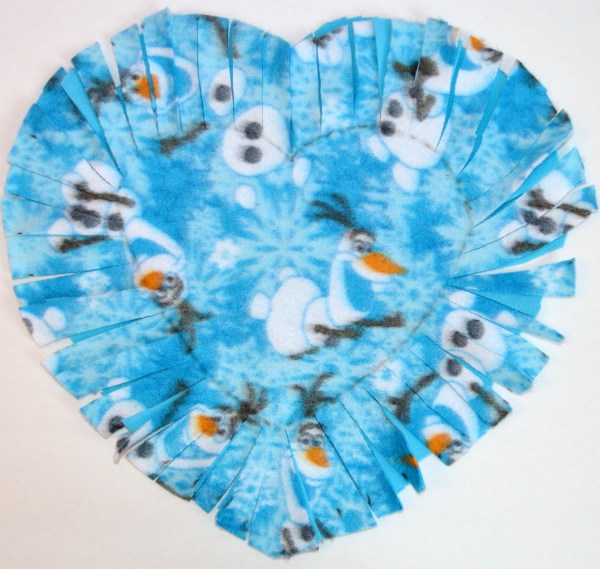
7. Continue to cut three-inch strips from the outside of the heart to the center heart marking until you’ve cut the entire outside heart.

Frozen Heart Pillow www.mouseearsmom.com

8. Start knotting!  Making sure that the correct side of the fabric is facing outwards, double knot each strand from the top fleece to the bottom fleece, stopping only when there is a about four or five strands left to knot.

9. Stuff the heart with Polyester Fiberfill.

10. Double knot the remaining strands and you’re done!
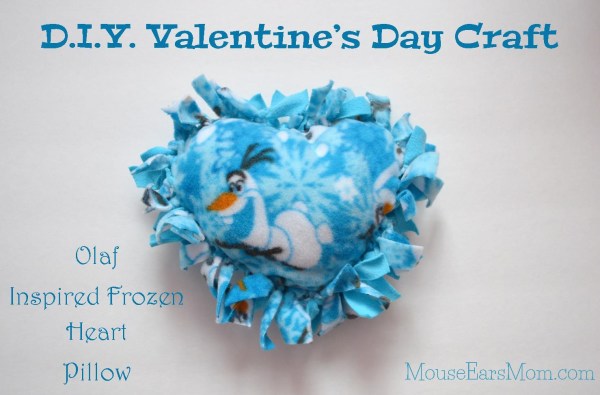
Olaf's Frozen Heart Pillow www.mouseearsmom.com

Although this little Valentine heart is frozen blue, I’m sure the hug-loving snowman on the outside will warm up the heart of your child this Valentine’s Day.

Have a great day and thanks for stopping by!

Disney Easter Egg Decorating Ideas For Kids: Q-Tip painting and Monster’s U Egg Dying

Easter Eggs 050

Today, many kitchens are filled with families preparing for Easter by dying hard-boiled eggs.

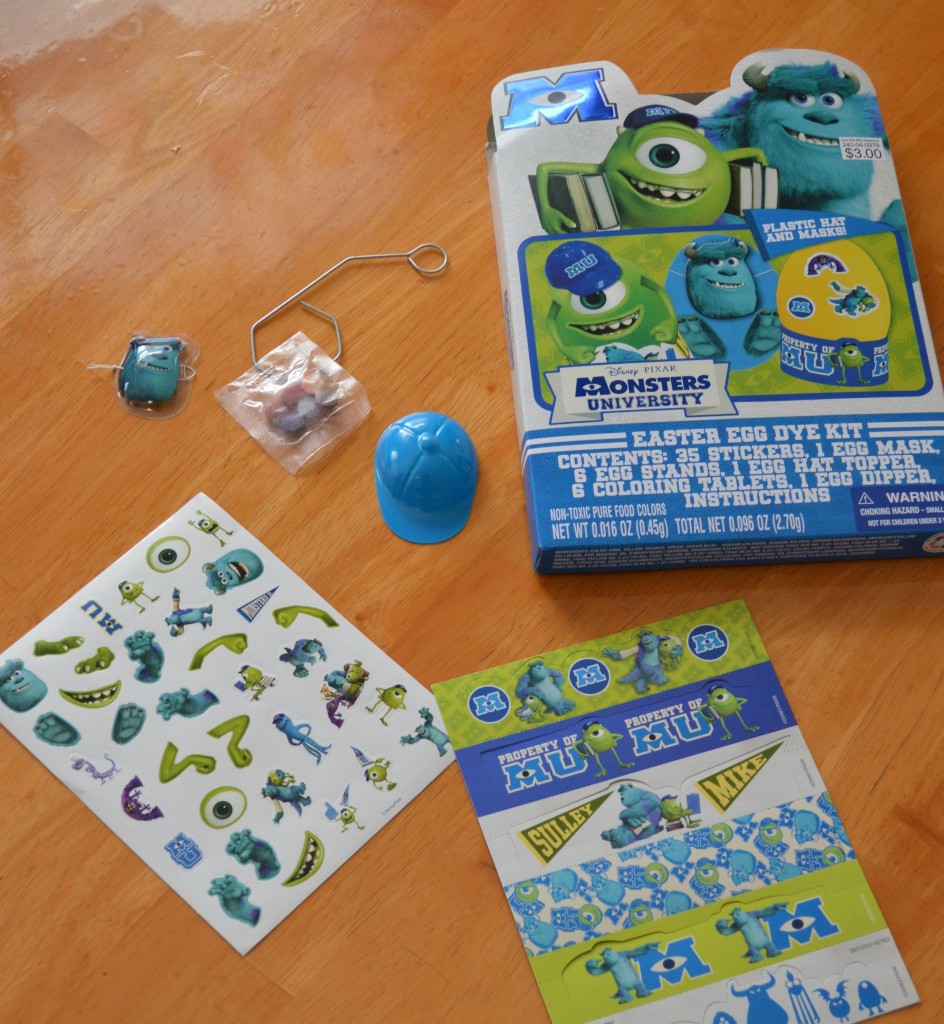
Yesterday, my children and I followed the tradition of decorating eggs, but this year we decorated eggs two different ways, of course both showcasing our #DisneySide. For our usual way of decorating eggs, I purchased a packaged dying & decorating kit to use at Grandma’s house for some hard-boiled egg fun.  I purchased this Monsters University Easter Egg Dye Kit at Target for $3 US.

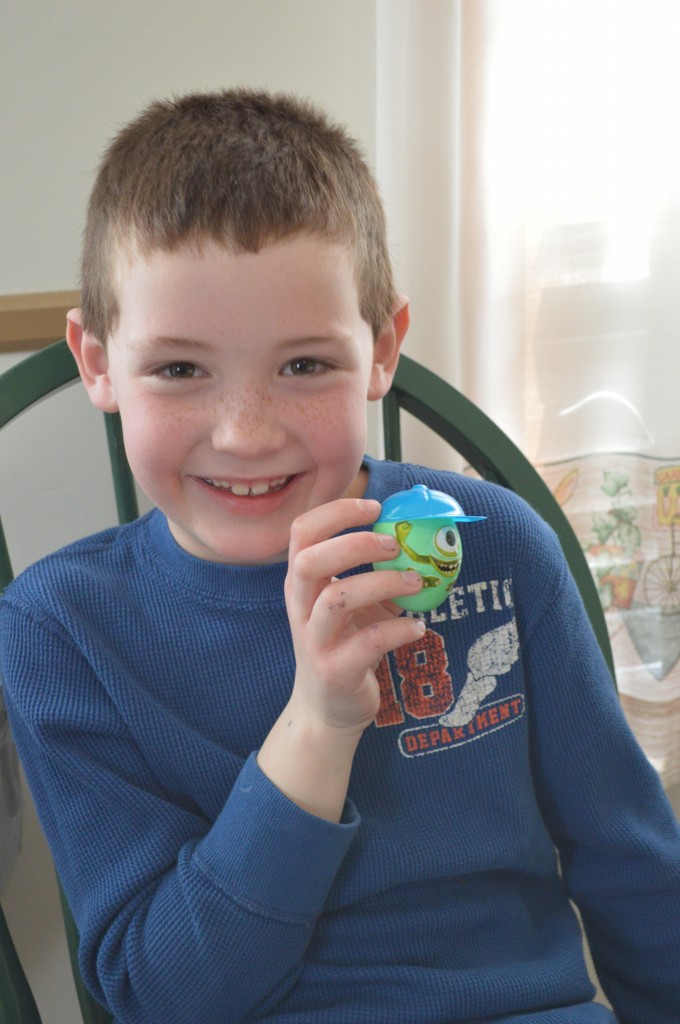
Easter Eggs 018Gavin’s favorite part of the kit was the little blue hard hat that he used for his Mike egg.  I’m thrilled to report that he made this adorable egg for his Mommy!

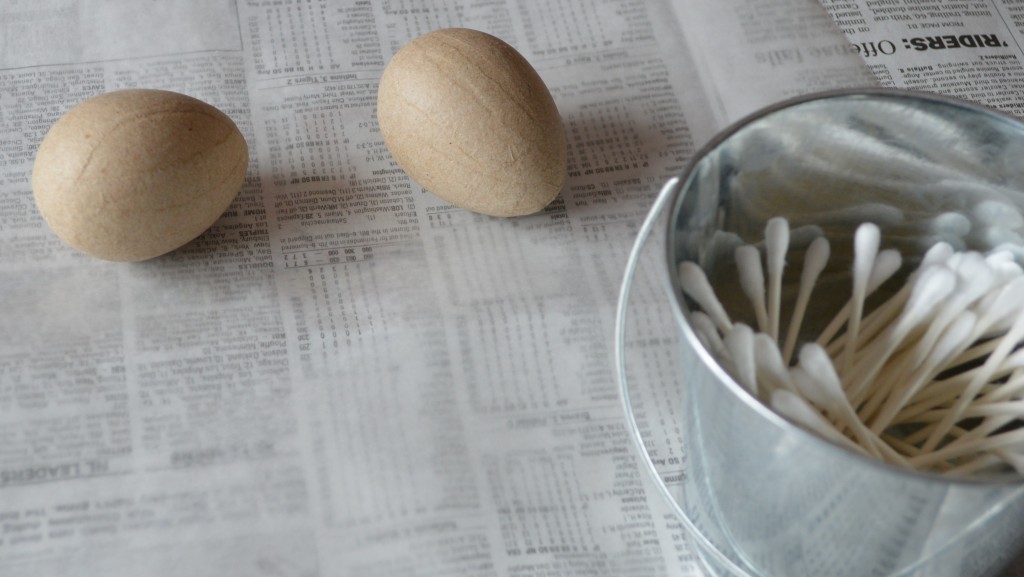
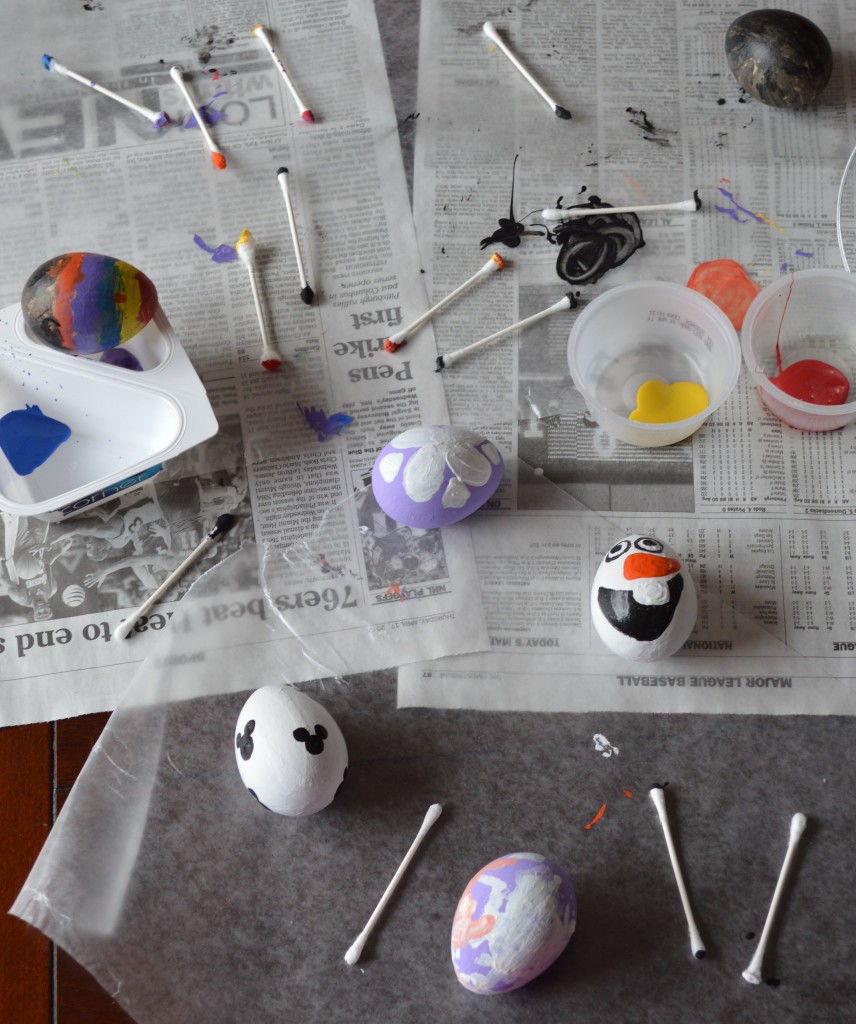
Easter Eggs 043As with previous years, the kids and I had a blast dying eggs with Grandma.  It’s a shame that despite all the hard work that went into decorating the eggs, they will be gone in a few short days.  So this year I scheduled an additional egg decorating activity for the kids to make eggs that we will be able to keep for years.  I purchased these craft eggs at our local Michael’s Craft Store.  I laid out some newspaper, wax paper, paint and Q-Tips and let the kids have some fun.  Having small children work with non-breakable eggs really is a great idea.  The eggs fell on the floor a few times and it saved quite a few tears when my son saw that they had survived the multiple falls!

Easter Eggs 003This Q-Tip project is perfect for young children, like my 6-year-old son and 2-year-old daughter.
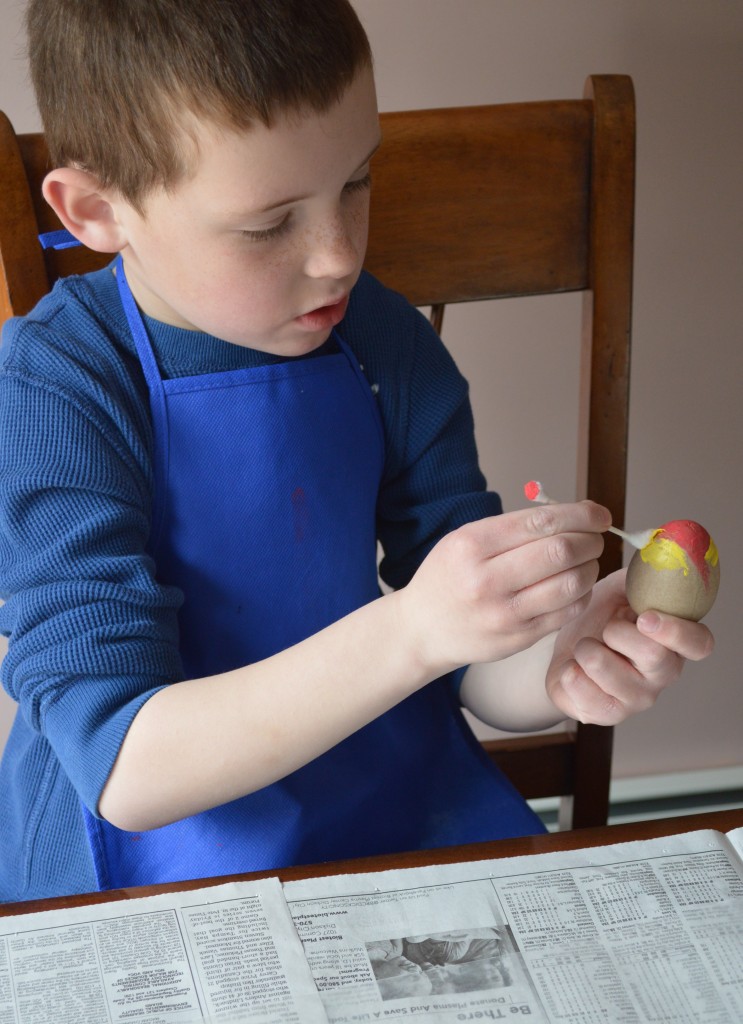
Here are the reasons that I love to have my children paint with Q-Tips.  First, LESS MESS.  Painting with kids is messy.  Giving a child a tiny little cotton swab to use for painting alleviates the potential mess that could come with having a regular paint brush in the set of destructive little hands.

Easter Eggs 008Second, painting with Q-Tips allows for QUICK CLEAN UP…if there is such a thing with kids.  Once the kids were finished, I simply picked up the Q-Tips and threw them away.  I  enjoyed not having to clean the brushes after the project was over.  Take a glimpse of just some of the Q-Tips that were used in decorating six eggs!

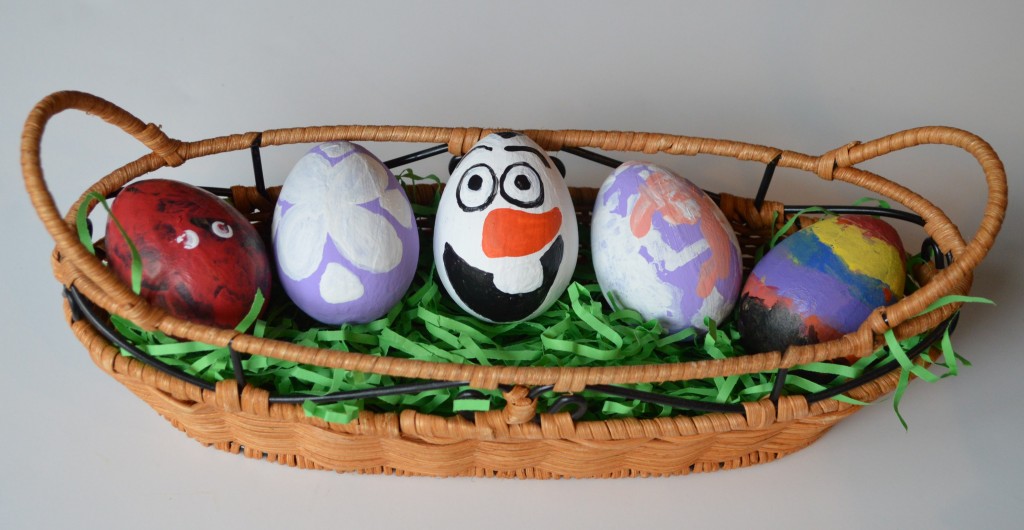
Disney character inspired eggs Q-Tip painting

Have you figured out what characters we’ve modeled our painted eggs after? Victoria worked on a pretty Sophia the First purple egg.  She tried her best to draw the white on her dress, so the other purple dress is my attempt to make a Sophia dress design.  Gavin’s red and black egg is a Mickey Mouse inspired egg.  Any guesses as to whom the silly one in the middle is themed after?

Happy Egg Decorating!

Kids Activity: Disney’s Frozen-Inspired Olaf the Snowman Cupcakes

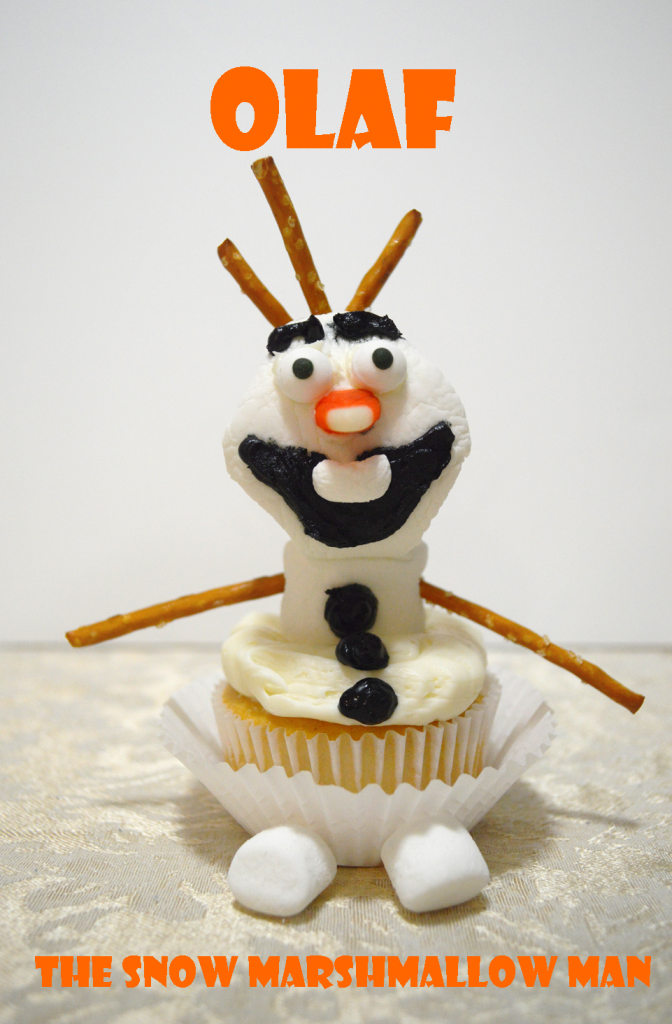
Olaf Snowmarshman cupcake

Olaf Welcomes Winter

Last night the weather was a mess in Pennsylvania.  We started to get rain in the afternoon which led to sleet and then snow.  Needless to say, we decided to stay inside where it was cozy and warm.  The kids love watching the snow fall outside and at the sight of a single snowflake they ask if they could build a snowman.  Even if there isn’t enough snow to cover the ground yet, the kids want to rush outside to get to work.  As a wonderfully warm alternative the kids and I made snowmen inside!

My six-year-old little man, Gavin and I went on a movie date to see Disney’s Frozen on opening day. If you haven’t seen it yet, there’s an adorable little snowman in the film named Olaf.  Warning, he’s going to steal your heart! Olaf was Gavin’s absolute favorite character in the movie, so of course he wanted to build an Olaf snowman.  He was so excited about the idea of a cupcake marshmallow snowman, that he completely forgot about the snow falling outside!

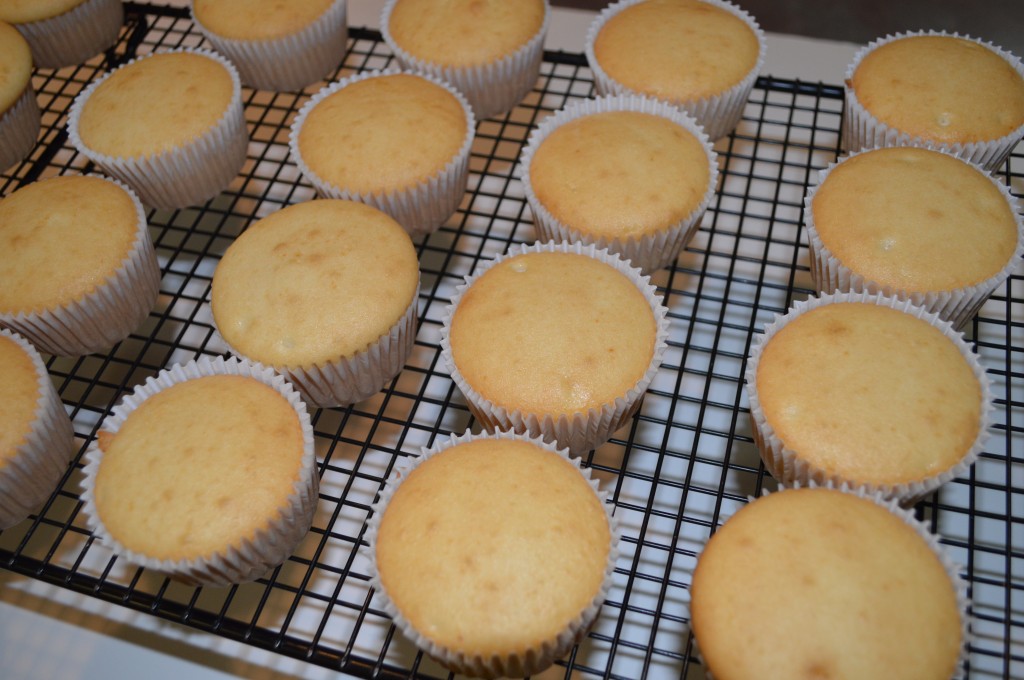
So, I made some white cake cupcakes.

Cupcake Snowmen 005Then I set up a snowman making station on our dining room table.
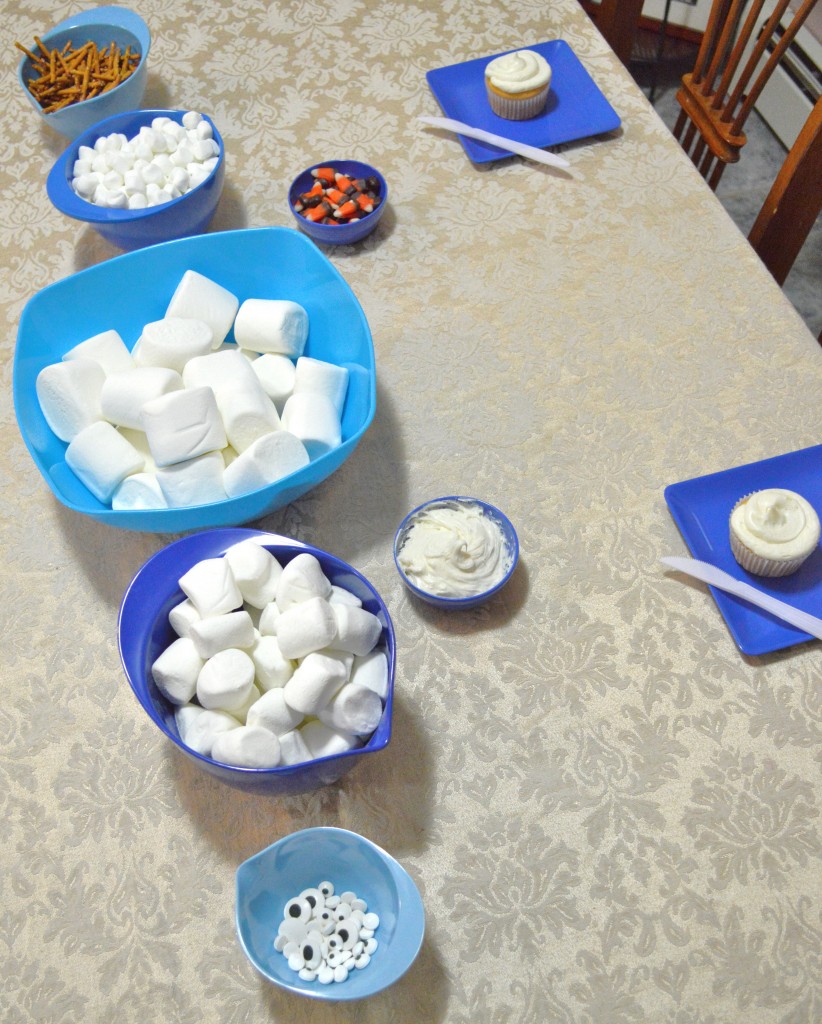
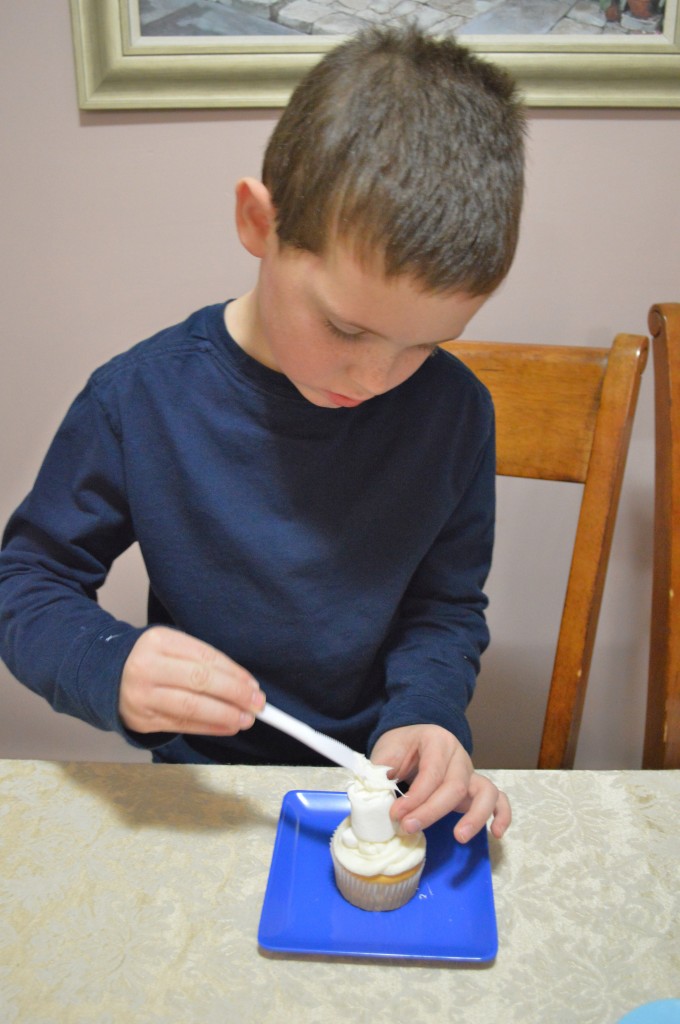
Cupcake Snowmen 013It included miniature marshmallows for his feet. We used cupcakes for his snow ball bottom.  Regular sized marshmallows for his belly and oversized marshmallows for his adorable oversized head.  I had some leftover eyes from our Monster cupcake making station.  Check out our Monsters Inc. Inspired cupcakes here:

http://www.mouseearsmom.com/2013/06/21/monsters-university-cupcake-creations/

We also used pretzel sticks for arms and hair and left over Halloween candy corn for noses.  To stick everything together we used icing and pretzel sticks.

Gavin got straight to work.  He absolutely loved making his Olaf.

Victoria promptly began eating snowman building parts and had no interest in building.

Cupcake Snowmen 019

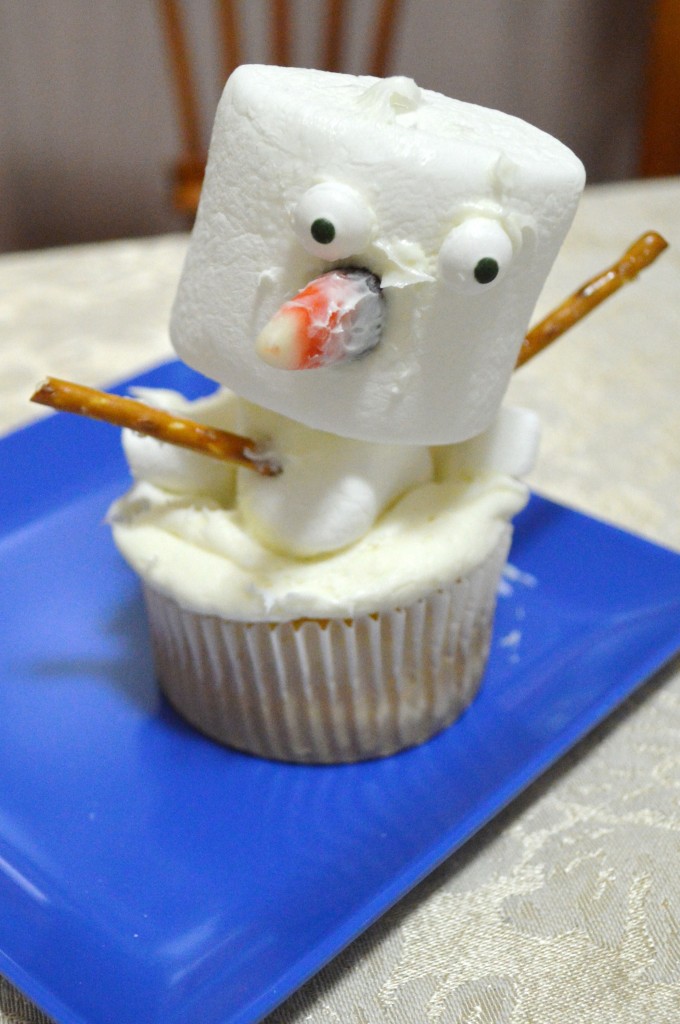
This is Gavin’s Olaf inspired cupcake before he was partially eaten.

Cupcake Snowmen 033

Marshmallow Cupcake Olaf was quite a sugary snack so I limited Gavin to only eat half of his Olaf.  My Olaf Inspired cupcake is at the top of the page.  Neither of our Olaf cupcakes look exactly like they walked off the movie screen, but we sure giggled as we challenged his marshmallow pieces to stay together.

If you’re having yucky weather this weekend, but wish you could be outside playing, consider making an indoor Olaf snowman with your kids.  Just mention the idea to your children and I promise their eyes will light up like magic and Olaf induced giggling will soon follow.

If you haven’t seen Disney’s Frozen yet, you can check out my review here:

http://www.mouseearsmom.com/2013/11/28/a-moms-review-of-disneys-frozen/